198
Chapter 13: Upgrading Your Computer
www.gateway.com
3
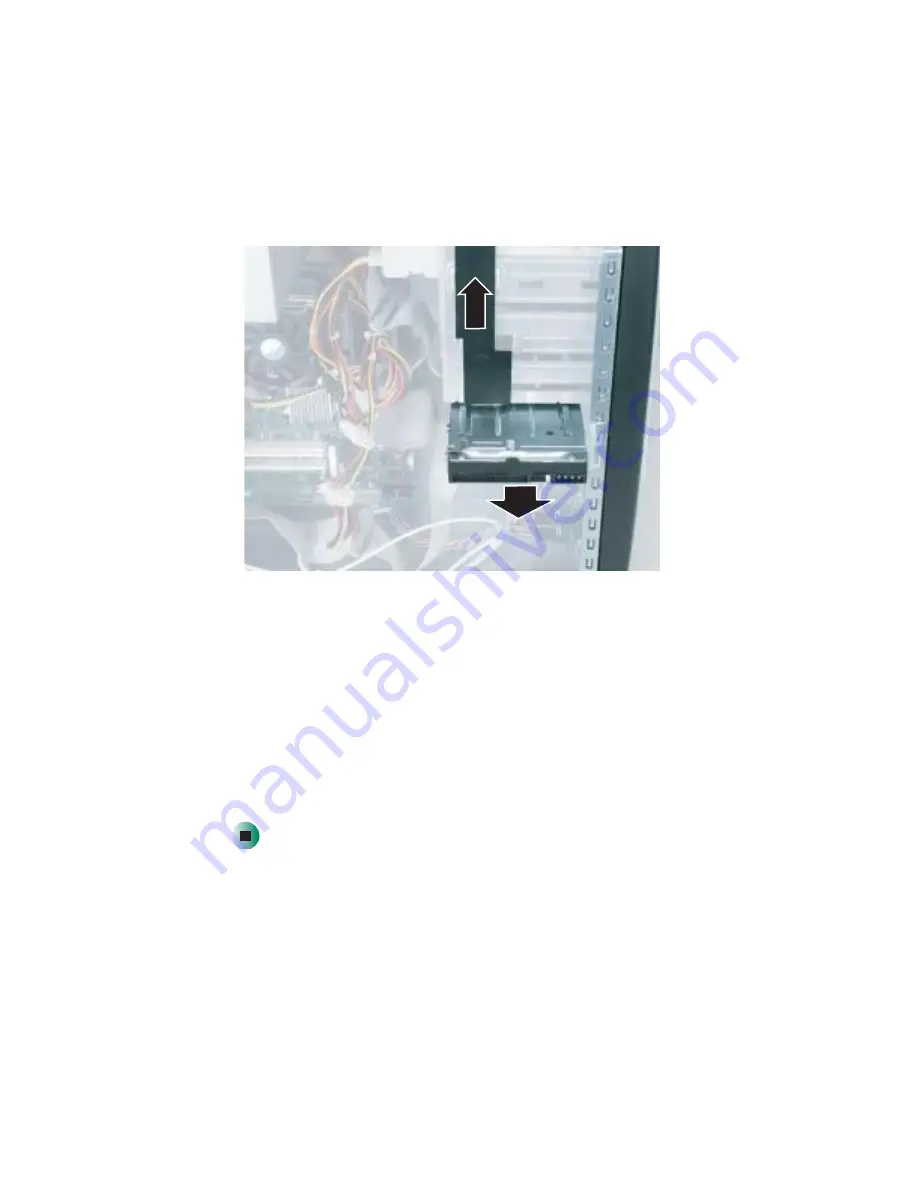
Lift the drive release latch up and slide the hard drive out of the hard drive
bay.
4
Set the jumpers on the drive. See the drive documentation for further
instructions.
5
Slide the new drive in the drive bay. Push firmly until the drive release
latch locks the hard drive into place.
6
Reconnect the drive cables using your notes from
edge of the data ribbon cable indicates Pin 1 and corresponds with Pin 1
on the drive (typically on the side closest to the power supply connection).
See the drive documentation for further instructions.
7
Replace the side panel following the instructions in
Содержание 510XL
Страница 1: ...Your Gateway Computer Customizing Troubleshooting user sguide...
Страница 2: ......
Страница 30: ...22 Chapter 2 Getting Started www gateway com...
Страница 36: ...28 Chapter 3 Getting Help www gateway com...
Страница 60: ...52 Chapter 4 Windows Basics www gateway com...
Страница 70: ...62 Chapter 5 Using the Internet www gateway com...
Страница 82: ...74 Chapter 6 Sending and Receiving Faxes www gateway com...
Страница 106: ...98 Chapter 7 Using Multimedia www gateway com 7 Click Burn The Nero s Title and CD Database dialog box opens...
Страница 115: ...107 Creating CDs and DVDs www gateway com The screen you use to add files opens...
Страница 122: ...114 Chapter 7 Using Multimedia www gateway com...
Страница 142: ...134 Chapter 8 Customizing Your Computer www gateway com...
Страница 197: ...189 Opening the case www gateway com 4 Remove the two thumbscrews from the side panel cover...
Страница 246: ...238 Chapter 14 Troubleshooting www gateway com...
Страница 256: ...248 Appendix A www gateway com...
Страница 270: ...262...
Страница 271: ......
Страница 272: ...NSK DWL DT510 USR GDE R0 10 03...


