44
Exporting a Clip.
When a clip is exported a standalone .exe file is created. This allows the clip to be distributed without the need to install G4 Viewer.
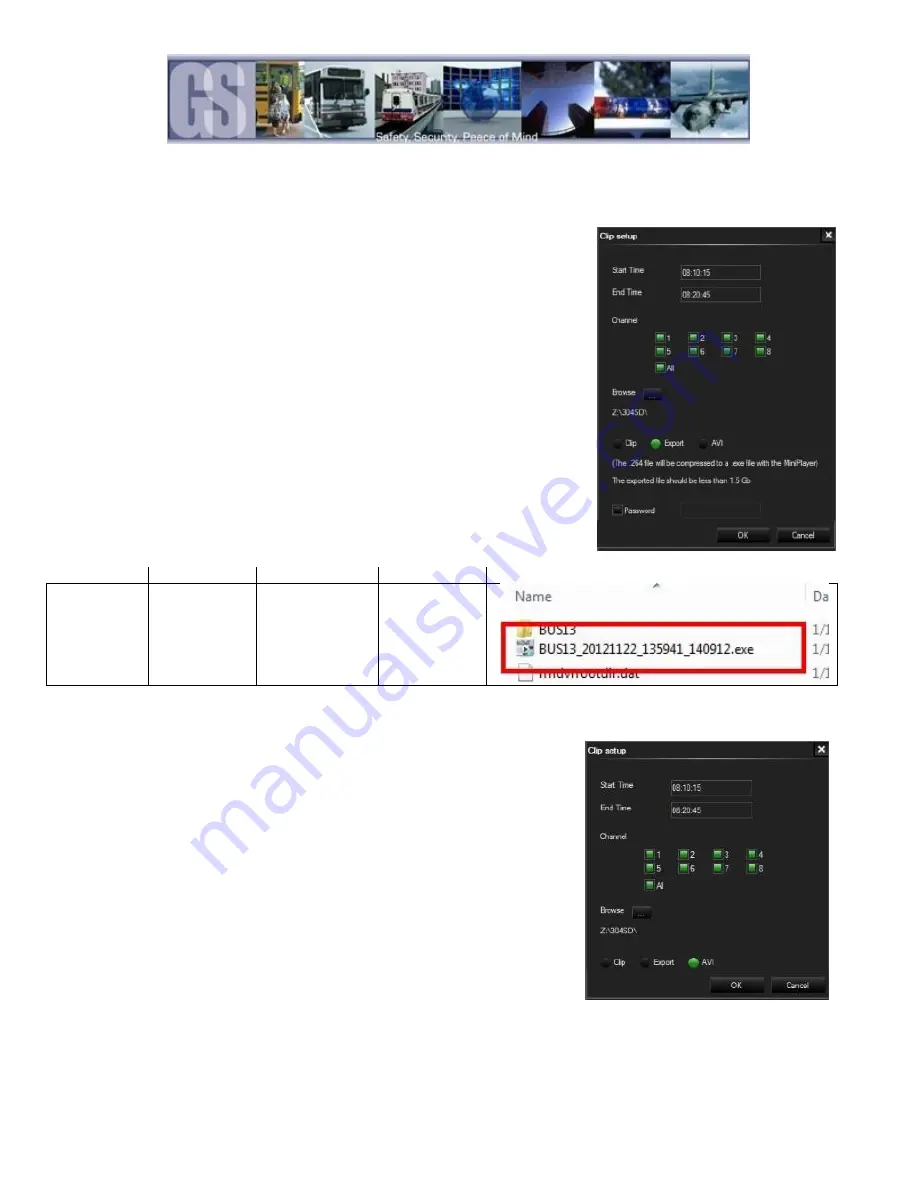
To Export a clip follow Steps 1, 2, 3, 4 in “Saving a Clip”. In place of Clip in Step 5 of
“Saving a Clip” select Export, the dialog window will change displaying additional
information about the final exported file.
Click OK to begin the Export process. A Progress dialog window will appear.
Once completed a “Compressing, Please Wait” window will appear. This may show
for several minutes depending upon the length of the exported file.
Once this has completed the dialog window will change stating “Clip Finished”,
when OK is clicked the default Folder will be automatically opened and the
Exported .exe file, BUS13_20121122_135941_140912 in this example, will be
available for play. The Exported file has the Vehicle Name; Date; Start Time and
End Time of the exported clip.
Vehicle #
DATE
START TIME
END TIME
BUS13
20121122
13:59:41
14:09:12
Figure 26: Export File Definitions.
Export to an AVI File.
To Export a clip follow Steps 1, 2, 3, 4 in “Saving a Clip”. In place of Clip in Step
5 of “Saving a Clip” select AVI.
Click OK to begin the AVI conversion process. A Progress dialog window will
appear.-
Once completed an “AVI Conversion” window will appear. Click OK.
The AVI file(s) will be saved in the default location as stated in System Settings.
Figure 27: AVI Conversion.


