


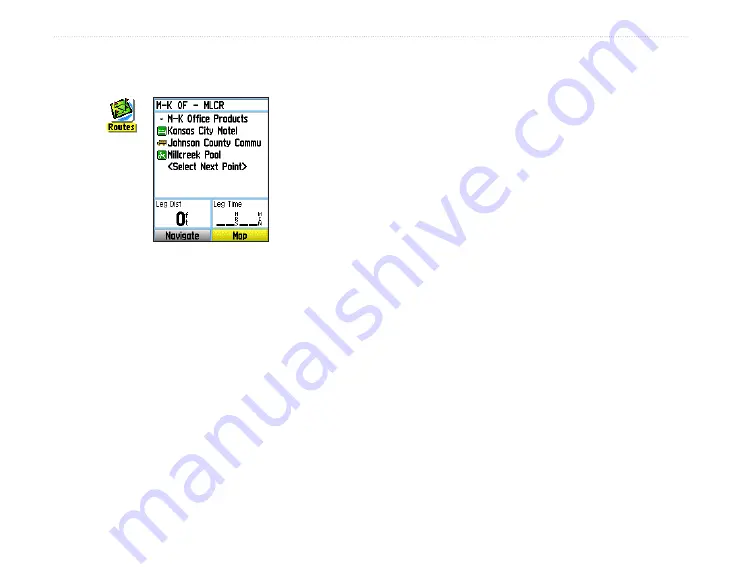
4. With the
<Select Next Point>
field highlighted,
press
Enter
to open the Find Menu.
5. Use the Find Menu to select a route waypoint
from one of the Find Menu groups, and open
the information page for the selected waypoint,
city, exit, point of interest, and so on.
6. Highlight the
Use
button, and press
Enter
to
add it to the route.
7. To add more points to the route, repeat steps 4
to 6. You can rename the route if you want.
8. Highlight the
Navigate
button, and press
Enter
to begin navigating.
Methods of navigating to a destination
• If you select the
Go To
button on the Waypoint
Page or other Find Menu items, the Vista Cx
creates a straight path (point-to-point) from
your current location to that location.
• If you select the
Navigate
button on a Route
Page, the Vista Cx creates a route composed
of several user waypoints or Find Menu items,
with the last being your destination. It navigates
directly from point to point. Before each turn
in the route, a turn page shows a guidance
message and a graphic of the turn. You can
view the turns at any time by pressing up or
down on the
Rocker
while the route is active.
• Both navigation methods change when you
select the Follow Roads option on the Routing
Setup Page. Both Go To navigation and point-
to-point routing become routes that allow you
to navigate using roads.
The routes use existing roadways (either those
in the basemap or from downloaded detail
mapping) to automatically calculate a route to
Setting up a
route
Routes
icon
32
eTrex Vista Cx Owner’s Manual
B
ASIC
O
PERATION
>
C
REATING
AND
U
SING
R
OUTES
Содержание eTrex Vista Cx eTrex Vista Cx hiking...
Страница 1: ...eTrex Vista Cx hiking companion owner s manual ...
Страница 111: ......


