

42
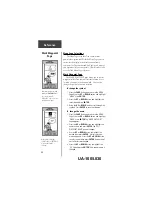
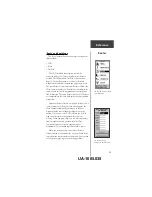
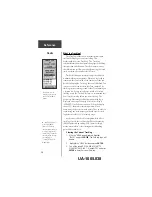
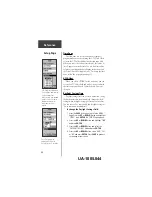
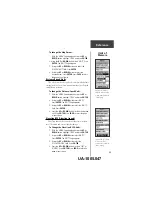
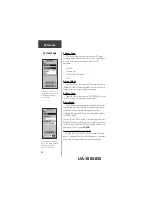
Time Zone
The time zone can be set to any one of eight pre-
programmed zones or by entering the UTC Time Offset
value in the UTC offset field below the time zone field.
When you select the 24 hour time format, the letters ‘lcl’
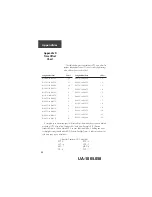
(local) appear next to the time. You can find time offset
values for your longitude by following instructions and
the Time Offset Chart (Appendix D). To change the time
zone, follow the steps given on page 15.
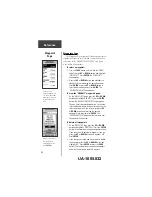
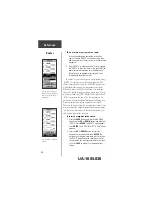
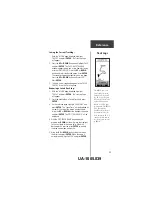
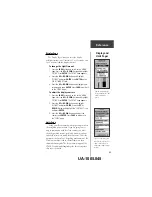
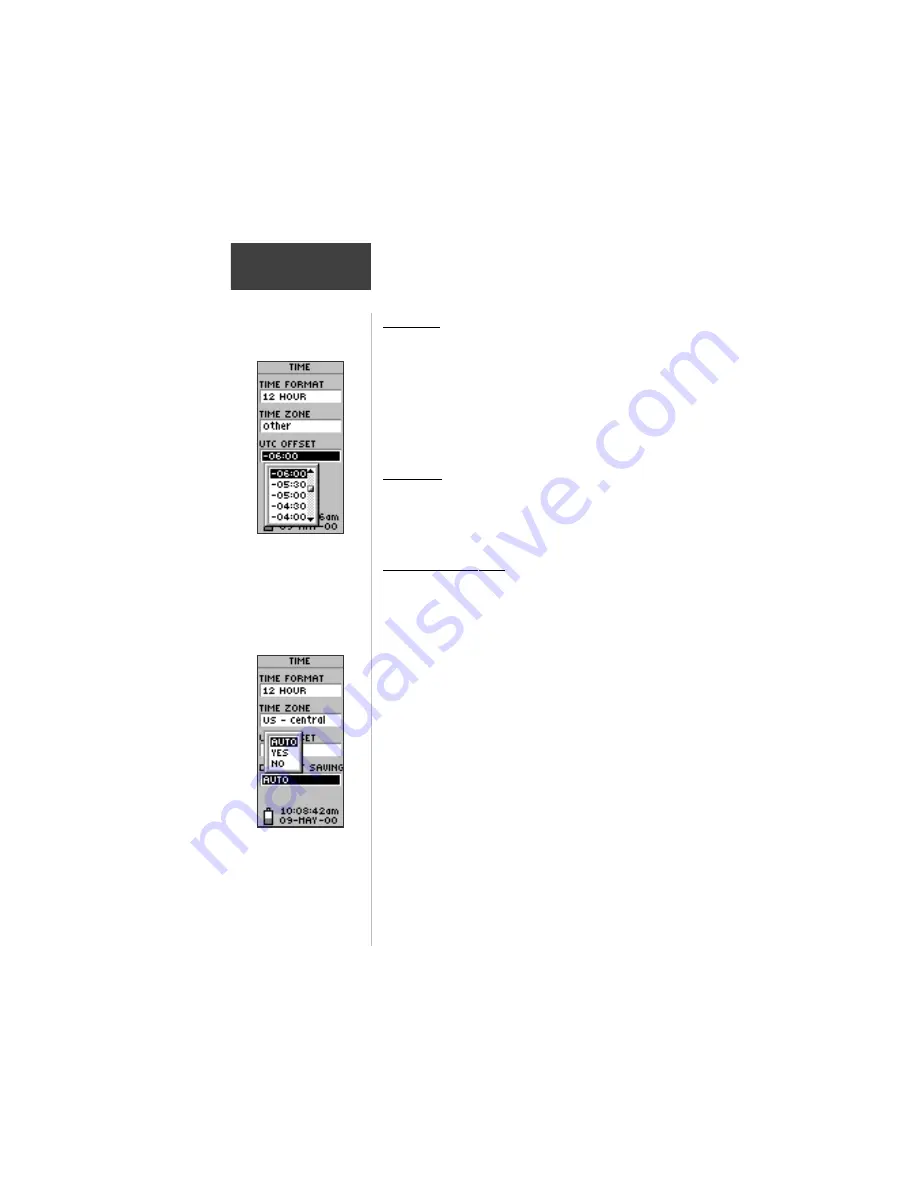
UTC Offset
When you select ‘OTHER’ for the time zone, you can
access the UTC Offset field and make a change to match
the time zone you selected. Other than that, you can’t
change it.
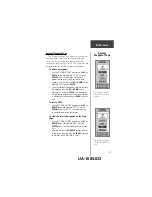
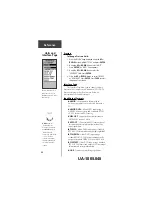
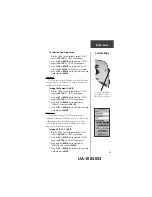
Daylight Savings Time
Daylight savings time can be set to ‘Automatic’ (using
the built-in almanac to automatically change the clock
settings when daylight savings goes into or out of effect).
You can choose ‘Yes’ to manually add daylight savings or
‘No’ to remain on standard time.
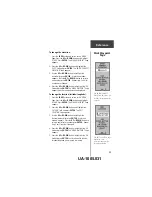
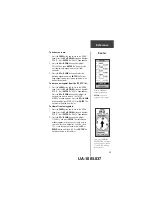
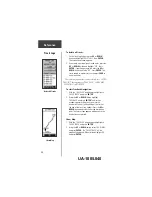
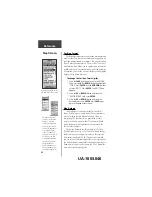
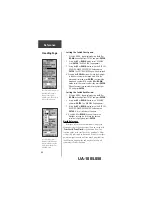
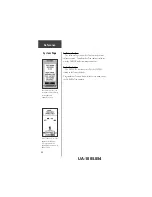
To change the Daylight Savings Field:
1. Press the
PAGE
Button and switch to the ‘MENU’
Page. Press the
UP
or
DOWN
Button and highlight
‘SETUP’. Press
ENTER
. The ‘SETUP’ Page appears.
2. Press the
UP
or
DOWN
Button and highlight ‘TIME’
and press
ENTER
.
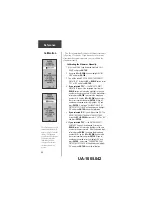
3. Press the
UP
or
DOWN
Button and select the
‘DAYLIGHT SAVINGS’ field and press
ENTER
.
4. Press the
UP
or
DOWN
Button, select ‘AUTO’, ‘YES’,
or ‘NO’ and press
ENTER
. Press
PAGE
to get back
to the page of your choice.
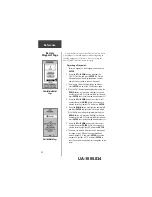
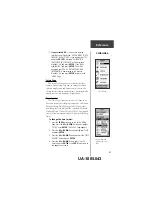
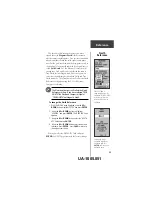
Setup Page
UTC stands for ‘Coordinated
Universal Time’ and replaced
Greenwich Mean Time
(GMT) as the World standard
for time in 1986. It is based
on atomic measurements
rather than the earth's
rotation.
Reference
The eTrex Summit can
automatically select the
Daylight Savings Time mode.
UA-1005.044


