


31
Monitoring
Timeline
Press the [
▶
] button on the remote control or move the cursor to the right of the screen to
display the timeline. Double-click the timeline to move to the video screen. Drag and drop it
to make backup or event search for the specified area.
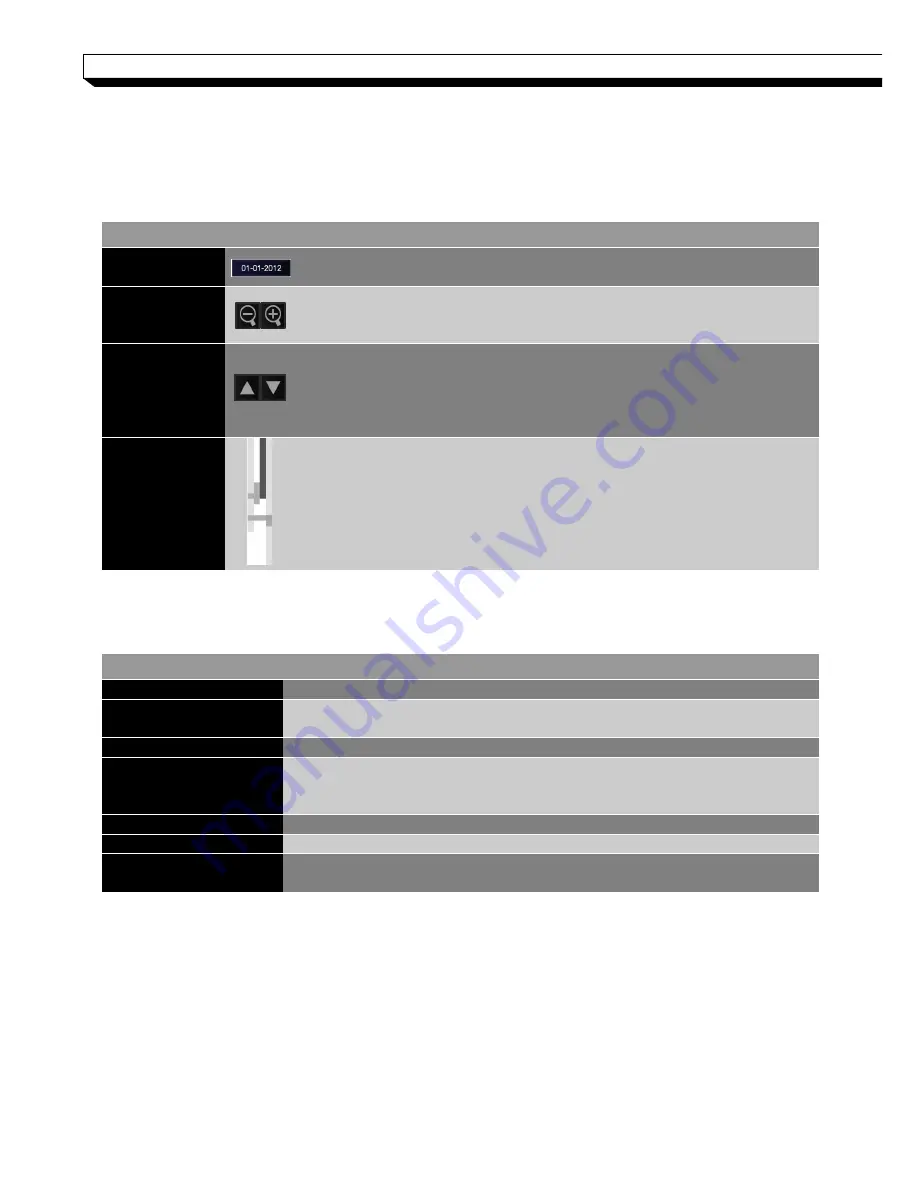
ITEM
Description
Timeline Date
Display the date of the current timeline.
Click this to select a desired date of the timeline.
Expand/
Collapse
the timeline
Expand or collapse the timeline.
Navigation thr
ough
Timeline
Navigate through the timeline.
You can also use the mouse wheel to do the navigation..
Timeline Bar
Display the recording data with time. The color of each bar indi
cates the following:
Green : Continuous Recording
Red : Alarm Recording
Blue : Motion Recording
Yellow: Panic Recording
Quick Menu
.
ITEM
Description
Channel No
Display the number of the current channel.
Play
Start playing the video of the selected channel from the specified t
ime.
Zoom
Zoom the video of the selected channel.
Snapshot Capture
Capture the current live video and save it in the .jpeg format.
Then, you can save the captured video in the HDD or export it to
an external USB memory device.
Audio ON/OFF
Turn on or off the audio signal of the selected channel.
Microphone ON/OFF
Turn on or off the microphone signal of the selected channel
ONE PUSH
Automatically adjust the focus.
It
’s available only if supported by the connected camera.


