25
Controller
Hardware and Accessories Setup and Utility
3.1
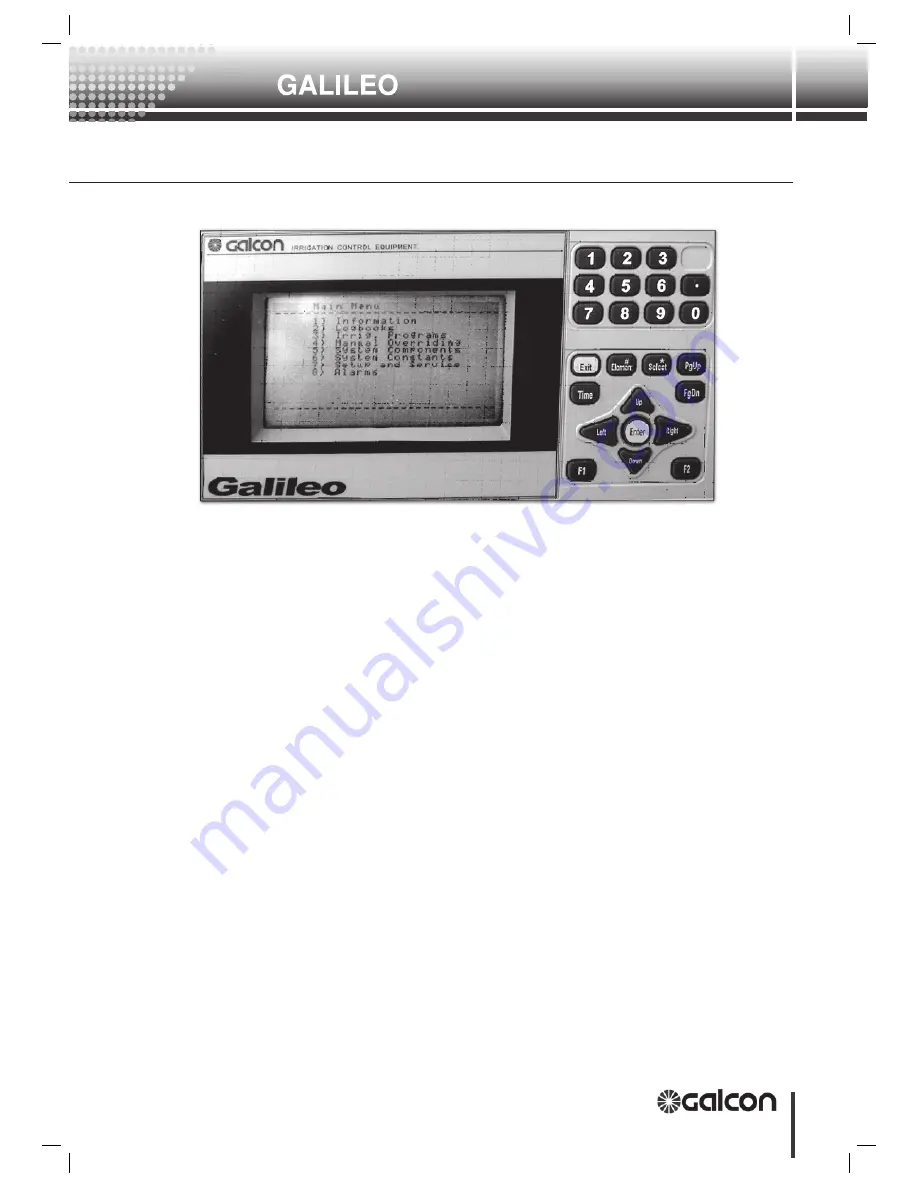
Galileo W Key-Board and Display:
3.1.1
The display:
The Galileo W models have wide displays with the following features:
3.1.1.1
12
rows
– 30 characters each.
3.1.1.2
Head
Row
– Shows the name and location of the “Menu” screen.
For example:
“Irrigation Programming”, 222. In Element Screen the name of the element and
it’s number appears followed by the symbol “#” and the top row number.
3.1.1.3
The working space:
Shows the headers of the menu or the properties of
the element. Each property is one row and includes a number, a name and the
value for information or programming.
3.1.1.4
The bottom row
is for special announcements such as “Save Last Changes
* Yes/No” or “Locked Menu - Use System Secure”.
3.1.2
Data Base:
The construction of the data base is according to Elements. In order to
access certain properties of an element you navigate through the different menus or
access directly by the access code.
3.1.2.1
When the controller is turned on or when there is no click on the key board for
30 minutes the display changes into the “Start Menu” in which information and
alarm messages of the system are shown.
3.1.2.2
In the case of more than 12 messages displayed the screen can be scrolled by
using the arrows and the “PgUp” and “PgDn” keys
3.1.3
Navigation via the menus:
Operation of the Galileo applications (Open Field,
GreenHouse etc.) is described in the Program Operator’s Manual. A sticker with the
flow chart of the menu is located in the inside of the cover.
There are two ways to access the required screen:
Key Boards And Displays .3
Содержание Galileo
Страница 1: ...GALILEO SETUP Hardware and Accessories Setup and Utility...
Страница 2: ......
Страница 11: ...11 Controller Hardware and Accessories Setup and Utility Hardware Description 2 2 1 4 The Power Supply...
Страница 24: ...24 Controller Hardware and Accessories Setup and Utility Galileo 32 board 2 Hardware Description...
Страница 66: ...AT1052...


