p.41
Maintenance for Your Drive
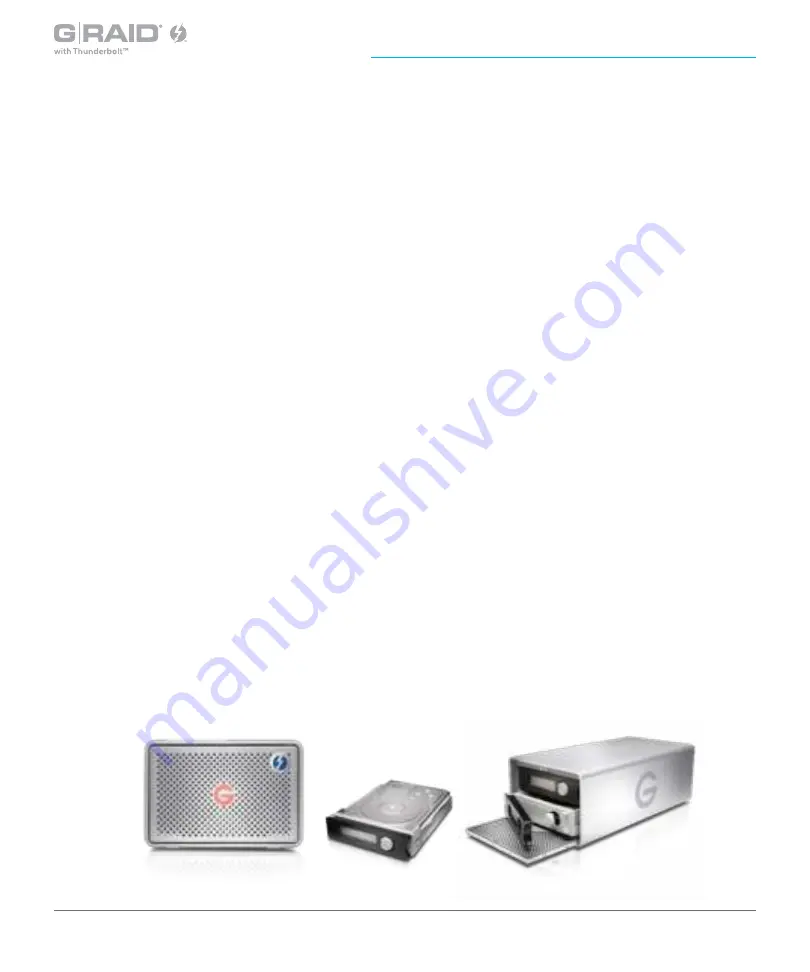
Replace a Failed Drive Module
The internal components of G-RAID with Thunderbolt continually monitor the health of each of
its disk drives. In the event of a drive failure, a visual alarm will appear. Read more in
Activity and
Failure LEDs
.
RAID 0:
If G-RAID with Thunderbolt was configured in RAID 0 (Performance) mode, a drive
failure will result in data loss.
RAID 1:
If G-RAID with Thunderbolt is configured as RAID 1, a single drive failure will not result
in data loss. However, the array is now in a degraded or unprotected state, and the failed drive
should be replaced as soon as possible to avoid data loss.
Read more in
Supported RAID Modes
.
Follow the steps below to identify and replace a failed drive.
1. With the unit powered on, the flashing RED LED will indicate which drive module failed. For
more information, see
Activity and Failure LEDs
.
2. Remove the failed drive by pressing the module release button, and gently sliding the drive
module out of the enclosure.
NOTE:
During the 3-Year warranty period, contact G-Technology
Technical Support
for
assistance with troubleshooting your drive and determining if a replacement is required for your
defective drive module.
3. Replace the failed drive with a new drive module. Secure it in place by pushing in the drive
and latching the handle.


