55
T r o u b l e s h o o t i n g
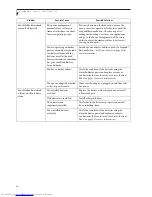
The batteries seem to
discharge too quickly.
You are running an application
that uses a great deal of power
due to frequent hard drive
access or DVD/CD-RW drive
access, use of a modem card
or a LAN PC card.
Use both the primary battery and an optional
second battery and/or use a power adapter for this
application when at all possible.
The power savings features
may be disabled.
Check the power management and/or setup utility
settings in the Power Savings menu and adjust
according to your operating needs.
The brightness is turned all
the way up.
Turn down the brightness adjustment. The higher
the brightness the more power your display uses.
The batteries are very old.
Replace the batteries.
The batteries have been
exposed to high temperatures.
Replace the batteries.
The batteries are too hot
or too cold.
Restore the notebook to normal operating tempera-
ture. The Charging icon on the Status Indicator
panel will flash when the battery is outside its
operating range.
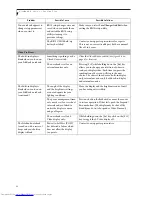
Shutdown and Startup Problems
The Suspend/Resume/
Power On button does not
work.
The Suspend/Resume/Power
On button is disabled from the
Advanced submenu of the
Power menu of the setup
utility.
Enable the button from the setup utility.
You did not hold the button
in long enough.
Hold the button longer. This may need to be a few
seconds if your application is preventing the CPU
from checking for button pushes.
There may be a conflict with
the application software.
Close all applications and try the button again.
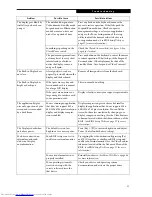
The system powers up, and
displays power on informa-
tion, but fails to load the
operating system.
The boot sequence settings
of the setup utility are not
compatible with your
configuration.
Set the operating source by pressing the [ESC] key
while the Fujitsu logo is on screen or use the [F2]
key and enter the setup utility and adjust the source
settings from the Boot menu. (See BIOS Setup
Utility on page 27 for more information)
You have a secured system
requiring a password to load
your operating system.
Make sure you have the right password. Enter the
setup utility and verify the Security settings and
modify them as accordingly. (See BIOS Setup Utility
on page 27 for more information)
Internal hard drive was
not detected.
Use the BIOS setup utility or Primary Master
submenu, located within the Main menu, to try to
auto detect the internal hard drive.
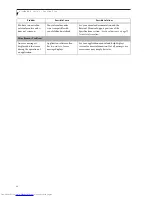
An error message is
displayed on the screen
during the notebook
(boot) sequence.
Power On Self Test (POST) has
detected a problem.
See the Power On Self Test (POST) messages to
determine the meaning and severity of the problem.
Not all messages are errors; some are simply status
indicators. (See Power On Self Test Messages on
page 59 for more information)
Problem
Possible Cause
Possible Solutions
Содержание LifeBook P-2040
Страница 7: ...1 Preface ...
Страница 8: ...L i f e B o o k P S e r i e s ...
Страница 10: ...2 L i f e B o o k P S e r i e s S e c t i o n O n e ...
Страница 11: ...3 2 Getting to Know Your LifeBook Notebook ...
Страница 12: ...4 L i f e B o o k P S e r i e s S e c t i o n T w o ...
Страница 31: ...23 3 Getting Started ...
Страница 32: ...24 L i f e B o o k P S e r i e s S e c t i o n T h r e e ...
Страница 40: ...32 L i f e B o o k P S e r i e s S e c t i o n T h r e e ...
Страница 41: ...33 4 User Installable Features ...
Страница 42: ...34 L i f e B o o k P S e r i e s S e c t i o n F o u r ...
Страница 55: ...47 5 Troubleshooting ...
Страница 56: ...48 L i f e B o o k P S e r i e s S e c t i o n F i v e ...
Страница 70: ...62 L i f e B o o k P S e r i e s S e c t i o n F i v e ...
Страница 71: ...63 6 Care and Maintenance ...
Страница 72: ...64 L i f e B o o k P S e r i e s S e c t i o n S i x ...
Страница 76: ...68 L i f e B o o k P S e r i e s S e c t i o n S i x ...
Страница 77: ...69 7 Specifications ...
Страница 78: ...70 L i f e B o o k P S e r i e s S e c t i o n S e v e n ...
Страница 83: ...75 8 Glossary ...
Страница 84: ...76 L i f e B o o k P S e r i e s S e c t i o n E i g h t ...
Страница 92: ...84 L i f e B o o k P S e r i e s ...

