Using Scan to PC
51
IE
IE
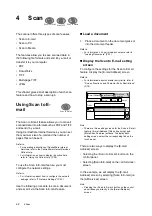
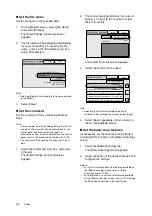
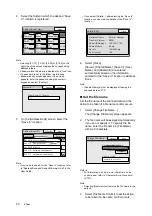
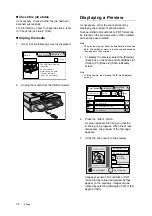
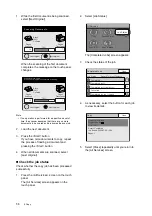
The [File Name Conflict] screen appears.
4.
Select the desired option from [Cancel Job],
[Change Name and Save], and [Overwrite].
In case of a file name conflict, [Cancel Jobs]
will not save the file.
[Change Name and Save] will save the file,
but will add a number between 0001 and
9999 to the end of its name.
[Overwrite] will save the file by overwriting the
file of the same name.
5.
Select [Save].
6.
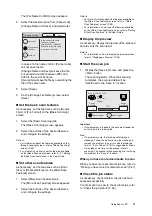
On the [Change File Name] screen, select
[Save].
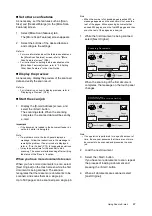
Set the basic scan features
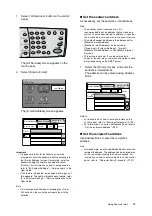
As necessary, set the features such as [Output
Color] or [File Format] on the [Basic Scanning]
screen.
1.
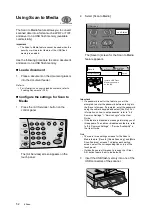
Select the [Basic Scanning] tab.
The [Basic Scanning] screen appears.
2.
Select the buttons of the desired features,
and configure the settings.
Refer to
• For information about the features available on the
[Basic Scanning] screen, refer to "[Basic Scanning]
screen" (P.85).
• For information on how to set the features available
on the [Basic Scanning] screen, refer to "2.7 Setting
the Basic Scan Featutures" in the User Guide.
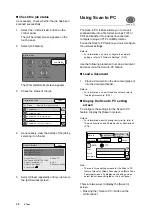
Set other scan features
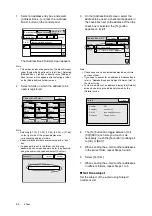
As necessary, set the features such as [Scan
Size] or [Reduce/Enlarge] on the [More Scan
Features] screen.
1.
Select [More Scan Features] tab.
The [More Scan Features] screen appears.
2.
Select the buttons of the desired features,
and configure the settings.
Refer to
• For more information about the features available on
the [More Scan Features] screen, refer to "[More
Scan Features] screen" (P.86).
• For information on how to set the features available
on the [More Scan Features] screen, refer to "Setting
Other Scan Features" in the User Guide.
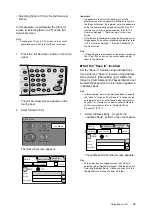
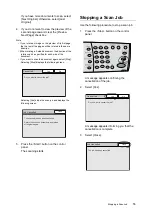
Display the preview
As necessary, display the preview of the scanned
data to verify the scan result.
Refer to
• For information on how to display the preview screen,
refer to "Displaying a Preview" (P.54).
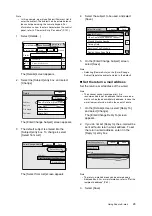
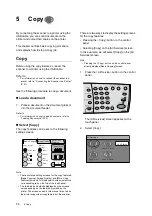
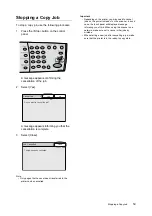
Start the scan job
1.
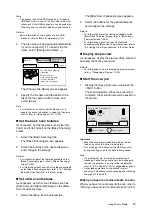
Display the [Save In] screen and press the
<Start> button.
The scanning starts. When the scanning
completes, the scanned data will be
transferred to the “Save In” location.
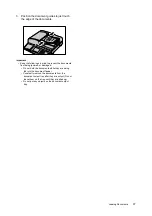
Important
• If the document is loaded in the document feeder, do
not hold it while it is being fed.
Note
• If a problem occurs, the touch panel displays a
message. Follow the instructions in the message to
remedy the problem. In an error code is displayed,
refer to "Error Codes" (P.72) for suggested solutions.
• It may take some time for the scanner to start
scanning. The scanner starts scanning after verifying
the status of the "Save In" location.
When you have more documents to scan
When you have more documents to scan, refer to
"When you have more documents to scan" (P.47).
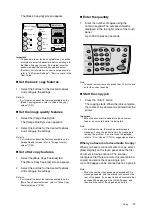
Check the job status
As necessary, check whether the job has been
scanned successfully.
For information on how to check job status, refer
to "Check the job status" (P.48).
File Name Conflict
Cancel
Save
Cancel Job
In the case of file name
conflict, a number
between 0001 - 9999 will
be added to the file name
to save as a new file.
Change Name
and Save
Overwrite
Next Original
Last Original
Save in: 192.168.1.100
70%
7
10
Pages
Scanned
Pages
Transferred
A4
Full Color
200dpi

