


44
Powering on, initial steps
Plug in the mains
cable and turn on
the device
WARNING!
Danger from electrical current.
This may result in serious injuries or death.
► Only use the supplied mains cable to connect to the mains.
► Only connect the mains cable to a properly grounded socket.
CAUTION!
Risk of poor acclimatization of components by connecting the device to the mains
too early.
This can result in damage to the device
► Do not connect the device to the mains and switch it on until 4 hours after the setup
has been completed.
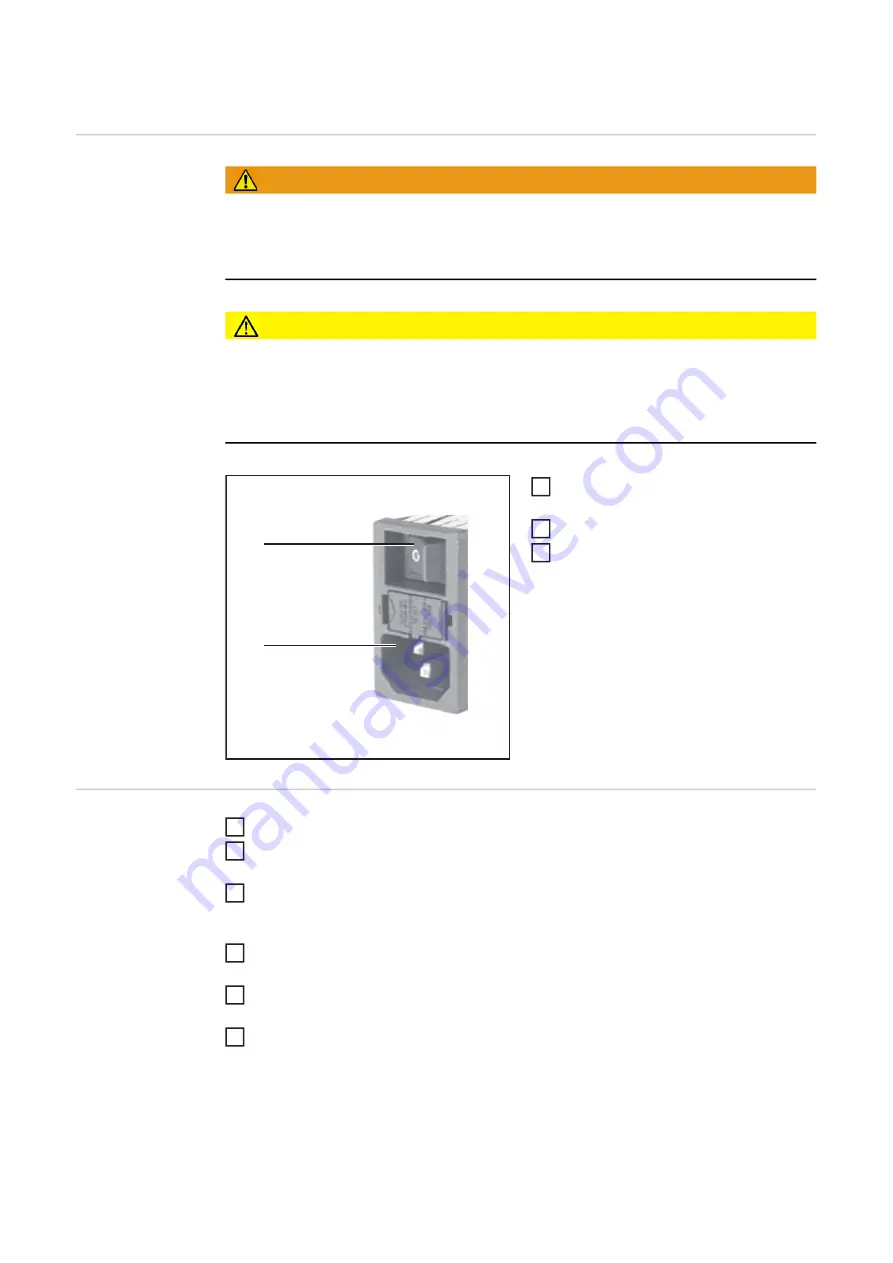
Plug the mains cable into the connec
-
tion (1)
Plug the mains cable into a socket
Switch the power switch (2) to the -I-
position
Initial steps
Confirm the license agreement displayed
Sett the time and date
-
Follow the instructions on the touch screen
Perform sensor registration
-
Follow the instructions on the touch screen
-
Create at least one NFC key for administrators
Define the design / camera position:
-
Follow the instructions on the touch screen
Perform room calibration:
-
Perform component calibration:
-
The Virtual Welding system is now fully functional.
(1)
(2)
1
2
3
1
2
3
4
5
6
Содержание Virtual Welding 2.0
Страница 2: ...2...
Страница 6: ...6...
Страница 13: ...General information...
Страница 14: ......
Страница 20: ...20 Robotics function package MMA function package...
Страница 21: ...Operating controls connections and mechanical components...
Страница 22: ......
Страница 28: ...28 2 Ventilation openings at the rear of the device 2 2 2...
Страница 29: ...Installation...
Страница 30: ......
Страница 34: ...34 Top of StandUp Terminal side view 2 mounting bracket 3 screws with washers 2 3 3 3 3 2...
Страница 45: ...Commissioning...
Страница 46: ......
Страница 62: ...62 Give the curriculum a name Select button 21 The new curriculum is displayed in the overview 22 21 25 26 22...
Страница 69: ...Ghost...
Страница 70: ......
Страница 72: ...72 Use the arrow keys to make the desired settings Select button 4 Select button 5 4 4 5 5 6...
Страница 74: ...74...
Страница 75: ...Available modes on the Virtual Weld ing system...
Страница 76: ......
Страница 84: ...84...
Страница 85: ...Calibration...
Страница 86: ......
Страница 90: ...90 Select tab 3 Select button 4 Follow the instructions on the touch screen glasses 4 5 6...
Страница 92: ...92 Follow the instructions on the touch screen 6...
Страница 94: ...94 Follow the on screen instructions 6...
Страница 95: ...Other settings...
Страница 96: ......
Страница 103: ...103 EN US Select button 3 Select tab 4 Select button 5 Select and import the desired file 5 5 4 6 7 8...
Страница 104: ...104...
Страница 105: ...Setup Menu...
Страница 106: ......
Страница 127: ...127 EN US Make the desired settings Select button 2 2 3 4...
Страница 128: ...128...
Страница 129: ...Troubleshooting maintenance and disposal...
Страница 130: ......
Страница 135: ...Update...
Страница 136: ......
Страница 138: ...138 Use button 3 to select the iso file that is located in the update folder 3 VWUPDATE 10...
Страница 139: ...139 EN US Select GPT with button 4 4 VWUPDATE 11...
Страница 140: ...140 Select UEFI or BIOS with button 5 Depending on the system one of the two options is available 5 VWUPDATE 12...
Страница 141: ...141 EN US Enter VWUPDATE in field 6 6 VWUPDATE 13...
Страница 142: ...142 Select Large FAT32 Default with button 7 select 32 kilobites default with but ton 8 VWUPDATE 7 8 14...
Страница 143: ...143 EN US Select Checkbox 9 and 10 VWUPDATE 9 10 15...
Страница 144: ...144 Select button 11 VWUPDATE 11 16...
Страница 147: ...147 EN US BIOS menu Use the arrow keys on the keyboard to select the Save Exit menu item 1 1 5 2...
Страница 149: ...Technical data...
Страница 150: ......


