


GB
5
Data Tank Gateway in everyday use
1.2 Press 'Sign-up now!' located next to the Login button. Enter the required information
on the next page and click 'Sign-up now!'.
1.3 You will then receive an e-mail from No-IP, where you are asked to activate your account
(This may take a few minutes.). Click the link in the e-mail to activate your account.
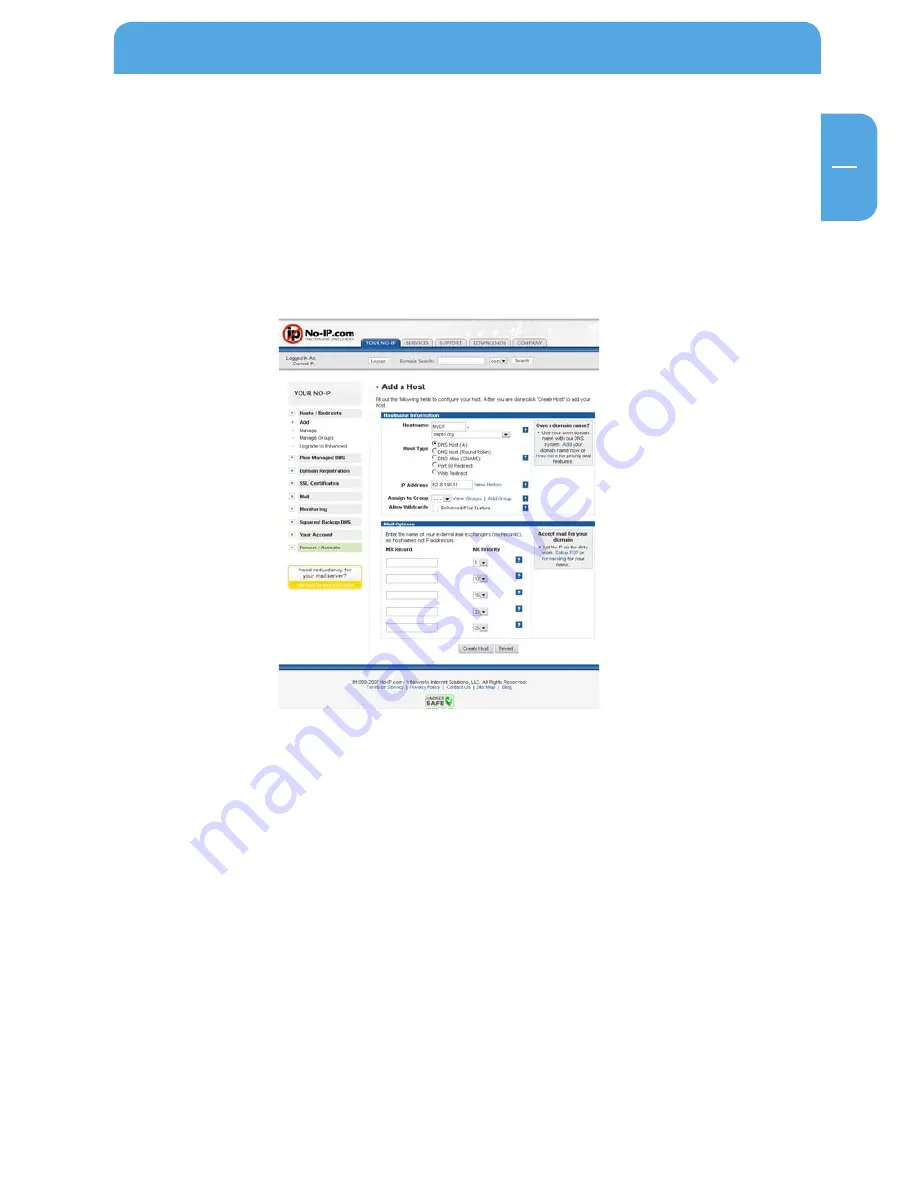
1.4 Log on to your No-IP account and create a host.
1.5 Adding a new host
a. Select 'Host/Redirects -> 'Add' on the left section of the screen.
b. Enter the required hostname in the specified box and select a domain name such
as 'zapto.org'. Choose a different host or domain name if the one you have entered
is not available.
c. Click 'Create Host' and the new host has been added.
d. To view your account settings, click 'Host/Redirects' ->'Manage'.
Содержание Data Tank Gateway WLAN
Страница 1: ...Rev 711 DATATANKGATEWAYWLAN EXTERNAL DUAL DISK NETWORK HARD DRIVE 3 5 W LAN WIN MAC LINUX USER MANUAL...
Страница 30: ...30 GB 3 Freecom Data Tank Gateway Chapter 3 Data Tank Gateway Functions 3 1 Overview...
Страница 31: ...31 GB 3 Data Tank Gateway Functions...
Страница 32: ...32 GB 3 Freecom Data Tank Gateway...


