OPERATION
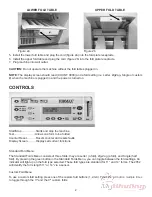
1. Plug in cord and turn power on.
2. Lift load handle.
3. Load neatly stacked and squared paper onto the feed table.
4. Adjust the side guides until they make light contact with the squared paper edges.
5. Make sure covers are closed properly.
6. Select the fold-type and press the test button to verify fold.
7. Press the start button to begin operation.
8. Set speed to desired setting.
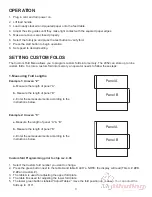
SETTING CUSTOM FOLDS
Example 1: Uneven “Z”
a.
Measure the length of panel “A” & “B”
b.
Measure the length of panel “B”
c.
Enter these measurements according to the
instructions below.
Example 2: Uneven “C”
a.
Measure the length of panel “A”.
b.
Measure the length of panel “B”
c.
Enter these measurements according to the
instructions below.
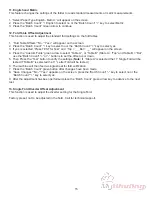
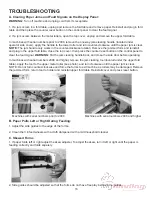
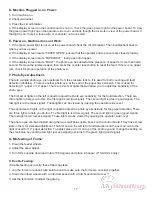
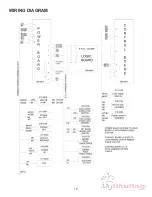
1. Measuring Fold Lengths
Panel A
Panel B
Panel A
Panel B
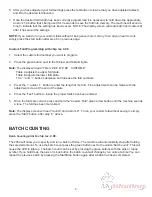
Custom fold Programming prior to chip rev. 4.08
1. Select the Custom fold number you want to change.
2. Press the green button next to the table A and table B LED’s. NOTE: the display will read (Tbls A: #.## B:
#.## and custom #).
3. The table A is used for adjusting the upper fold plate.
4. The table B is used for adjusting the lower fold plate.
5. The lower green buttons labeled “Adjust Tables’” move the fold position up or down. You can adjust the
folds up to .010”.
The Custom Fold Menu allows you to program custom folds into memory. The 2052 can store up to nine
custom folds. To store a custom fold into memory an operator needs to follow these steps:
3
Содержание FD 2052
Страница 1: ...Provided By http www MyBinding com http www MyBindingBlog com Formax FD2052 AutoSeal Service Manual...
Страница 2: ...FD 2052 AutoSeal MAINTENANCE MANUAL FOURTH EDITION 12 2006...
Страница 21: ...WIRING DIAGRAM 18...
Страница 35: ...32 16 17 34 24 10 4 28 6 7 13 14 5 26 33 35 15 27 25 29 22 2 3 11 27 12 8 32 23 21 9 31 21 18 19 20 30 1...
Страница 37: ......
Страница 38: ......


