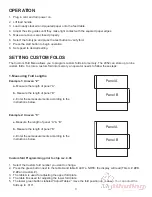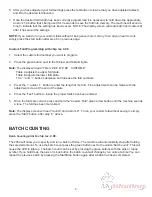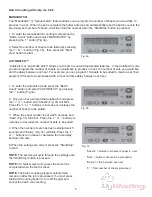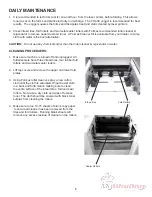
To enter the diagnostic mode press and hold the “Custom Fold” green arrow button and turn the
machine on. Continue to press the green arrow button until “Diagnostic Mode” appears on the screen.
The following tests will be able to be performed.
1. Sensor Test
This mode is used to verify the inputs from various sensors on the machine including paper length, width and
multi-feed sensors.
1. “Check Sensors” “No-” “Yes+” will appear on the screen.
2. Press the “Batch Count” “-” button to select no or the “Batch count” “+” button to select yes.
3. To test the paper out switch press the switch down, to test the 14” paper length and exit sensors run a piece
of white paper over the photo-eyes and to test the 17” paper sensor move the side guides out.
4. After the check has been performed press the “Batch Count” green arrow button to advance to the next test.
2. Button Test
This mode is used to verify that the control panel buttons are working.
1. “Check Buttons” “No-” “Yes+” will appear on the screen.
2. Press the “Batch Count” “-” button to select no or the “Batch Count” “+” key to select yes.
3. If yes is selected press each button to verify that they are working properly.
4. After the check has been performed press the “Batch Count” green arrow button to advance to the next
test. NOTE: the arrow button has to be held down to advance as a test will be performed on the “Batch
Count” button first.
3. Speed Pot Test
This mode is used to verify the speed percentage.
1. “Check Speed Pot” “No-” “Yes+” “Speed = _%” will appear on the screen.
2. Press the “Batch Count” “-” key to select no or the “Batch Count” “+” key to select yes.
3. If yes is selected slide the speed control lever up and down to verify speed percentage.
4. After the check has been performed press the “Batch Count” green arrow key to advance to the next test.
4. Encoder Test and Adjustment
This mode is used to verify that the fold plate encoder is working properly.
1. “Check Encoders” “No-” “Yes+” will appear on the screen.
2. Press the “Batch Count” “-” key to select no or the “Batch count” “+” key to select yes. If yes is selected
“Top = __ Bot = __” will appear on the screen “Top” = Top fold plate, “Bot” = Bottom fold plate).
3. To make adjustment turn the fine tuning knob.
4. When the adjustment has been made press the “Batch Count” green arrow to save.
5. After the check has been performed press the “Batch Count” green arrow key to advance to the next test.
5. Fold Plate Test
This mode checks to see that the fold plate sensore are working properly.
1. “Test Fold Plates” “No-” “Yes+” will appear on the screen.
2. Press the “Batch Count” “-” key to select no or the “Batch Count” “+” key to select yes.
3. “Press the Wait to Advance Each Step” appears on screen press the “Batch Count” green arrow to
advance.
Diagnostic tests with chip rev. 4.08
13
Содержание FD 2052
Страница 1: ...Provided By http www MyBinding com http www MyBindingBlog com Formax FD2052 AutoSeal Service Manual...
Страница 2: ...FD 2052 AutoSeal MAINTENANCE MANUAL FOURTH EDITION 12 2006...
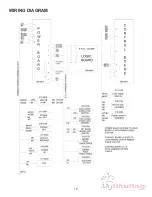
Страница 21: ...WIRING DIAGRAM 18...
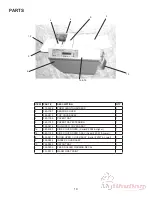
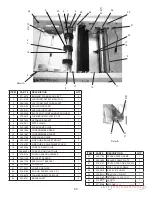
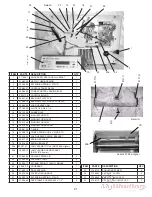
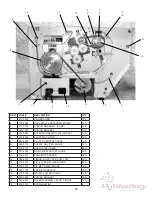
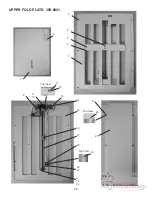
Страница 35: ...32 16 17 34 24 10 4 28 6 7 13 14 5 26 33 35 15 27 25 29 22 2 3 11 27 12 8 32 23 21 9 31 21 18 19 20 30 1...
Страница 37: ......
Страница 38: ......

