88
Ph
one
bo
ok
1
Bring up/Select an item to be stored
i
(
)
Add to phonebook
p
To store the address of the sender (or of another
recipient of simultaneous mail) of the received mail or
the destination address of the sent mail into the
Phonebook, select “Store address”.
When the addresses of the sender and another
recipient of simultaneous mail are found or the multiple
destination addresses are found, the display for
selecting an address appears. Use
B
o
to select the
mail address or phone number you want to store.
p
To store the results scanned by Text Reader in a
Phonebook entry, select “Store phone No.” or “Store
mail add.”.
p
To store a still image in the Phonebook, select
“Phonebook” from “Set display”.
p
When “Add to phonebook” is displayed on the Scanned
Code Result display for Bar Code Reader, select “Add
to phonebook”; then other information in the scanned
code than the phone number or mail address is entered
into each field.
2
Phone or UIM
Select a storing method.
New
. . Go to step 2 on page 84.
Add
. . . Adds data to the existing Phonebook entry. When
storing data on the UIM, “Overwrite” is displayed.
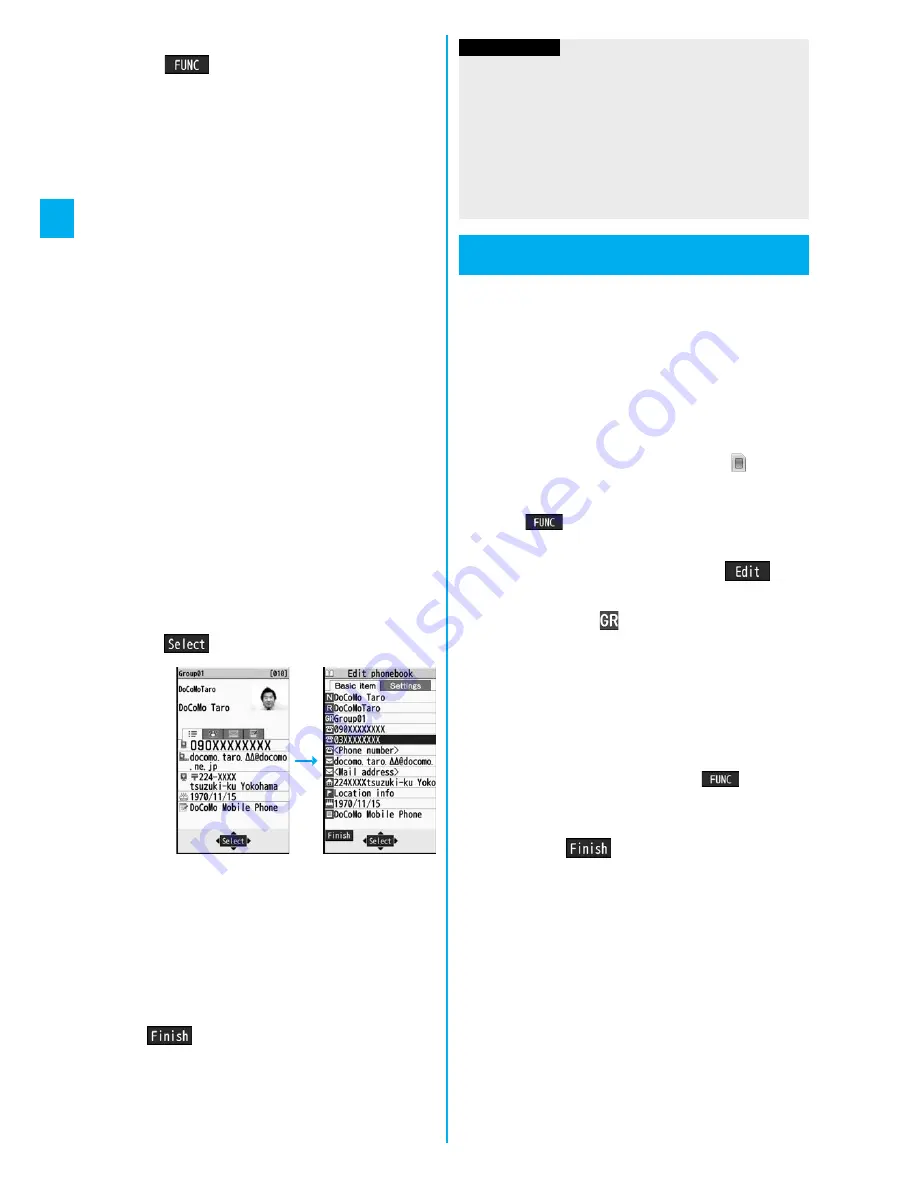
3
Select a search method
Search the Phonebook
Select a Phonebook entry to be stored
O
o
(
)
The phone number or mail address is entered
automatically.
p
See step 2 on page 84 to edit other items in the
Phonebook entry.
p
When you store into the FOMA phone’s Phonebook,
you can remain the original entry and store a new entry
into a different location by changing the memory
number.
4
l
(
)
YES
p
If you store the entry in the UIM Phonebook, select
“Overwrite” to overwrite the original entry, or select
“Add” to store it as a new entry.
You can sort Phonebook entries into groups such as
“Company”, “Friend” etc. according to your
relationship, or “Baseball”, “Ceramic art” etc.
according to your interest. You can use the sorted
Phonebook entries as separate Phonebooks for easy
access to the entry you want to search for. You can set
a ring tone, vibration pattern, or illumination by group.
1
m
Phonebook
Group setting
p
The groups on the UIM are indicated by “
”.
p
To reset the group names and respective settings by
group, which have already been stored, press
i
(
), select “Reset group”, and then select
“YES”.
2
Highlight a group and press
l
(
)
Select an item to be set
Set the contents.
p
When you select “
Group name”, enter a group
name. You can store up to 10 full-pitch/21 half-pitch
characters. However, you can store only up to 10
characters (regardless of full-pitch or half-pitch
characters) when you enter both full-pitch and half-pitch
characters for a UIM group name.
p
See step 2 on page 84 for the operations of the other
items. However, you cannot set for groups on the UIM.
p
Select a stored group, or press
i
(
) and select
“Check setting” to check its settings. However, you
cannot check the settings of the groups on the UIM.
3
Press
l
(
).
Information
p
The Phonebook entry does not store the information of
“Notify caller ID” included in Redial/Dialed Calls. To set
Caller ID Notification, add “186”/“184” to the phone number
and store it.
p
Characters that cannot be stored may be replaced by
spaces or deleted, and then stored.
p
You may not be able to store the information from some
sites into the Phonebook.
Group Setting
Setting Groups
<
>
Содержание P905i
Страница 98: ...96 ...


