


Function Menu
Function Menu Organization
Function Menu
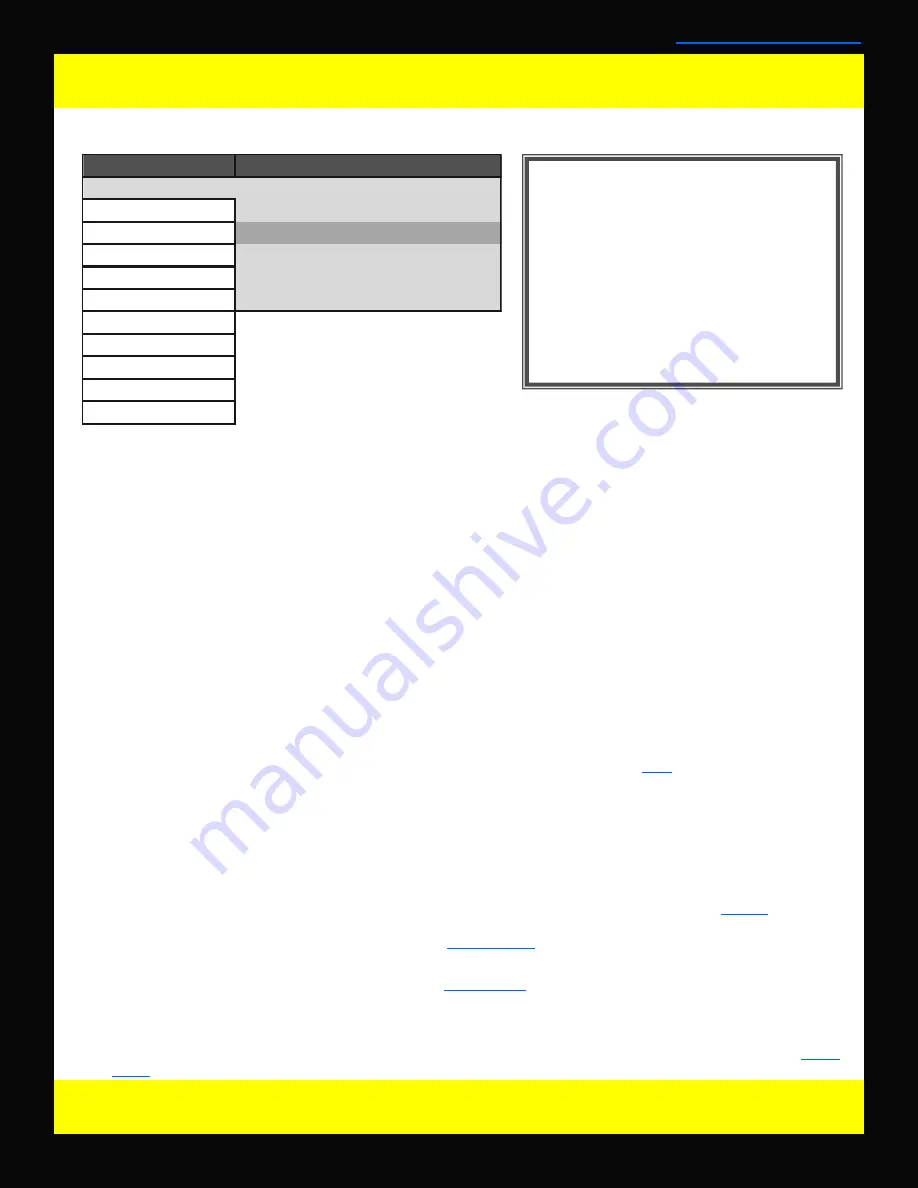
The Function Menu allows you to assign user selectable functions to any of the 5 function buttons (F1, F2, F3,
F4, & F5) on the monitor keypad. Many monitor features listed as assignable options in the function menu are
also selectable via the embedded menus and are present simply to provide an option for faster, single button
press, access to the desired function. Other features listed require a Function Key for activation , but may have
associated customizable settings that can be found in other menus. To assign a function to a function key high-
light one of the 5 Function lines and press ENTER. A list of assignable functions will appear. Select the desired
function with the UP and DOWN buttons and press ENTER to assign that function to the corresponding Function
Key. The Function Display option listed under Function 5 gives you the option to have a temporary confirmation
window appear on screen after a function key is pressed that will ID the function that was turned On/Off. A re-
view of assignable functions is listed below.
Assignable Functions
Scopes & VU Meters 1, 2, 3
These functions toggle On/Off a Scopes & VU Meters profile. Three profile slots are available from the
Scopes & VU Meters Menu and each profile can bet set to a specific function key allowing you to instantly
toggle between various types of Scope and/or Audio Level Meter configurations. Please note that if you have
set both Scopes Windows to the Off position in the Scopes & VU Meters menu nothing will appear on screen
when you toggle this function. More information on Scope profiles can be found
here
.
Cross Hatch
The Cross Hatch function toggles on/off the onscreen display of a graphical cross hatch overlay.
Blue Only
This function activates the monitor’s Blue Only mode.
Marker 1, 2, 3
These functions activate the onscreen display of the preset Area, Safety, Custom Graticules, or Active
Boundary Markers as set in the Marker Profiles. Marker presets can be customized via the
Marker
menu. By
utilizing this function you can toggle on/off your selected markers with a single function key after setting up
your marker preferences in the Marker menu (see
Marker Menu
section of this manual for more details).
Overscan
The Overscan function is selectable both via the
Video Menu
or an assignable function key. The Overscan
function can work with 1:1 Pixel mapping mode On or Off. With 1:1 Pixel to Pixel mapping mode turned off
the Overscanned image is scaled full screen. With 1:1 Pixel to Pixel mapping mode turned on the image re-
mains unscaled, but the area lying outside of the Active Scan area is blacked out. This blacked out area rep-
resents the same area not visible with Pixel to Pixel mode off. For details on Overscan mode see the
Video
Menu
section of this manual.
8
© 2011 Flanders Scientific, Inc.
*NOTE: Many features (Waveform, Vector
Scope, Audio Level Meters, etc.) require a
function key in order to operate. Some
menus (such as the Scopes & VU Meters
menu) only set your display preferences
while a corresponding function key must
be assigned to turn the feature on and
off. If you are having trouble with a moni-
tor feature make sure you have assigned
the proper function key and any corre-
sponding menu settings.
Back to Table of Contents
Main Menu
Function
Function 1
Scopes & VU Meters 1
Scopes & VU-Meters
Function 2
Scopes & VU Meters 2
Video
Function 3
Scopes & VU Meters 3
Audio
Function 4
Marker
Marker
Function 5
Measurment
System
Function Display
On
Alarm
OSD
GPI
Display Alignment
System Status
Function


