517804 D
30
6.4
To change Measured Fill. (Products before January 2009)
Press the MEASURED FILL button. The default quantity is 250 mls/8flozs.
To change the quantity, press the MEASURED FILL button again. This will change the quantity to
300mls/10flozs.
Pressing the button once more will change to the jug icon 1litre/1quart.
The water-dispensing icon will animate when the water is being dispensed.
Note: After dispensing, the measured fill will return to its default position of 8flozs.
6.5
Water Filter and Cartridge
The product is supplied with a water filter and cartridge. It is recommended that the filter be mounted in a
vertical position. Where the filter is positioned is up to the customer.
The replacement icon will appear and blink when the filter needs to be replaced. This is approximately every 6
months.
6.6
Changing The Water Filter
•
As the filter has an auto cut out for the water there is no need to turn the water off.
•
Grasp and firmly twist the cartridge in an anticlockwise direction (to the left when installed in the
recommended orientation).
•
Pull the cartridge away from the filter head (down when installed in the recommended orientation).
•
Discard the old filter.
•
Remove the protective cap on the spigot on the head of the new cartridge.
•
Push the cartridge upwards towards the head while rotating it in a clockwise direction. (To the right when
installed in the recommended orientation.)
•
Reset the filter icon on the display (this will be set to remind the customer the filter is due to be replaced.)
6.7
To Reset Filter Icon
•
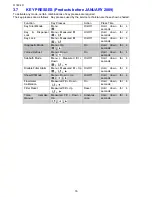
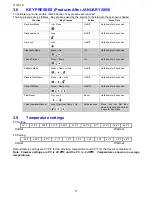
Press the LOCK and UP button for 4 seconds to reset the “Filter monitor”.
Note: Do not reset the monitor before the filter is changed, or monitoring will be inaccurate.
6.8
To Disable Filter Alarm
Disable the alarm if no filter is to be fitted.
•
Press and hold the
LOCK
button, and press and hold the
MENU
and
UP
buttons for 4 seconds to turn this
feature on/off.
Содержание E522BLXFDU
Страница 2: ......
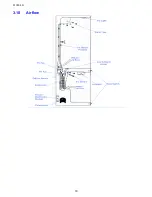
Страница 18: ...517804 D 18 3 10 Airflow...
Страница 32: ...517804 D 32 7 WIRING DIAGRAMS...

