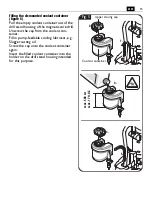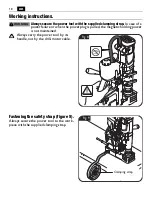
17
en
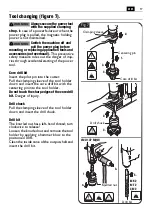
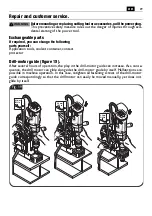
Tool changing (figure 7).
Always secure the power tool
with the supplied clamping
strap.
In case of a power failure or when the
power plug is pulled, the magnetic holding
power is not maintained.
Switch the machine off and
pull the power plug before
mounting or replacing application tools and
accessories (not overhead!).
This preventive
safety measure rules out the danger of inju-
ries through accidental starting of the power
tool.
Core drill bit
Insert the pilot pin into the cutter.
Pull the clamping sleeve of the tool holder
down and insert the core drill bit with the
centering pin into the tool holder.
Do not touch the sharp edges of the core drill
bit.
Danger of injury.
Drill chuck
Pull the clamping sleeve of the tool holder
down and insert the drill chuck.
Drill bit
The knurled nut has a left-hand thread; turn
clockwise to release!
Loosen the knurled nut and remove the tool
holder by applying a hammer blow to the
positioned drift.
Clean the inside cone of the output shaft and
insert the drill bit.
WARNING
WARNING
1.
2.
3.
2.
3.
4.
1.
Drill chuck
Clamping sleeve
Centering pin
Core drill bit
JMU 137 MQW
1.
3.
2.
4.
5.
MK 2
MT 2
CM 2
Drill bit
Knurled nut
Fig. 7
Содержание JMU 137 PQW
Страница 1: ...JMU 137 QW 7 270 7 273 JMU 137 MQW 7 270 7 273 JMU 137 2 QW 7 270 7 273 JMU 137 PQW 7 270 ...
Страница 2: ...2 Instruction Manual Mode d emploi Instrucciones de uso en 3 fr 32 es 62 ...
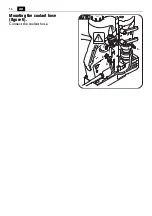
Страница 16: ...16 en Mounting the coolant hose figure 6 Connect the coolant hose 4 3 Fig 6 2 1 ...
Страница 76: ...76 es Montaje de la manguera de refrigerante Figura 6 Conecte la manguera de refrigerante 4 3 Fig 6 2 1 ...

