Megadisk NAS Owner’s Manual
30
4-Connecting Users
3.2 Printer Installation on Mac OS X hosts
The following instructions are based on printer installation on a Mac OS X 10.4 based host. Other
Mac OS X hosts are configured similarly.
3.2.1 Power on and connect your USB printer in to your MegaDisk NAS.
3.2.2 The MegaDisk NAS will automatically detect a
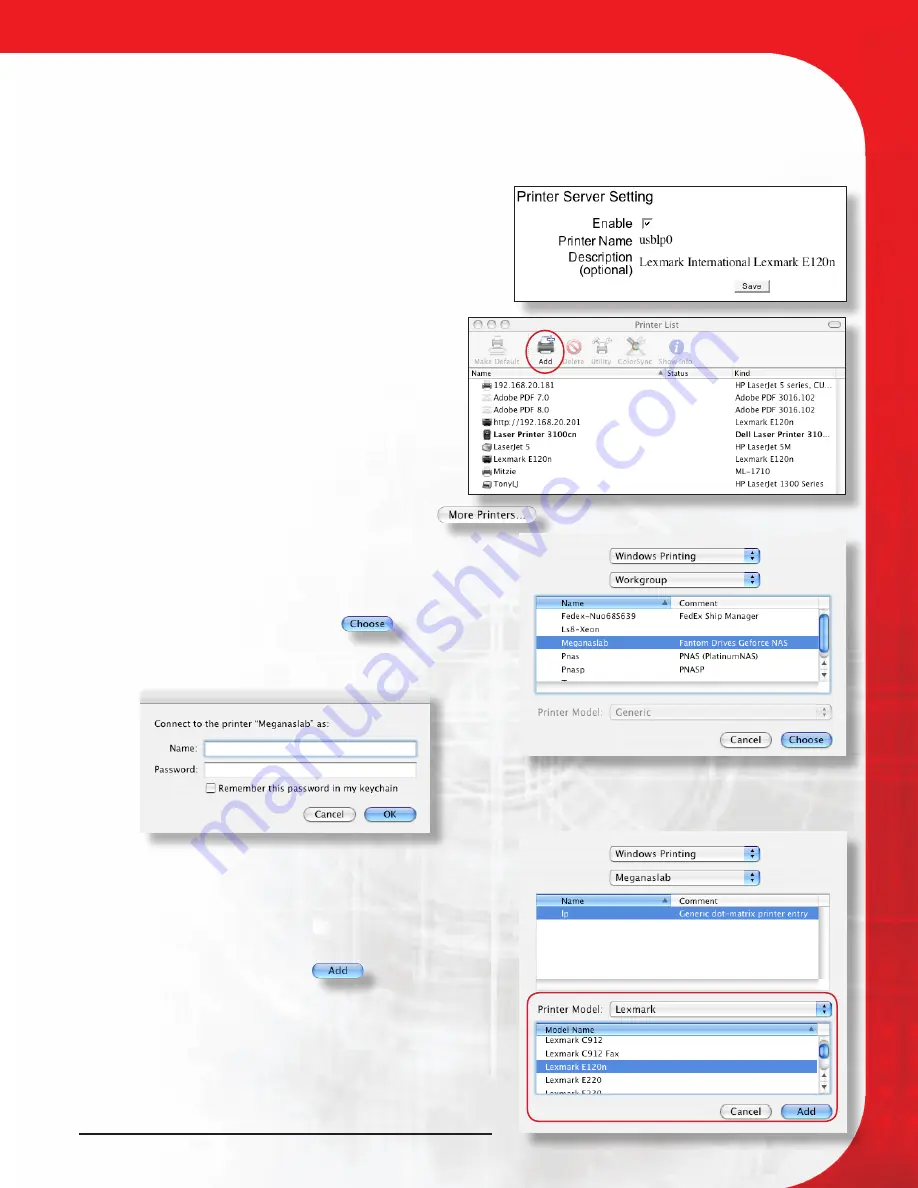
USB printer attached. Navigate to “Control Panel”
-> “File and Print” -> “Printer Server,” note the
make and model of the printer, and verify that the
“Enable” box in the print server dialog is checked.
3.2.3 Obtain and install your printer’s driver appropriate
to your computer.
3.2.4 Launch the Printer Setup Utility (located in /
Applications/Utilities/Printer Setup Utility.app)
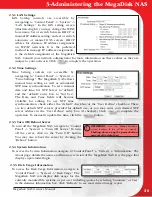
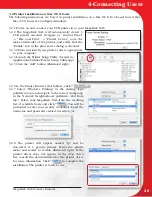
3.2.5 Click the “Add” button (illustrated right.)
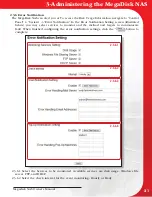
3.2.6 In the Printer Browser that follows, click “
”.
3.2.7 Select “Windows Printing” in the sharing type
pulldown (top) and navigate to the correct workgroup
in the Network Neighborhood pulldown (2nd from
top.) Select your MegaDisk NAS from the resulting
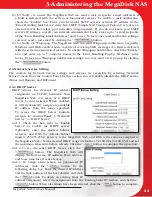
list of available hosts and click “
”. You will be
prompted to enter your security credentials. Enter the
username and password created in section 3.1.
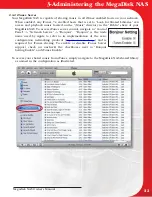
3.2.8 The printer will appear named “lp” and be
described as a generic printer. Select the printer
make and model in section illustrated right. If the
printer driver does not appear in the drop down
list, consult the documentation for the printer driver
for more information. Click “
” to complete the
installation. The printer is ready to use.

