


3: Detailed User Interface Features
32
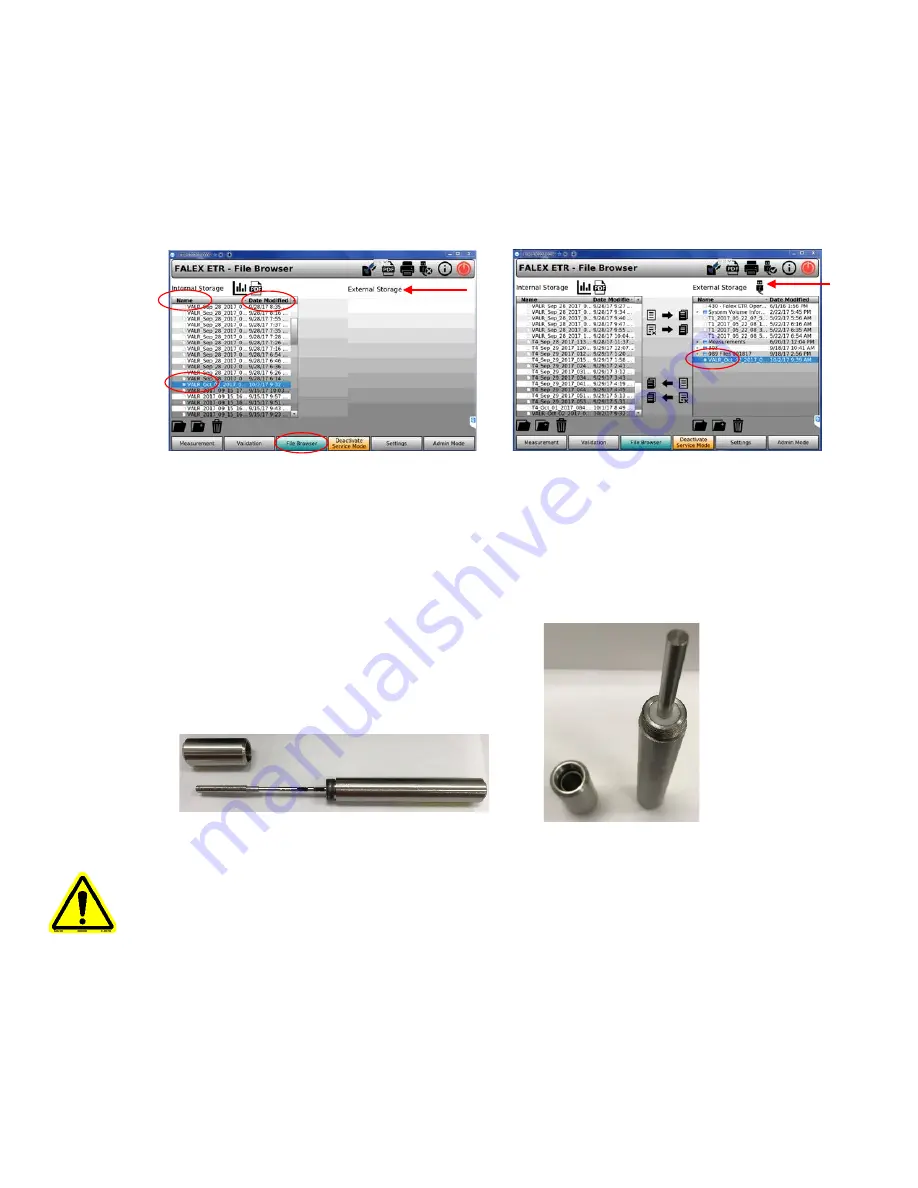
Optional:
To verify that the validation test was saved, go to the ‘File Browser’ screen by
pressing the ‘File Browser’ tab on the lower tool bar. The saved validation test will have the file
name of ‘VALR’ followed by the date/time stamp.
(You can click on the ‘Name’ or ‘Date Modified’
headers to aid in searching for the saved test)
You can also copy the validation test to an external USB drive.
Eject the ‘NIST Traceable Reference Tube’ by pressing the ‘Insert/Eject Tube’ icon on the upper
tool bar. Once the shutter is open and the tube ejected, carefully remove the tube.
(if needed,
gently press in on the exposed end of the tube to aid in releasing from the clamping device)
Carefully
return the ‘NIST Traceable Reference Tube’ to the stainless steel tube, taking care not to have
the wafers brush against the sealing gasket.
Note: It is recommended to run at least three validation tests using the ‘NIST Traceable
Reference Tube’. After each test, eject and reinsert the tube. If performing ‘back-to-
back’ validations, perform a manual initialization by using the ‘Start Initialization.
Button from the Admin screen before the next calibration. This will help with possible
errors that sometimes occurs during ‘back-to-back’ validations. Follow the above
procedure to run another validation test for the ‘NIST Traceable Reference Tube’. If the
validation fails on all three tests, please contact your Falex or Compass representative.