Operation
16
Fig. 13
Fig. 14
Setting day and time (Fig. 13)
To ensure that the robot starts operating at the ex-
pected time, the current day of the week and time must
be saved.
1.
Press time key, then press keys
13
and
14
. The
remote screen flashing in hour, minute.
2.
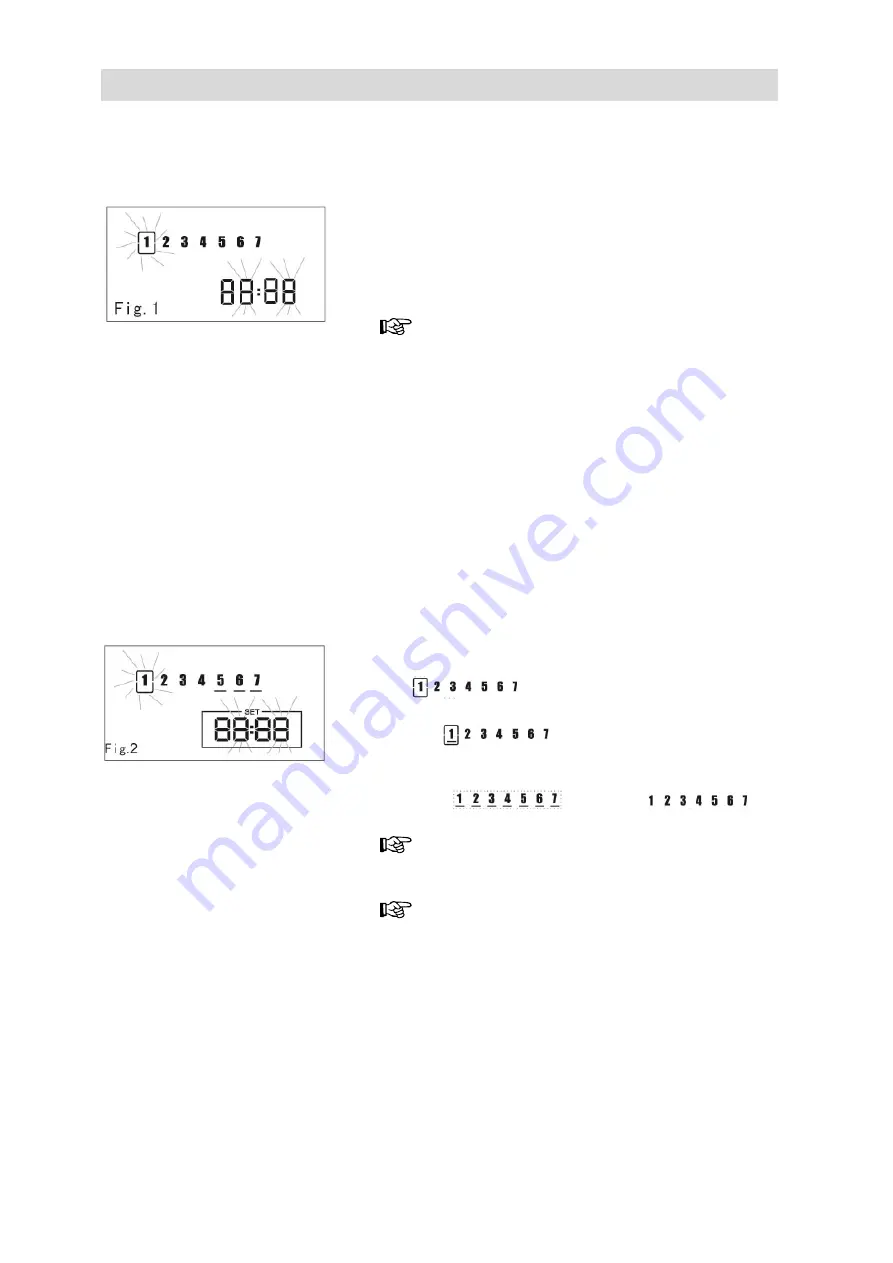
Week selection (Fig 1): Press keys
11
and
12
, the
current setting flashing ascending “+”, descending
“-“
Press Power key
1
to cancel the current setting;
press “TIME”
4
to save current setting.
Setting Automatic Weekly Cleaning (Fig. 14)
With the robot turned off.
Appointment of the time
First press “SET”
6
, then the keys
13
and
14
, the
remote screen flashing in hour, minute.
Switching in the weeks (Fig 2): Press the keys
11
and
12
, the current setting flashes ascending “+”,
descending”-“.
Appointment of the week
In setting an appointment, when it flashing in
“
“ the week.
Press „OK“, the current flashing figure has a bottom
line “
“ button line turns to be light
means the current day is appointed.
Press “ALL” to make alternate choose between all
days “
“ and non „
“
Press Power key
1
to cancel the current setting;
press “SET”
6
to save current setting.
For the robot vacuum to start up the planned time,
it must be switched on. The operating switch (
20
) in
the
ON
-position; the START/STOP-button (
21)
lit.


