


User Manual
E
DITING
February
16,
2010
Xynergi Media Production Centre
Page 123
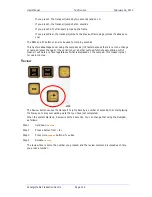
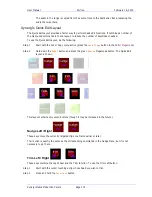
Using Nudge
Step 1
Press the
nudge
button.
Step 2
Locate the cursor over the clips and select the appropriate track(s).
Step 3
Press the
-
var
,
+
var
,
-
1
fr
or
+
1
fr
soft keys to slip the clip(s) by the selected amount.
When there is no Range, only the top layer of clips highlighted under the cursor is nudged.
The
-
var
and
+
var
keys move selected clips by an amount controlled by the
Variable
soft key. It is
usually set to a small amount e.g. a few subframes, for very fine control of clip position.
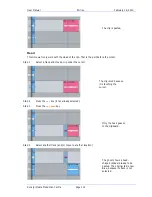
Nudge with A Range
Follow these steps to perform a
N
UDGE
with a range selected:
Step 1
Press the
nudge
key, to the left of the LCD.
Step 2
Use the
from
and
to
keys to select a Range that includes all clips to be nudged.
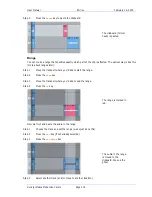
Step 3
Press the
-
var
,
+
var
,
-
1
fr
or
+
1
fr
soft keys to slip the clip(s) by the selected amount.
When a Range is selected, all layers of clips within the Range are nudged, including those which
are completely buried.
NOTES:
Nudging is possible while the transport is in play.
When nudging a Range, clips not wholly within the Range are not affected. However, the Range itself is
also nudged, so it is possible to keep nudging the Range without resetting the From and To points. This
can be used, for example, to “phase” the audio with a guide track, using Variable nudge with a small
value.
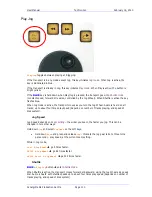
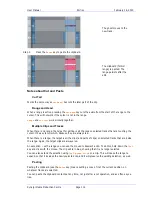
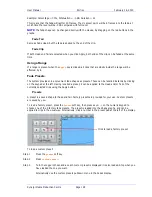
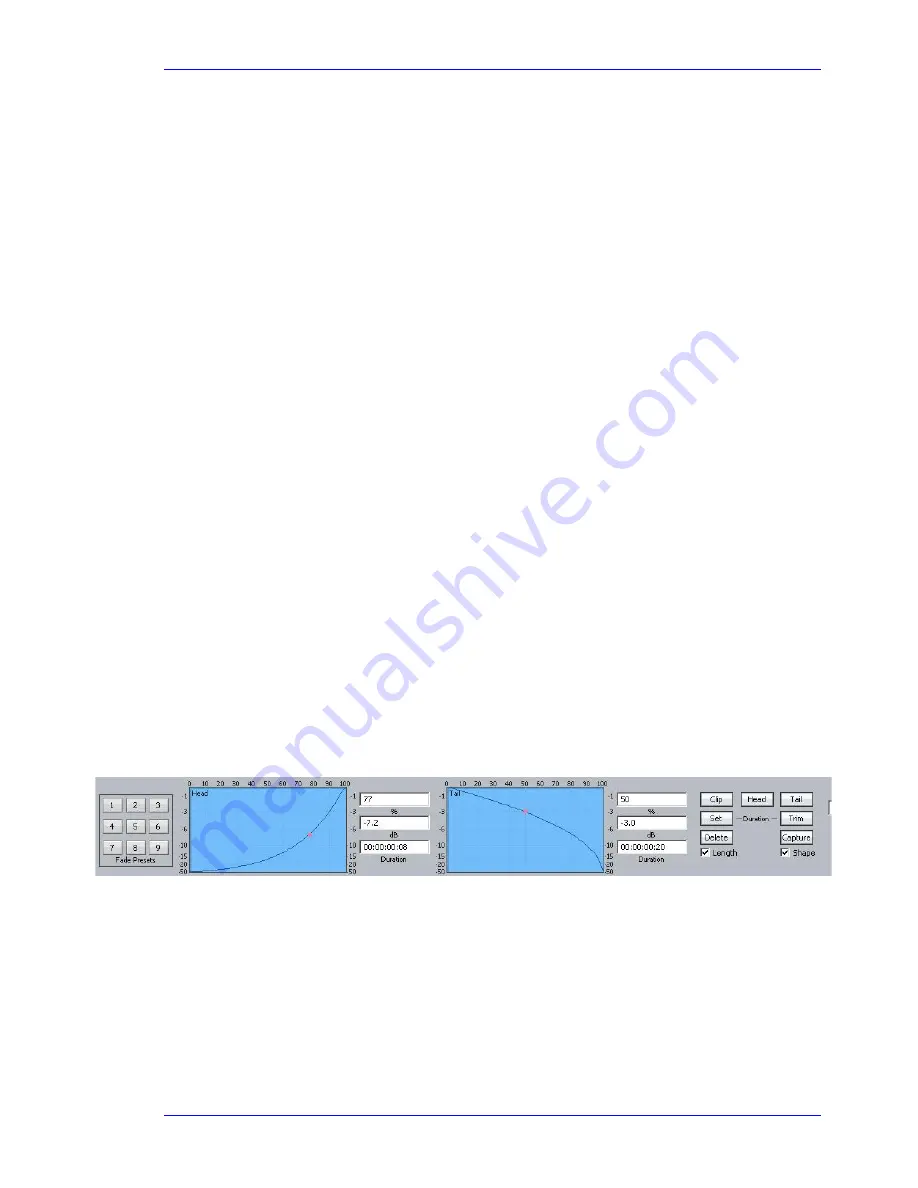
Fade and Crossfade
The
fade
button allows fades to be applied non-destructively to the heads and tails of clips. The fades
are performed by the system in real time as the audio is output from the machine. Fades can be created
“on the fly” relative to the playhead, or they can be created and/or modified on multiple clips at once.
Fades are applied from the picture keys, soft keys, and from the PC screen.
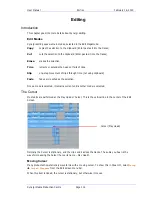
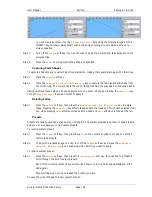
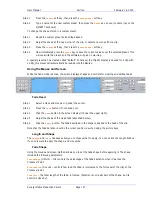
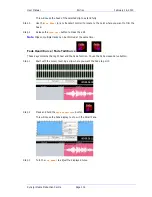
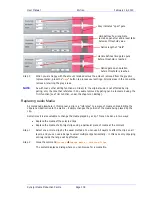
The Editing screen displays fade information in the Smart Pane at the top of the monitor. This is used to
issue commands as well as illustrate fade shapes (curves).
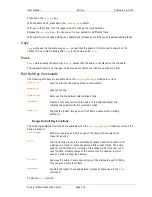
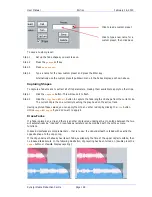
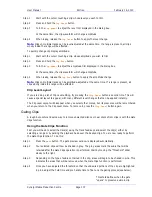
Using Picture Keys
Fade Head
One of the simplest fades can be achieved as follows:
Step 1
Select a track and move a clip under the cursor.
Step 2
Press the
fde
button (if not already on).
Содержание Xynergi
Страница 1: ...Xynergi Media Production Centre User Manual 16 February 2010 Software Version 2 6 Issue 001...
Страница 8: ...Putting Machines Online 310 Editing with Machine Control 311...
Страница 192: ...User Manual SCREEN MIX CONTROLS February 16 2010 Xynergi Media Production Centre Page 194...
Страница 198: ...User Manual SCREEN MIX CONTROLS February 16 2010 Xynergi Media Production Centre Page 200 The Aux Panel...


