Quick reference
6
(S
OFT
03.1
X
)
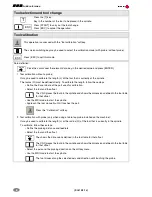
Tool selection and tool change
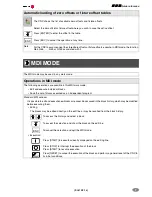
Press the [T] key.
Key in the number of the tool to be placed in the spindle.
Press [START] to carry out the tool change.
Press [ESC] to cancel the operation.
Tool calibration
This operation is accessed with the "tool calibration" softkey.
The screen switching key may be used to select the calibration mode (with probe / without probe).
Press [ESC] to quit this mode.
Data definition:
Place the cursor over the relevant data, key in the desired value and press [ENTER].
1. Tool calibration without a probe:
It may be used to calibrate the length (L) of the tool that is currently at the spindle.
The radius (R) must be defined directly. To calibrate the length, follow these steps:
• Define the Z coordinate of the part used for calibration.
• Select the tool and the offset.
The CNC places the tool into the spindle and shows the dimensions defined in the tool table
for that offset.
• Use the MDI mode to start the spindle.
• Approach the tool manually until it touches the part.
Press the "Calibration" softkey.
2. Tool calibration with probe (only when using a table-top probe installed on the machine):
It may be used to calibrate the length (L) or the radius (R) of the tool that is currently in the spindle.
To calibrate, follow these steps:
• Define the probing distance and feedrate.
• Select the tool and the offset.
The shows the dimensions defined in the tool table for that offset.
The CNC places the tool into the spindle and shows the dimensions defined in the tool table
for that offset.
• Select the axis and the probing direction on the softkey menu.
• Use the MDI mode to start the spindle.
The tool moves along the selected axis and direction until touching the probe.
T
ESC
ESC
ENTER
ENTER
Содержание CNC 8070
Страница 1: ...Quick reference SOFT 03 1X REF 0706 CNC 8070...
Страница 44: ......

