Work modes
25
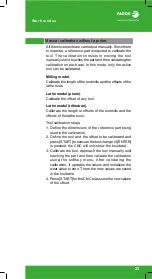
Automatic calibration with a probe and a canned
cycle.
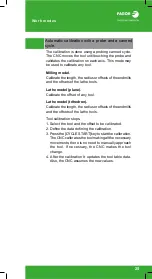
The calibration is done using a probing canned cycle.
The CNC moves the tool until touching the probe and
validates the calibration on each axis. This mode may
be used to calibrate any tool.
Milling model.
Calibrate the length, the radius or offsets of the endmills
and the offsets of the lathe tools.
Lathe model (plane).
Calibrate the offset of any tool.
Lathe model (trihedron).
Calibrate the length, the radius or offsets of the endmills
and the offsets of the lathe tools.
Tool calibration steps.
1. Select the tool and the offset to be calibrated.
2. Define the data defining the calibration.
3. Press the [CYCLE START] key to start the calibration.
The CNC calibrates the tool making all the necessary
movements; there is no need to manually approach
the tool. If necessary, the CNC makes the tool
change.
4. After the calibration It updates the tool table data.
Also, the CNC assumes the new values.
Содержание CNC 8060
Страница 1: ...CNC 8060 65 User quick reference Ref 1906...
Страница 44: ...Work modes 44...
Страница 64: ...ISO language 64...
Страница 102: ...ISO canned cycles T 102...
Страница 128: ...Conversational cycles M 128...
Страница 136: ...Conversational cycles T 136...
Страница 150: ...Measuring and calibration cycles T 150...
Страница 169: ......

