FAAST 8251BPI and 8100
INSTALLATION AND MAINTENANCE INSTRUCTIONS
15
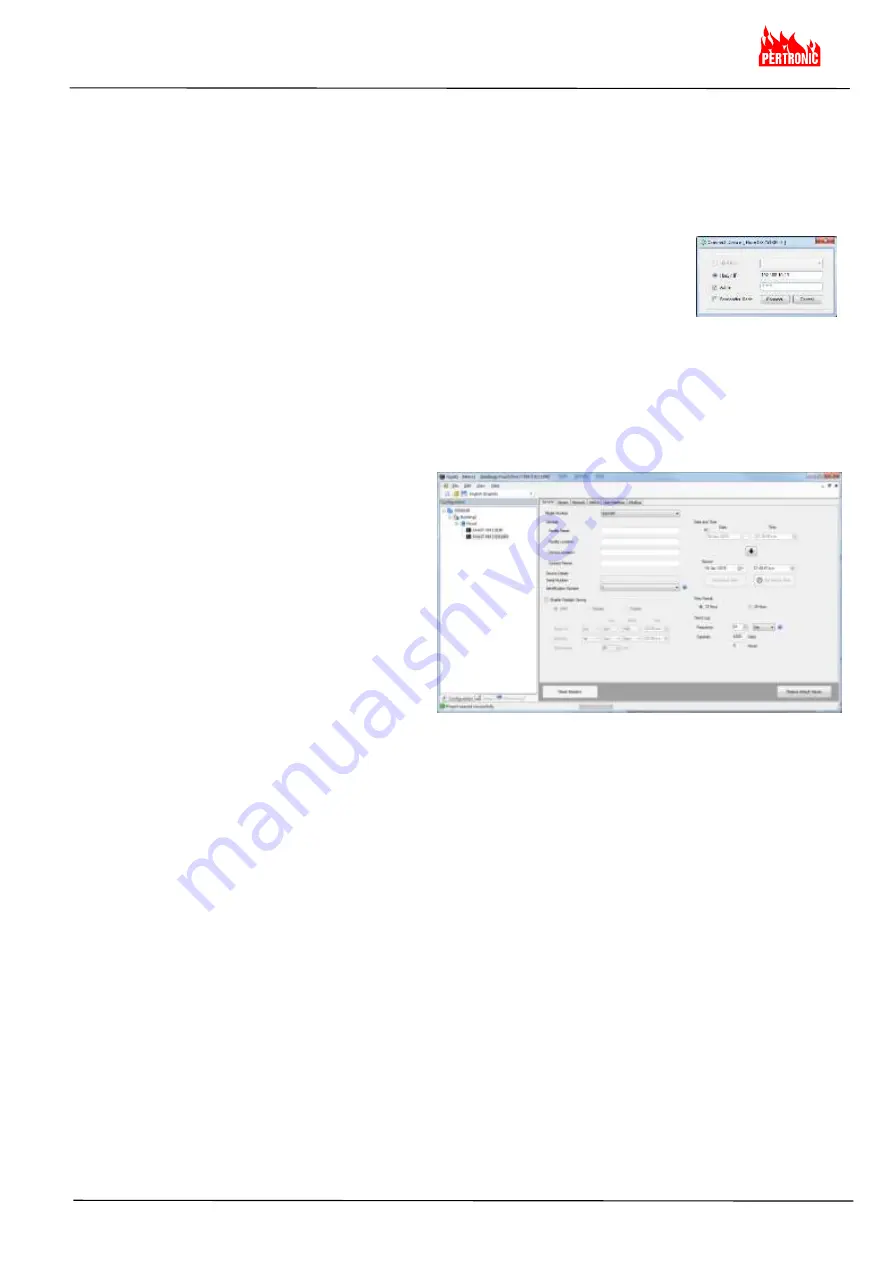
Connection to the FAAST XM:
a)
Open PipeIQ (v2 or greater) on the PC
– by default, PipeIQ opens in
Configuration
mode
b) Open
a project file (*.mdf) to continue
– use one of the following methods:
i. open an existing project configuration (*.mdf) file for the FAAST XM or
ii. start a New Config and add a FAAST detector of the type to be installed or being maintained
- save this Config file : use a filename which will readily relate to the detector under test
eg. 8251BPI-3 20150528 for the third Analogue Addressable FAAST detector on the site
c) Power
up the FAAST XM - wait until the FAAST has completed initialisation (the Power LED turns green):
d)
Select
View \ Configuration
from the Menu bar, right click the detector configured in
Section b) above and then select
Connect Device
e)
Select the detector at the appropriate Host / IP. select Admin and enter the password
(default
–
password
), then Connect:
f) Align
the detector and PC Configurations by either:
i. b) i. above. Right click the device and select Send Configuration to a new detector or a detector which is
being updated
ii. b) ii. above. Right click the device and select Get Configuration for an existing detector being maintained
Section C : CONFIGURING FAAST XM (8000 Series) in PipeIQ
A.
Configuration:
the following screen shots identify the parameters which are configurable on the 8000 Series
FAAST XM devices. Review all parameters to ensure they are appropriate, taking particular care to ensure the
coloured
parameters are correct
a) General:
(i) Model Number:
select 8251BPI or 8100
(ii) General:
complete the details for identifying
the Name and Location of the detector
(iii) Device Details:
-
Serial Number:
this will self-complete after
connection to the detector
-
Identification
Number:
enter
the
detector
’s Loop Address (8251BPI)
-
Enable DayLight Saving:
if required,
select Custom, then:
Starts On: last Sunday September 02:00
Ends On: 1st Sunday April 03:00
Time Saved: 60 min
-
Date and Time:
should ONLY be updated when connected to the FAAST detector.
Either complete the actual time at Device or if the PC time is correct, simply select the arrow to
download the PC time to the detector
-
Time Format:
select either 12 Hour or 24 Hour format
-
Trend Log:
select the Frequency for logging the detector functions to the Trend Log
– note that as the
frequency increases, the duration of the Log reduces (Capacity/Frequency=Duration of Log)


