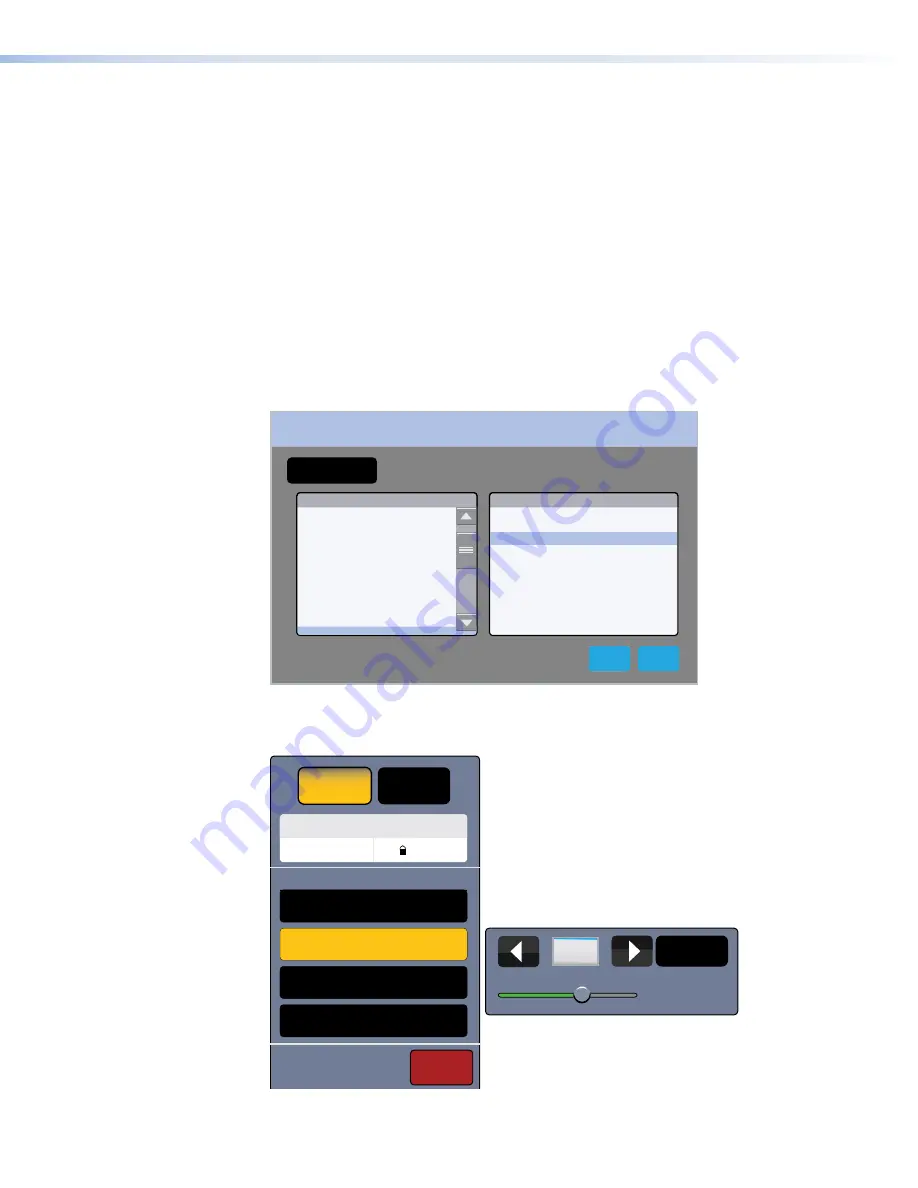
The upper panel shows read-only information about the input signal status. The green bar
indicates whether the current input is HDMI or XTP. In figure 12, on the previous page, the input
is HDMI. The XTP input status information is obtained from the last XTP input signal.
The lower panel allows adjustments to the input configuration.
•
Aspect Ratio:
Press this button to toggle between
Fill
, which stretches the image so that
it fills the entire screen, and
Follow
, which maintains the aspect ratio of the input signal.
•
HDCP Authorization:
Press the button to toggle between
On
(default) and
Off
. When
HDCP Authorize is
On
, HDCP-encrypted input signals pass to the screen.
•
EDID Minder:
Press the
EDID
button to toggle between using the EDID of the touchpanel
(1280x800 @ 50Hz for the TLP Pro 1220MG) or setting a resolution and refresh rate. The
button is black if the native display is used and turns yellow if you are setting the EDID
manually.
Pressing the button opens the
EDID
Minder
window. When setting the EDID manually, only
the
Resolution
panel is initially populated. Once the resolution is selected, the available
refresh rates for that resolution are displayed. When both the resolution and refresh rate are
selected, press
Apply
.
EDID Minder — HDMI
Match EDID to
Display Native: 1280x800 @ 50 Hz, HDMI, LPCM-2Ch, Extron
Resolution
852x480
800x600
1024x768
1024x852
1280x768
1280x800
1360x765
1360x768
1365x768
1024x1024
1366x768
Refresh Rate (Hz)
75
60
50
Cancel
Apply
Figure 13.
EDID Minder
•
Image Settings:
Press the
Adjust
button to open the
Image
Settings
window. Select
the input (
HDMI
or
XTP
), or adjust
Brightness
,
Contrast
,
Detail
, and
Overscan
.
Brightness
64
64
Contrast
Detail
64
Exit
Overscan
5%
HDMI
XTP
1920x1080 @ 59.94
HDCP
LPCM-2-Ch
Default
64
Figure 14.
Image Settings
TLP Pro 1220, TLP Pro 1520, and TLP Pro 1720 Series • Setup Menu
18
Содержание TLP Pro 1220MG
Страница 6: ......
Страница 8: ...TLP Pro 1220 TLP Pro 1520 and TLP Pro 1720 Series Contents viii ...


