


StudioStation 100 • Web-Based User Interface
46
Setting up the universal OSD
To set up the universal OSD:
1.
Open the
Input/Output
Settings
page.
2.
Expand the
OSD
Configuration
panel at the bottom of the page.
3.
Select
Universal
OSD
from the
Test
Patterns
drop-down list. The fields and
drop-down menus in the Universal OSD section become accessible.
4.
Enter the text (up to 16 characters) into the
Display
Text
field within the universal OSD
area. This is the first text that appears in the universal OSD, and can function as a brief
title or description.
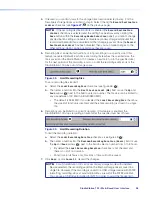
5.
Select an information category from the
Information
1
drop-down list, and also, if
desired, from the
Information
2
and
Information
3
drop-down lists.
Figure 31.
Universal OSD Information Selection
As an example, when
File
destination
is selected, the OSD text might be
Front
USB
or
Internal
Drive
Only
, depending on the current system settings.
The categories are identical to those used in the SIS information commands (such as
1i
,
2i
,
3i
, and so forth). For reference, see the
page 78.
If desired, select an information category from the
Information
2
drop-down list and
select another category from the
Information
3
drop-down list.
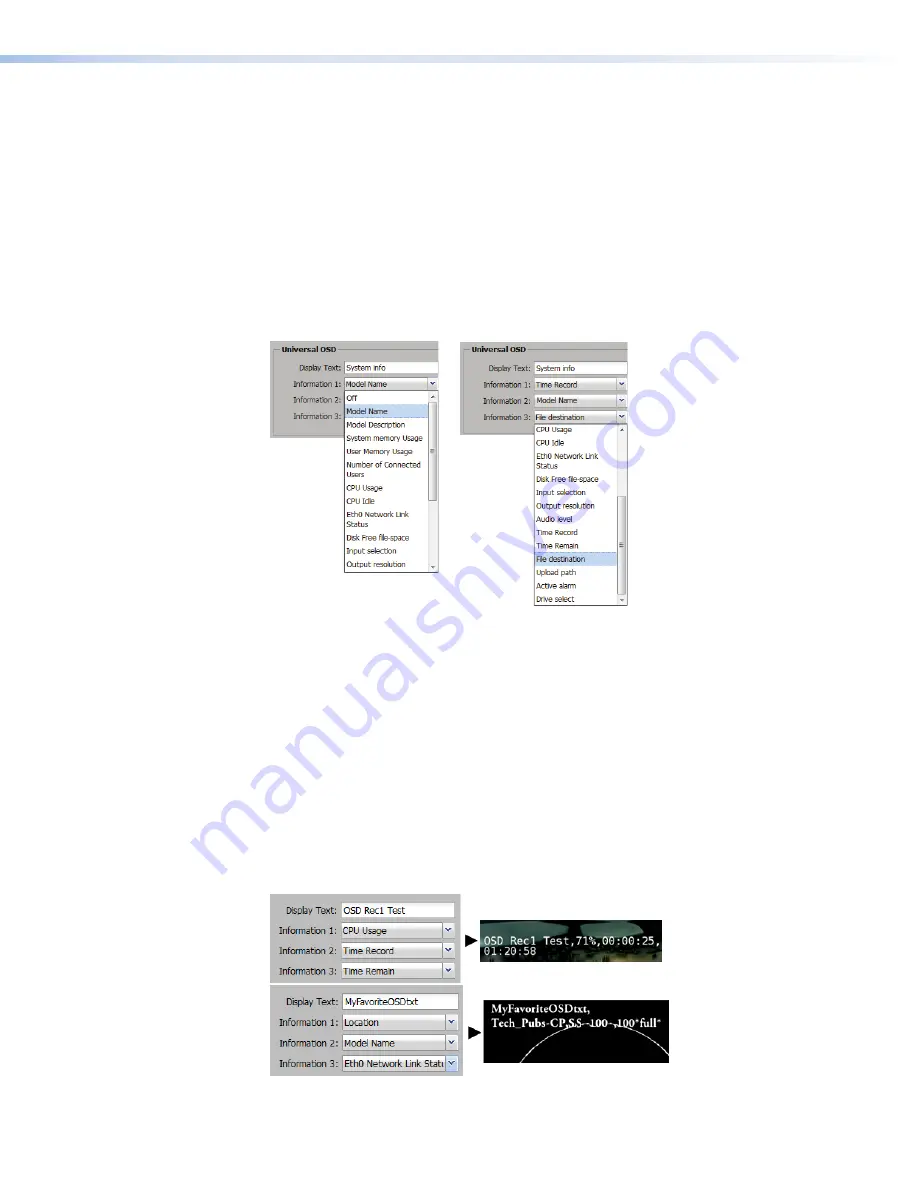
Changes are saved automatically and applied shortly after being selected. The universal
OSD text appears on-screen in this format:
Display
Text
,
Information
1
,
Information
2
,
Information
3
.
See figure 33 for examples of how the configuration settings (on the left) translate to the
universal OSD (on the right).
Figure 32.
Universal OSD Information Selection
figure 31
figure 32


