Guest Portal: Guest Web Access
Guest Portal: Guest Registration
on page 157
Authenticated Portal: Authenticated Web Access
on page 161
Default Rules for Captive Portal
Look and Feel Settings
to customize your captive portal.
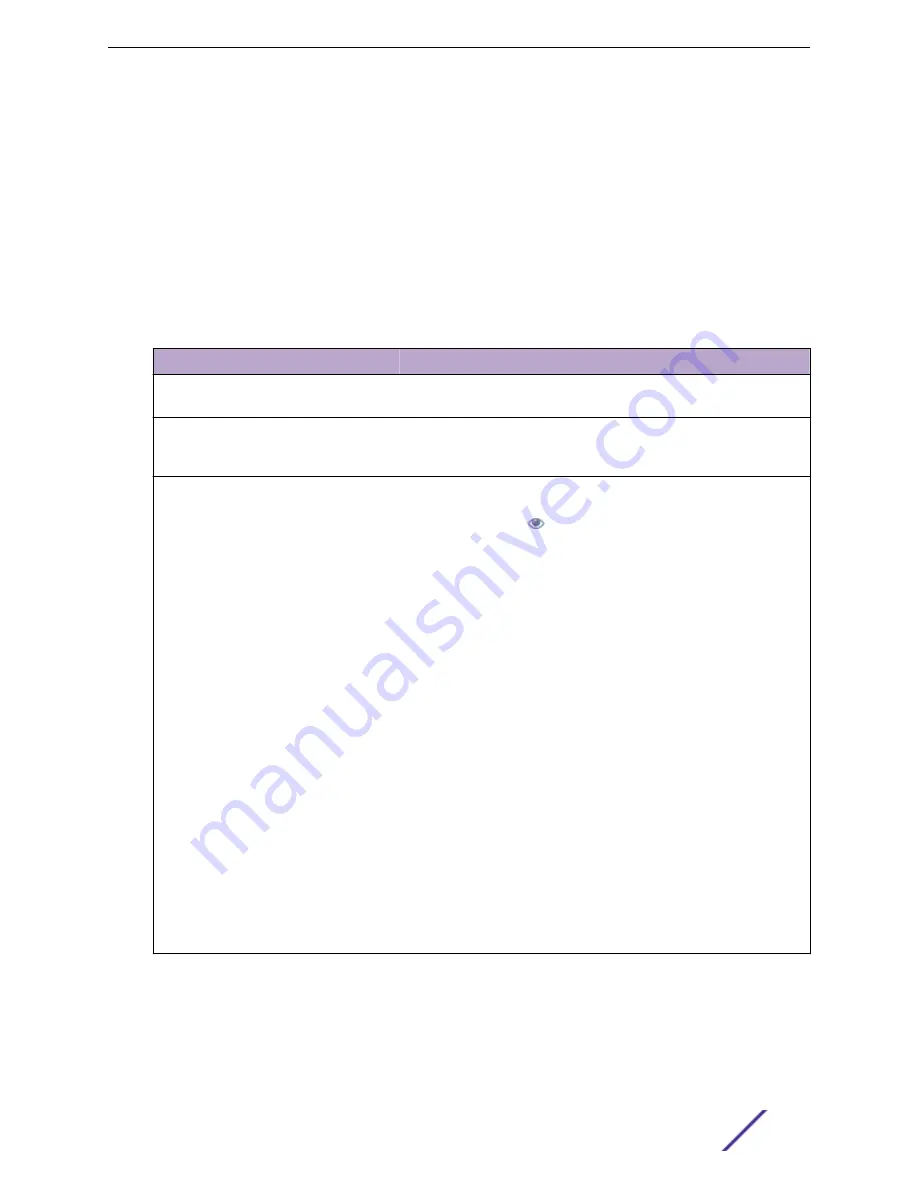
Table 68: Captive Portal Website Look and Feel Settings
Setting
Description
Display Powered by Logo
Display the Extreme Networks logo at the bottom of all of your portal
web pages.
Edit Message String
Modify the message displayed to users on the menu bar of any
registration or web access page. The default welcome message is
"Welcome to the Enterprise Network's Registration Center."
Edit Images
Specify the image files used in the portal web pages. All image files
must be defined here. Click the plus sign to add images. Once the
image is added, click
to preview the image. Once an image file is
defined here, it is available for selection from the configuration drop-
down lists. The drop-down menu for each image category displays all
the images defined in the Images window.
Note: You must add images to each portal separately. Images listed
under the default portal are not available to other portals until you
have added the image to each portal separately.
•
Header Background Image. The background image displayed
behind the header image at the top of all portal web pages.
•
Header Image. The image displayed at the top of all portal web
pages.
•
Favorites Icon. The image displayed as the Favorites icon in the
web browser tabs.
•
Access Granted Image. The image displayed when the end user is
granted access to the network either based on compliance with
the network security policy or upon successful registration to the
network.
•
Access Denied Image. The image you would like displayed when
the end user has been denied access to the network.
•
Error Image. The image displayed when there is a communication
error with the server.
•
Busy Image. The progress bar image displayed when the web page
is busy processing a request.
Onboard
ExtremeCloud Appliance User Guide for version 4.36.03
161


