SOFTWARE INSTALLATION FOR DOS/WINDOWS 3.1
AUTOMATIC INSTALLATION
The device driver installation programs provide a simple INSTALL program
to help you to install the device driver into the computer with ease. Please
follow the instructions below to proceed automatic installation.
1.
Insert the device driver diskette into a floppy disk drive on your
computer.
2.
Change the working directory to the floppy drive containing the
device driver diskette by typing “A:” or “B:” then press ENTER.
3.
At the DOS prompt (A:\> or B:\>), type “INSTALL” followed by
the ENTER key.
4.
Choose the right configuration you need - “Hard Disk Only” or
“Hard Disk with Game” to continue. If you just need the Hard disk
function only, then choose “Hard Disk Only”, or you can choose
“Hard Disk with Game” to install the game port I/O function.
However, you can always change it later by running the INSTALL
program again.
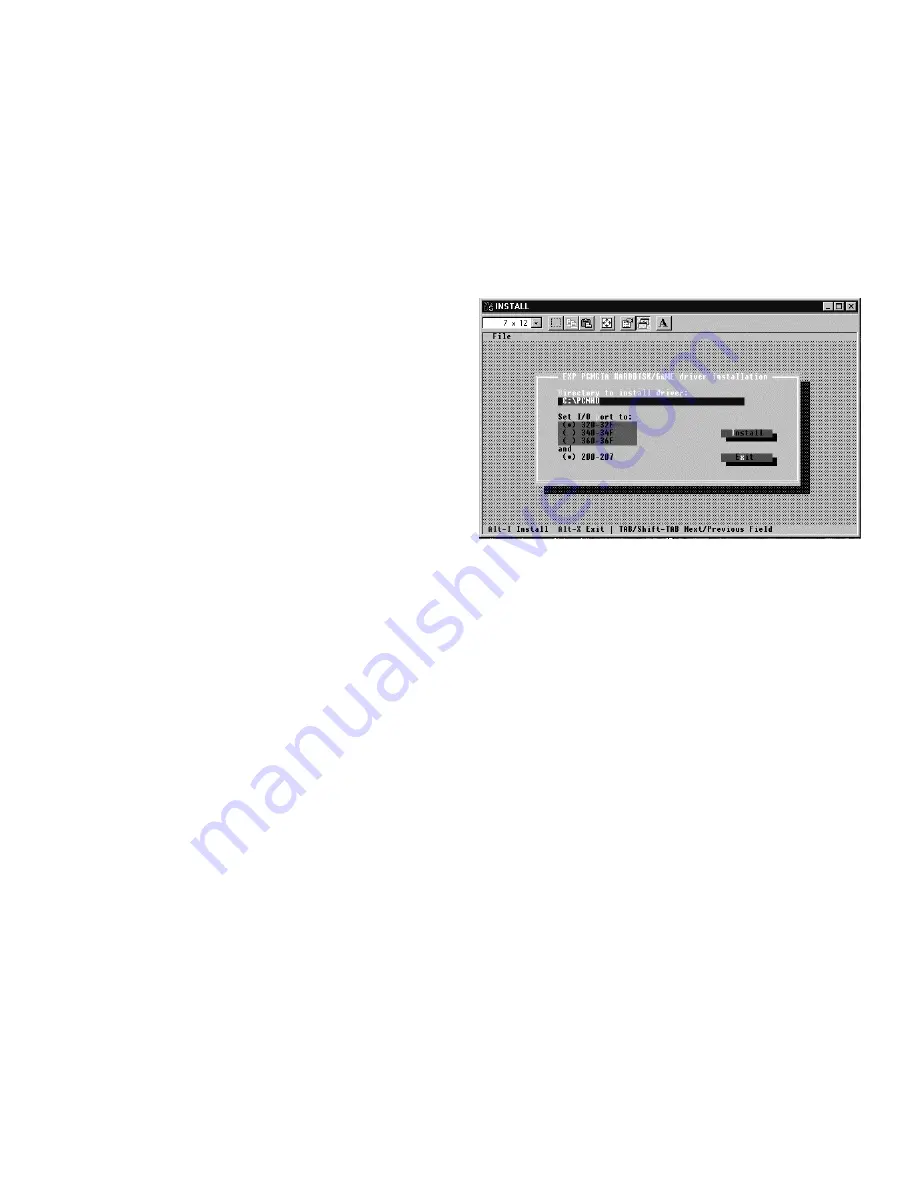
5.
Press ENTER or click on the OK button to continue when the
opening screen appears. A dialog box will be displayed for you to
type in the directory to place the device driver to and to select
the I/O ports used for PCMCIA interface card. Enter the directory
you select to install the driver and press the TAB key to move to
next field to indicate the DOS Directory. Press the TAB key
again to set the I/O port. The default setting of the I/O address is
320-32F
. The Game I/O is always 200-207, without any other
choice. After completing this selection, click on the Install button
to continue.
NOTE:
INSTALL.EXE is only for MS-DOS mode. Do not use it under Windows 95,
unless you want to use this device under pure MS-DOS mode. Please see
APPENDIX B for detail.


