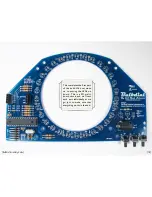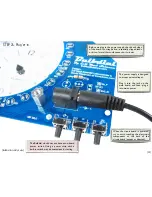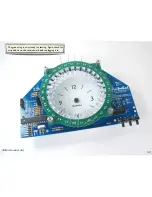
The three buttons are labeled “
+
,” “
–
,” and “
Z
.”
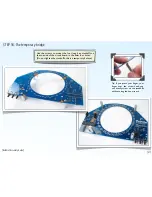
In time display mode, the
+
and
–
buttons control brightness with seven
levels, and the Z button toggles sleep mode (where the LEDs are fully off).
[Bulbdial Assembly Guide]
STEP 25: “And then it started blinking!”
[30]
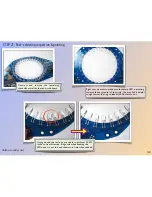
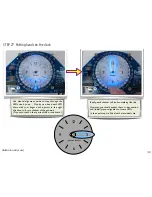
To exit time display mode and enter “alignment mode,”
hold down both the
+
and
–
buttons for three seconds.
(Alignment mode is used to help align the rings of LEDs.)
“
+
”
“
–
”
“
Z
”
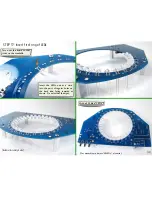
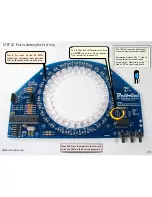
If everything is correctly soldered on the board, the clock will come up in regular
“time display mode” after a two second delay.
What you’ll see looks like one LED slowly moving around and blinking. This is the
not-yet-aimed second hand of the clock, and the blinking is to let you know that it’s
lost power and doesn’t know what time it is. Press any of the buttons to stop the
blinking.
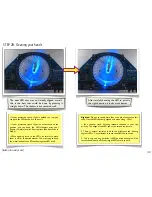
If you don’t see any LEDs coming on, the first
thing to do is to unplug the power supply.
The most likely cause of trouble is an
incomplete solder joint somewhere on the
board. Carefully inspect your solder joints
and touch up any questionable ones before
trying to apply power to the board again.
Do not
proceed to step 26 until things look
good here.
Troubleshooting
3 s


