570ASI–X19-10GE2 Series
User Manual
Page - 7
4.
WEB INTERFACE
After the card has been installed and configured with the required network addresses for the control
ports, it can be completely configured using the web interface. To do this, simply type in the IP address
of the
Control Port
on the 570ASI–X19 module in the web browser.
Note:
We are assuming that the 570FR or S570FR frame is connected to the network
and the computer is able to communicate to the frame on the Control Port IP address of
the 570ASI–X19
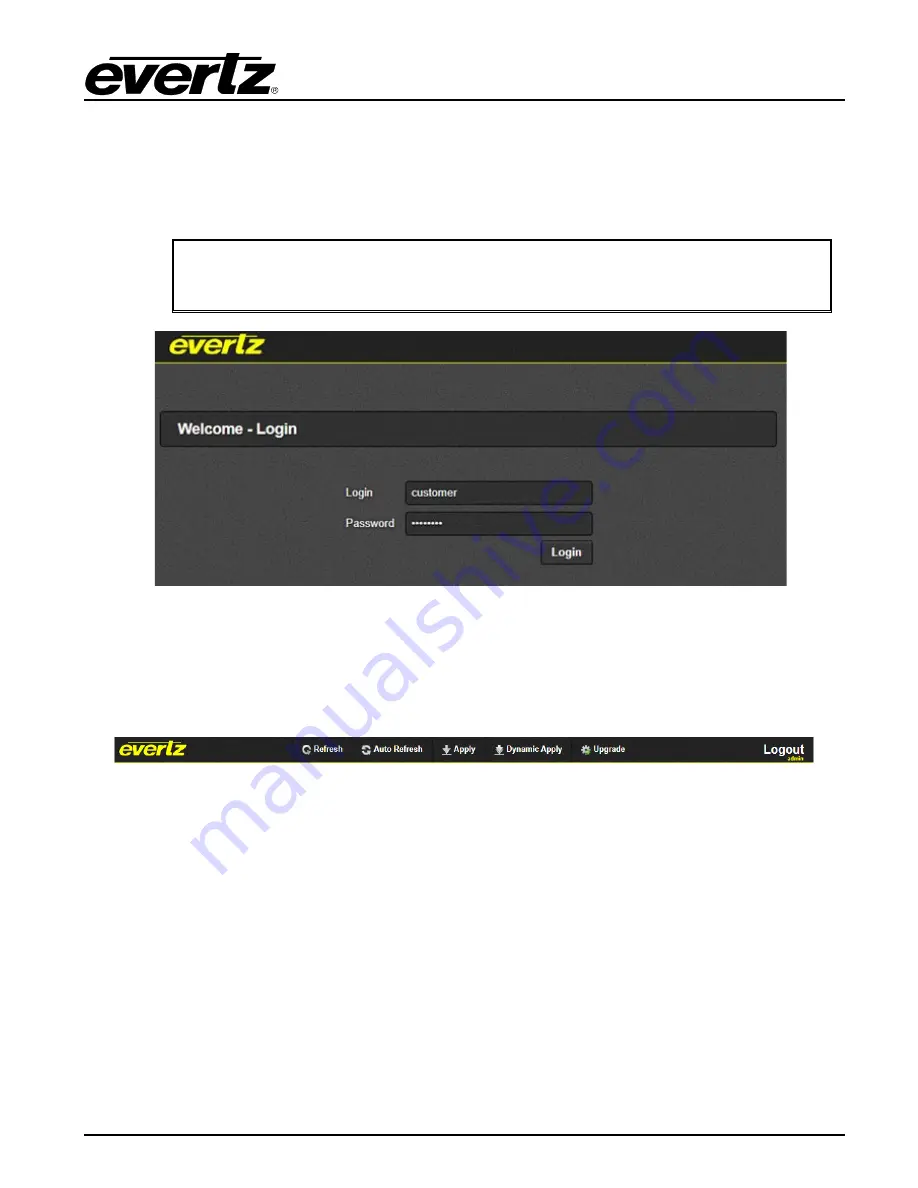
Figure 4-1: WebEASY
®
- Login Menu
For login and password, type in “
customer
”.
Upon entering the correct credentials, the user will be directed to the main User Interface that displays
display the following information:
Figure 4-2: WebEASY
®
- Top Navigation Bar
•
Top Navigation Bar
o
Product Name: Displays the product Name
o
Refresh: Manually refreshes the user’s configuration
o
Auto Refresh: Automatically refreshes the user’s configuration
o
Apply: Manually saves the user’s configuration
o
Dynamic Apply: Automatically saves the user’s configuration
o
Upgrade: Upgrade the Firmware’s version of the product
o
Logout: Logs the user out of the User Interface
570ASI-X19-10GE2
570ASI-X19-10GE2
Содержание 570ASI-X19-10GE2
Страница 2: ...This page left intentionally blank ...
Страница 6: ...570ASI X19 10GE2 Series User Manual Page ii This page left intentionally blank ...
Страница 10: ...570ASI X19 10GE2 Series User Manual Page vi This page left intentionally blank ...
Страница 12: ...570ASI X19 10GE2 Series User Manual Page 2 This page left intentionally blank ...
Страница 19: ...570ASI X19 10GE2 Series User Manual Page 9 4 1 SYSTEM Figure 4 4 WebEASY System Part 1 of 2 ...
Страница 26: ...570ASI X19 10GE2 Series User Manual Page 16 Figure 4 9 WebEASY IP Input Control Part 2 of 2 ...
Страница 31: ...570ASI X19 10GE2 Series User Manual Page 21 4 6 IP OUTPUT CONTROL Figure 4 12 WebEASY IP Output Control ...


