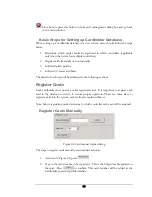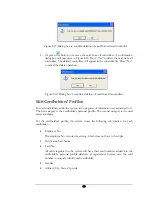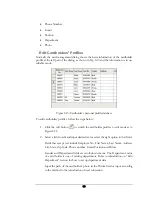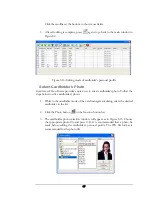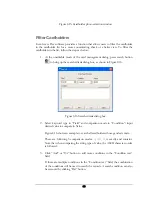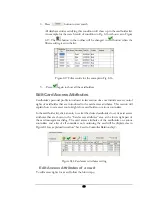
If the number entered belongs to a card that is already registered, a dialog box
will pop up to indicate that the card already exists.
The user can now edit the cardholder’s personal profile or continue to register
additional cards and edit at a later time. To facilitate the registration of cards with
consecutive numbers, the card number will automatically increase by one digit after
pressing
. The user can press
to register the automatically generated
card number, or enter new card number.
Note that the card number must be 8 decimal digits. All cards in EverAccess system
have a card number printed on them, which can be entered directly.
Compatible
cards
from other vendors can be used in EverAccess system but the printed number on cards
may not conform to the format of 8 decimal digits. In that case, use the automatic
registration method described in the following section or read the card number using
the controller first and then manually register the card.
Register Cards Automatically
This mode is only available when a desktop reader (EverAccess desktop reader, part
number: ERS-871) is installed. For information on the connection between a system
reader and a computer/controller, refer to desktop reader manual and controller manual.
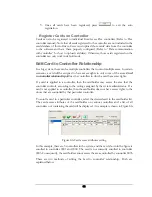
The steps to register cards through a desktop reader are explained below:
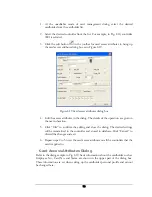
1.
As shown in Figure 8.4, select the serial port to which the desktop reader
connects (for example COM1 in the figure)
2.
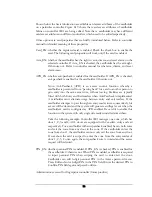
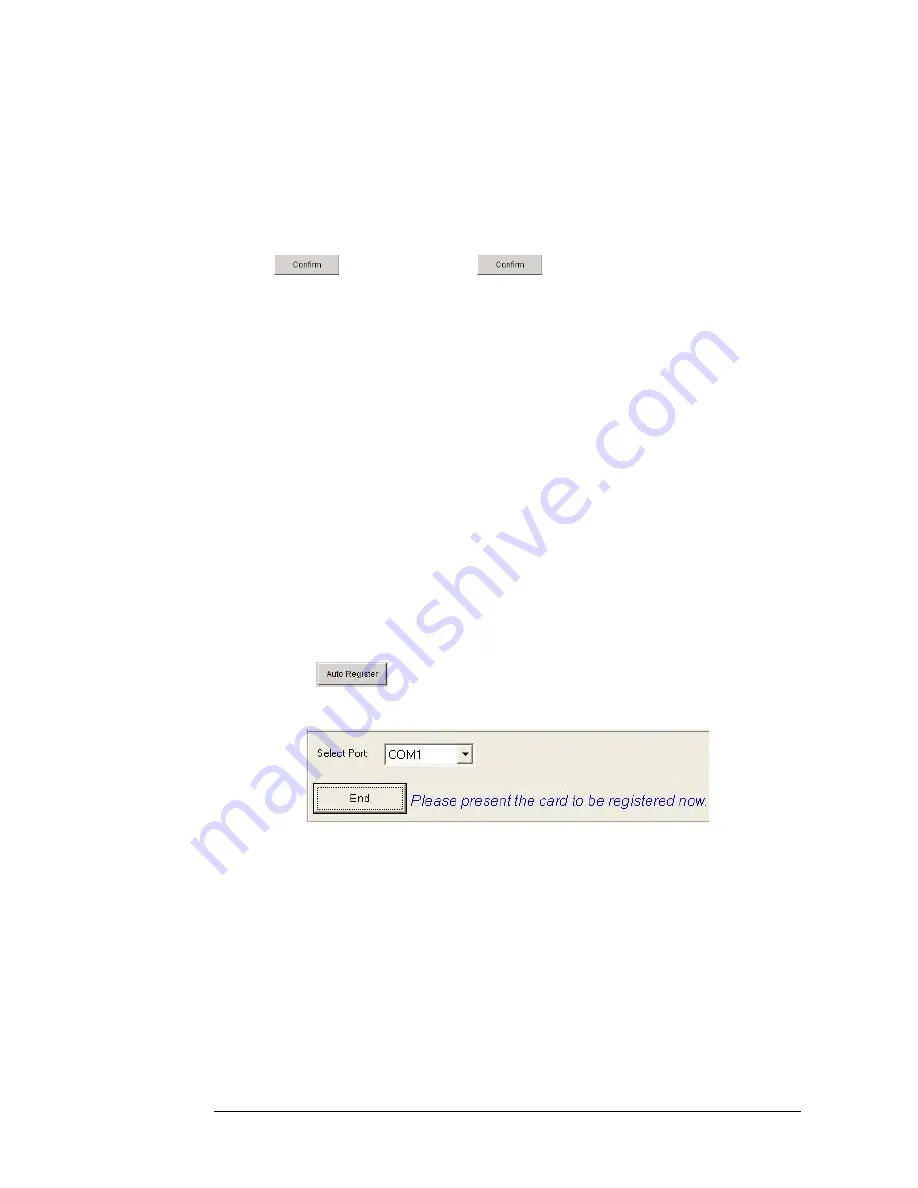
Press
. The system will prompt a request to present the card, as
shown in Figure 8.5.
Figure 8.5: Present card dialog box in auto registration mode
3.
Now the user can present the card to the desktop reader. The card number will
be added in the cardholder database.
4.
Repeat step 3 to register multiple cards. The cardholders’ information for these
cards can be edited later.
If the user presents a card that is already registered to the system reader, a dialog
box will pop up to indicate that the card already exists.
61
Содержание Flex1.0
Страница 14: ...Fig 2 4 Fig 2 5 Click Finish to complete the installation 7 ...
Страница 16: ...Fig 2 8 9 ...
Страница 42: ...1 Click the Close button on the top menu or 2 Click the small X box on the top right hand corner 35 ...
Страница 54: ...Fig 6 2 Fig 6 3 47 ...
Страница 85: ...Figure 8 27 Department data edit window 78 ...
Страница 98: ...Fig 10 9 Message of out of date records deleted 91 ...
Страница 110: ...Fig 11 15 Event warning message dialog 103 ...
Страница 122: ...Notes 115 ...

