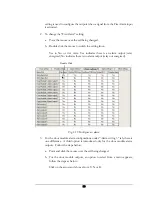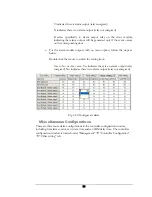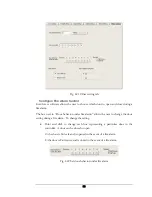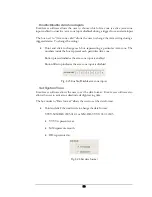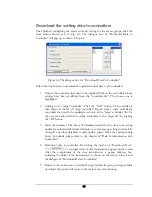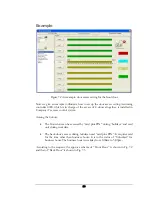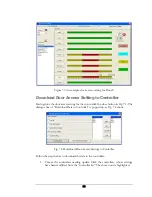
Set Access Authority
In this part we will discuss in details how to set the access authority of each group.
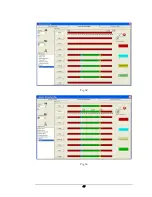
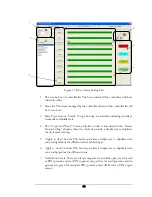
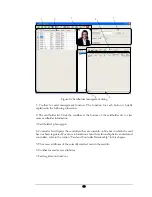
Before introducing the detailed configuration steps, the access permission and time
zone are first explained.
The 4 types of
access permissions
are illustrated in point 7 in Fig. 6.1. Each
permission is identified as one of four different colors.
•
“Entry/Exit” indicating the cardholder can either enter or exit from the
specified door;
•
“No Entry/Exit Only” indicating the cardholder can exit only from the
specified door;
•
“Entry Only/No Exit” indicating the cardholder can only enter the specified
door;
•
“No Entry/No Exit” indicating the cardholder can not either enter or exit from
the specified door.
As explained before, a
time zone
defines a period of time with certain access
permissions. The 24 hours in each date type can have up to 10 time zones with different
access permissions. The minimum duration of each time zone is 5 minutes. To define a
time zone, when the specified time zone bar is enabled, move the mouse to time of the
desired start time, press and hold the left mouse button, drag the mouse to the desired
end time, and then release the mouse button.
The detailed steps to set access authority are introduced below:
1.
Select a date type
Select a “date type” by clicking the buttons of the date types shown as in point
4
in Fig. 6.1 before setting up its access authority in the time zone, for example,
“Monday”.
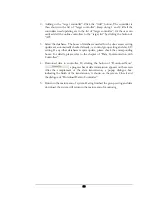
2.
Set time zones and access authorities for the date type
a.
Selecting the access authority by clicking the button shown as point
7
in Fig.
6.1, for example, “No Entry/No Exit”.
b.
Move the mouse pointer to the beginning time of the time zone in the
timing bar of the specified date type (“Monday”).
c.
Press and hold the left mouse button and drag the cursor to the right, until
it reaches the desired end time. While the cursor is moving, the time will be
shown above the bar. The duration increases by 5 minutes per step.
d.
After releasing the left mouse button, the end time prompt is shown, and a
time zone with the specified access permission is finished.
e.
Repeat steps a, b, c and d to setup all the time zones for this date type.
44
Содержание Flex1.0
Страница 14: ...Fig 2 4 Fig 2 5 Click Finish to complete the installation 7 ...
Страница 16: ...Fig 2 8 9 ...
Страница 42: ...1 Click the Close button on the top menu or 2 Click the small X box on the top right hand corner 35 ...
Страница 54: ...Fig 6 2 Fig 6 3 47 ...
Страница 85: ...Figure 8 27 Department data edit window 78 ...
Страница 98: ...Fig 10 9 Message of out of date records deleted 91 ...
Страница 110: ...Fig 11 15 Event warning message dialog 103 ...
Страница 122: ...Notes 115 ...

