QuadroE1/T1 Manual II: Administrator's Guide
Administrator's Graphical User Interface
QuadroE1/T1; (SW Version 3.0.x)
36
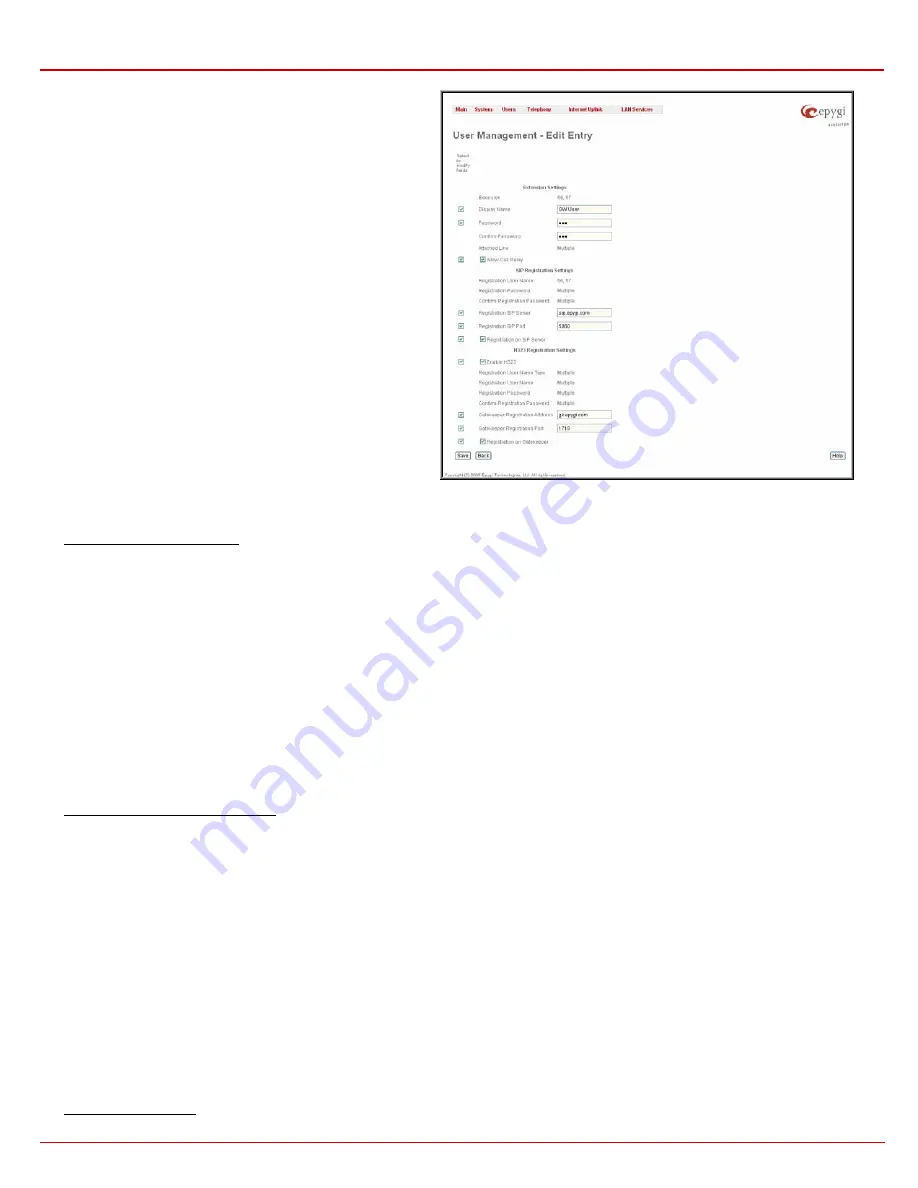
The Edit functional button provides a possibility of editing multiple
extensions. In this case, fields that cannot be edited for multiple
records have Multiple values in the Edit Entry page. When editing
user and attendant extensions together, Edit Entry page displayed
only those fields that are general for both user extension and
attendant settings. Additionally, for the fields that need to be
modified, a Select to modify fields checkbox alongside the
corresponding field needs to be selected to submit changes,
otherwise the fields will not be updated.
Delete removes the selected extensions. If no records are selected
an error message occurs.
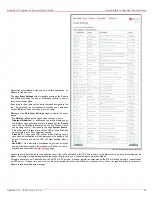
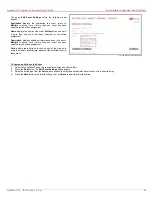
Fig. II-52: User Management - Edit Entry page for multiple edit operation
To Configure a User Extension
1.
Press
the
Add button on the User Management page. The Add Entry page will appear in the browser window.
2.
Enter the desired extension number in the Extension text field and select “User Extension” in Type drop down list.
3.
Press Save to create a user extension with the defined number.
4.
Select the checkbox of the newly created extension in the User Management table and press Edit button. The Edit Entry page will appear in
the browser window.
5.
Define the extension name in the Display Name text field.
6.
The extension password has to be entered into the Password text field and confirmed in the Confirm Password text field.
7.
To attach the extension to a line, select a line from the Attached Line drop down list. Now the attached extension is ready to receive and
perform calls.
8.
Enable
Call Relay option if needed.
9.
Configure
SIP Registration Settings (SIP server, port number, SIP registration user name, and the password) and Enable Registration on
SIP Server, if needed.
10.
Configure H323 Registration Settings (Enable H.323, Gatekeeper Registration Address, Gatekeeper Registration Port, Registration user
name, and the password) and enable Registration on Gatekeeper, if needed.
11.
Configure Advanced SIP Settings (User ID, Send Keep-alive Messages to Proxy, Outbound Proxy, Secondary SIP Server and Outbound
Proxy for Secondary SIP Server).
12.
To apply extension settings, press Save.
To Configure an Attendant Extension
1.
Press
the
Add button on the User Management page. The Add Entry page will appear in the browser window.
2.
Enter the desired extension number in the Extension text field and select “Attendant” in Type drop down list.
3.
Press Save to create an attendant extension with the defined number.
4.
Select the checkbox of the newly created extension in the User Management table and press Edit button. The Edit Entry page will appear in
the browser window. To access Edit Entry page for default 00 attendant extension, simply click on extension number in User Management
table and skip 1-4 steps of this guidance.
5.
Define the Attendant Display Name in the corresponding text field.
6
Configure SIP Registration Settings (SIP server, port number, SIP registration user name, and the password) and Enable Registration on
SIP Server, if needed.
7.
Configure Advanced SIP Settings (User ID, Send Keep-alive Messages to Proxy, Outbound Proxy, Secondary SIP Server and Outbound
Proxy for Secondary SIP Server).
8.
Configure
H323 Registration Settings (Registration Gatekeeper Address, port number, Registration user name, and the password) and enable
Registration on Gatekeeper, if needed.
9.
Configure
Advanced H323 Settings (User ID and H323 Gateway Settings).
10.
Choose
between
Default or Custom Attendant Scenario modes. For Default Attendant Scenario mode, Send AA digits to Routing table
checkbox can be enabled, if needed, as well as Attendant Welcome Message and Attendant Routing Welcome Message can be uploaded,
restored or downloaded to PC. Additionally Friendly Phones allowed to connect to Quadro’s Auto Attendant can be configured by pressing the
Edit Authorized Phones Database link. For Custom Attendant Scenario mode, Attendant’s custom scenario file can be uploaded and a list
of custom voice messages can be configured.
To Delete an Extension

