210
2.
Load the paper you want to print on.
3.
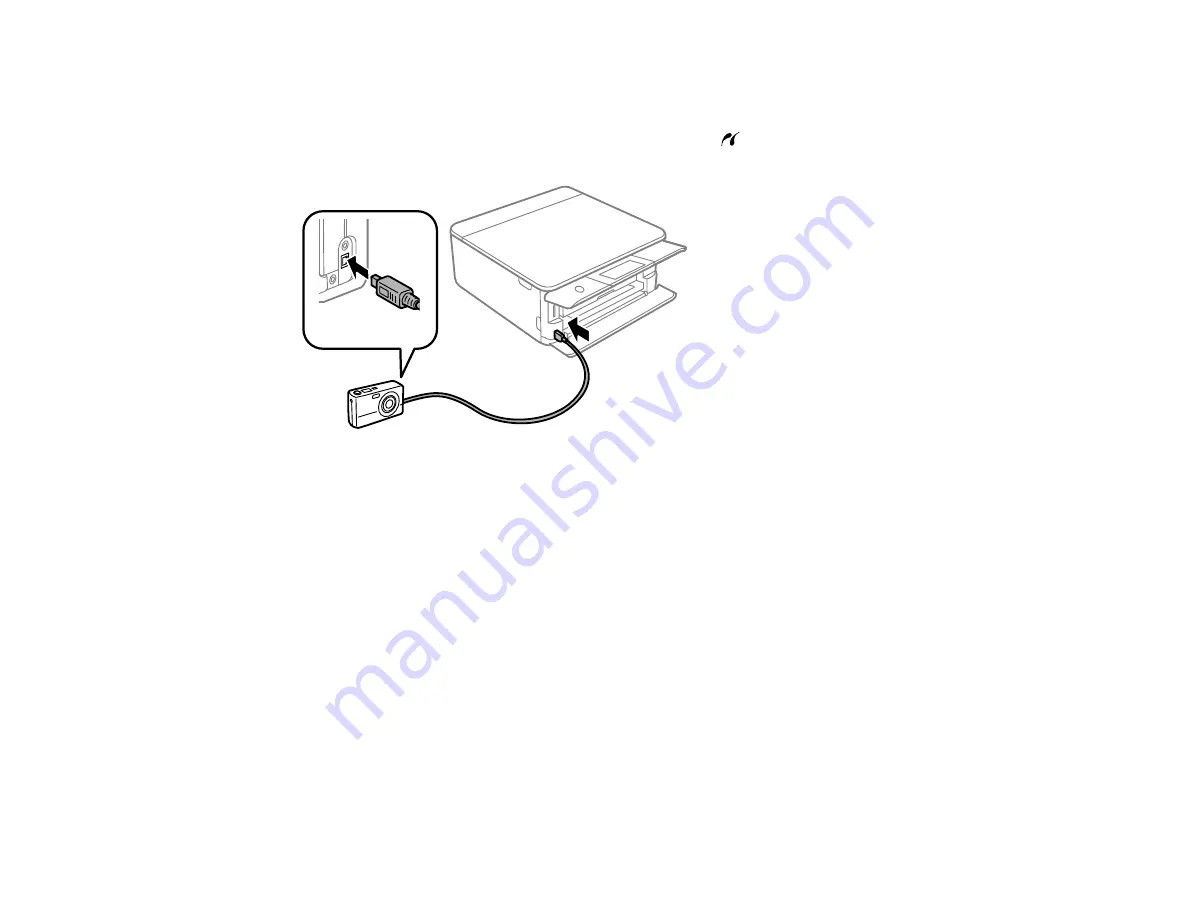
Turn on your camera.
4.
Connect the USB cable that came with your camera to the
USB port on the front of your product
and to your camera.
Note:
Use a USB cable that is no longer than 6.5 ft (2 m).
5.
Follow the instructions that came with your camera to select and print your photos.
When you finish printing, turn off your camera and disconnect it from the product.
Parent topic:
Related tasks
Removing a Memory Card
Connecting and Using a USB Flash Drive or External Device
Related topics
Printing from a Camera Wirelessly
You can print photos from a digital camera using a wireless connection. Make sure your digital camera
can connect to a network and is PictBridge compatible (DPS over IP).
Note:
You cannot use other product functions or print from other devices while using PictBridge.
Содержание XP-8700 Series
Страница 1: ...XP 8700 User s Guide ...
Страница 2: ......
Страница 13: ...13 XP 8700 User s Guide Welcome to the XP 8700 User s Guide For a printable PDF copy of this guide click here ...
Страница 63: ...63 Parent topic Changing or Updating Network Connections Related tasks Printing a Network Status Sheet ...
Страница 70: ...70 2 Open the front cover 3 Pull on the front cover to slide out the lower paper cassette ...
Страница 128: ...128 10 Select the Layout tab 11 Select the orientation of your document as the Orientation setting ...
Страница 158: ...158 You see an Epson Scan 2 window like this ...
Страница 160: ...160 You see an Epson Scan 2 window like this ...
Страница 174: ...174 You see a screen like this 2 Click the Save Settings tab ...
Страница 179: ...179 You see this window ...
Страница 205: ...205 2 Select Settings 3 Select Camera Print Settings ...
Страница 239: ...239 3 Lift up Cassette 2 and pull it out all the way 4 Raise the control panel ...
Страница 244: ...244 You see a screen like this 6 Select Print The nozzle pattern prints ...
Страница 247: ...247 You see a window like this 4 Click Print ...


