Related tasks
Changing Automatic Update Options
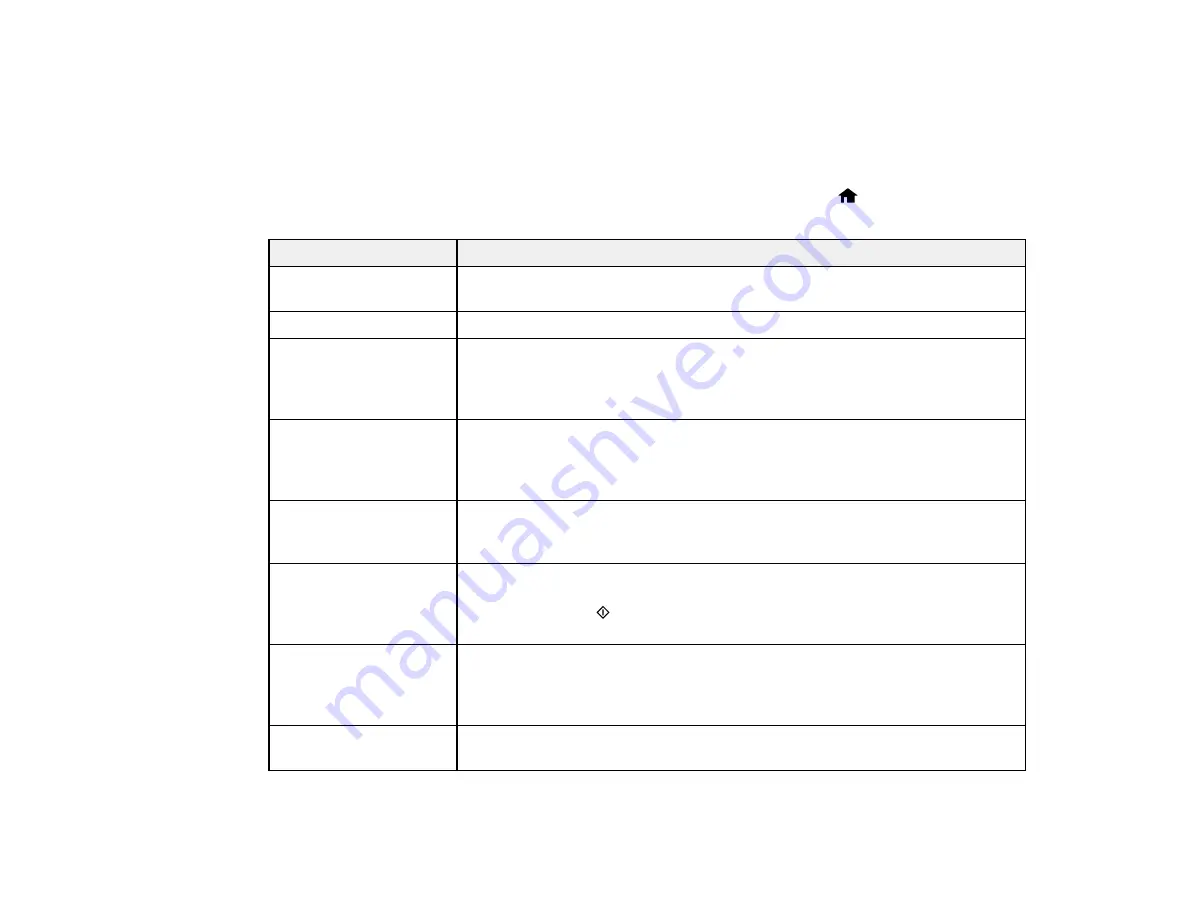
Product Status Messages
You can often diagnose problems with your product by checking the messages on its LCD screen. You
can also see help information and how-to instructions on the screen. Press the
home button, if
necessary, press the left or right arrow button, and then select
Help
.
LCD screen message
Condition/solution
Paper jam
Paper is jammed in the product. Follow the instructions on the LCD screen to
remove the jammed paper from the indicated area.
Paper out
No paper is loaded. Load paper in the product.
Photos not recognized.
There is a problem with originals placed on the product. Check to make sure
Place the photos
they are placed correctly and repeat the operation.
correctly on the scanner
glass.
Printer error. Turn the
A fatal error has occurred. Turn the product off and then back on again. If the
power off and on again.
error continues, check for a paper jam. If there is no paper jam, contact
For details, see your
Epson for support.
documentation.
Communication error.
Make sure the computer is connected to your product and your scanning
Check if a computer is
software is installed correctly.
connected.
A printer's ink pad is
The ink pads are near the end of their service life and the message will be
nearing the end of its
displayed until the ink pad is replace. Contact Epson for support. (To resume
service life. Please
printing, press the
start button.)
contact Epson Support.
A printer's ink pad is at
The ink pad is at the end of its service life. Turn off the product and contact
the end of its service life. Epson for support.
Please contact Epson
Support.
Memory card or external Make sure the memory card or external device is inserted correctly and
device not recognized.
meets the specifications for your product.
286
Содержание XP-850
Страница 1: ...XP 850 User s Guide ...
Страница 2: ......
Страница 14: ......
Страница 15: ...XP 850 User s Guide Welcome to the XP 850 User s Guide 15 ...
Страница 20: ...1 Rear paper feed slot 2 Paper support Parent topic Product Parts Locations 20 ...
Страница 120: ... Normal preview Click the Auto Locate icon to create a marquee dotted line on the preview image 120 ...
Страница 126: ...126 ...
Страница 171: ...5 Select Fax Settings for Printer Select your product if prompted You see this window 171 ...
Страница 181: ...5 Select Fax Settings for Printer Select your product if prompted You see this window 181 ...
Страница 182: ...6 Select Speed Dial Group Dial List You see this window 182 ...
Страница 219: ...2 Press the left or right arrow button and then select Setup 3 Scroll down and select External Device Setup 219 ...
Страница 273: ...273 ...
Страница 303: ...5 Press the tabs and remove the document mat 6 Carefully remove any jammed paper 303 ...


