4.
Select
Daylight Saving Time
.
5.
Select the setting that applies to your area:
•
Winter
: it is winter or your region does not use Daylight Saving Time (DST)
•
Summer
: it is spring or summer and your region uses Daylight Saving Time (DST)
After making a selection, you return to the
Basic Setup
screen.
Note:
If your region uses Daylight Saving Time (DST), you must change this setting to match the
season. When you change from
Winter
to
Summer
, your product automatically sets its clock ahead
one hour. When you change from
Summer
to
Winter
, it sets its clock back one hour.
6.
Select
Date/Time
.
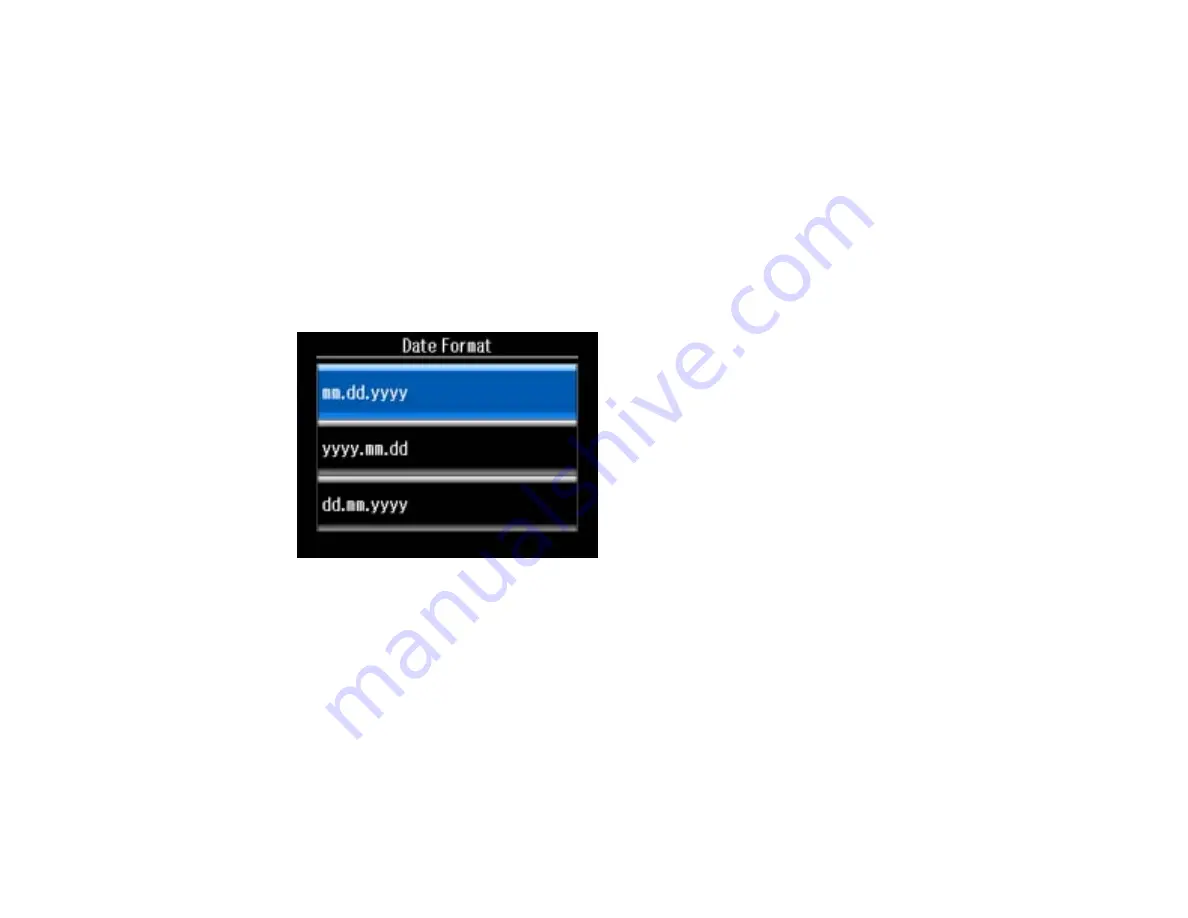
7.
Select the date format you want to use.
8.
Use the numeric keypad to enter the current date, then select
Done
.
9.
Select the time format you want to use.
10. Use the numeric keypad to enter the current time, select
AM
or
PM
if you selected a 12-hour time
format, then select
Done
.
You return to the
Basic Setup
screen.
Parent topic:
Setting Up Fax Features Using the Product Control Panel
158
Содержание XP-850
Страница 1: ...XP 850 User s Guide ...
Страница 2: ......
Страница 14: ......
Страница 15: ...XP 850 User s Guide Welcome to the XP 850 User s Guide 15 ...
Страница 20: ...1 Rear paper feed slot 2 Paper support Parent topic Product Parts Locations 20 ...
Страница 120: ... Normal preview Click the Auto Locate icon to create a marquee dotted line on the preview image 120 ...
Страница 126: ...126 ...
Страница 171: ...5 Select Fax Settings for Printer Select your product if prompted You see this window 171 ...
Страница 181: ...5 Select Fax Settings for Printer Select your product if prompted You see this window 181 ...
Страница 182: ...6 Select Speed Dial Group Dial List You see this window 182 ...
Страница 219: ...2 Press the left or right arrow button and then select Setup 3 Scroll down and select External Device Setup 219 ...
Страница 273: ...273 ...
Страница 303: ...5 Press the tabs and remove the document mat 6 Carefully remove any jammed paper 303 ...


