


4.
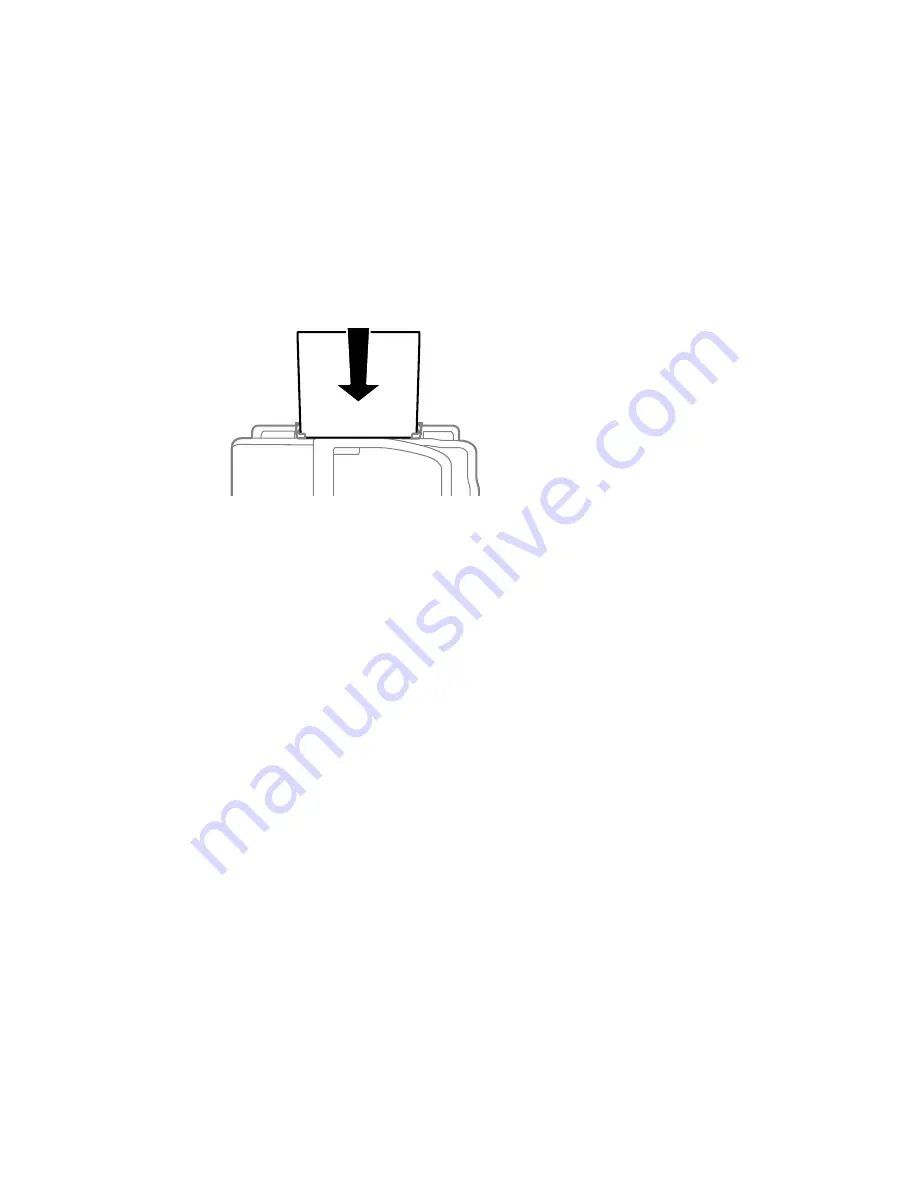
Insert the paper or envelope into the slot until the printer feeds it automatically.
Always follow these paper loading guidelines:
• Load only one sheet or one envelope at a time.
• Load paper short edge first, no matter which way your document faces.
• Load the printable side faceup.
• Load letterhead or pre-printed paper top edge first.
• Check the paper package for any additional loading instructions.
Note:
You can load a sheet of binder paper with holes in the rear feed slot, but only for one-sided
printing from your computer.
Parent topic:
Loading Paper
Related references
Paper Loading Capacity
Related tasks
Loading Paper for Documents in the Cassette
Loading Envelopes in the Cassette
52
Содержание WorkForce WF-3540
Страница 1: ...WF 3540 User s Guide ...
Страница 2: ......
Страница 13: ...WF 3540 User s Guide Welcome to the WF 3540 User s Guide 13 ...
Страница 37: ...4 Slide the edge guide to your paper size 37 ...
Страница 41: ...1 Close the paper stopper and output tray if necessary 2 Pull out the paper cassette 41 ...
Страница 42: ...3 Slide the edge guides outward 4 Slide the edge guide to your paper size 42 ...
Страница 46: ...2 Pull out the paper cassette 3 Slide the edge guides outward 46 ...
Страница 70: ...Parent topic Copying 70 ...
Страница 111: ...Note Epson Scan may start in a different mode when you first access it Parent topic Starting a Scan 111 ...
Страница 123: ... Normal preview Click the Auto Locate icon to create a marquee dotted line on the preview image 123 ...
Страница 129: ...129 ...
Страница 156: ...1 Telephone wall jack 2 DSL filter 3 DSL modem ISDN connection one phone number 156 ...
Страница 157: ...1 ISDN wall jack 2 Terminal adapter or ISDN router ISDN connection two phone numbers 157 ...
Страница 158: ...1 ISDN wall jack 2 Terminal adapter or ISDN router 158 ...
Страница 176: ...3 Select Fax Settings for Printer Select your product if prompted You see this window 176 ...
Страница 185: ...3 Select Fax Settings for Printer Select your product if prompted You see this window 185 ...
Страница 285: ...3 Carefully remove any jammed paper 4 Remove any jammed paper from the duplexer 285 ...
Страница 286: ...5 Open the duplexer 286 ...
Страница 287: ...6 Carefully remove any jammed paper stuck inside 7 Reattach the duplexer 287 ...
Страница 290: ...6 Carefully remove any jammed pages in the direction shown 290 ...


