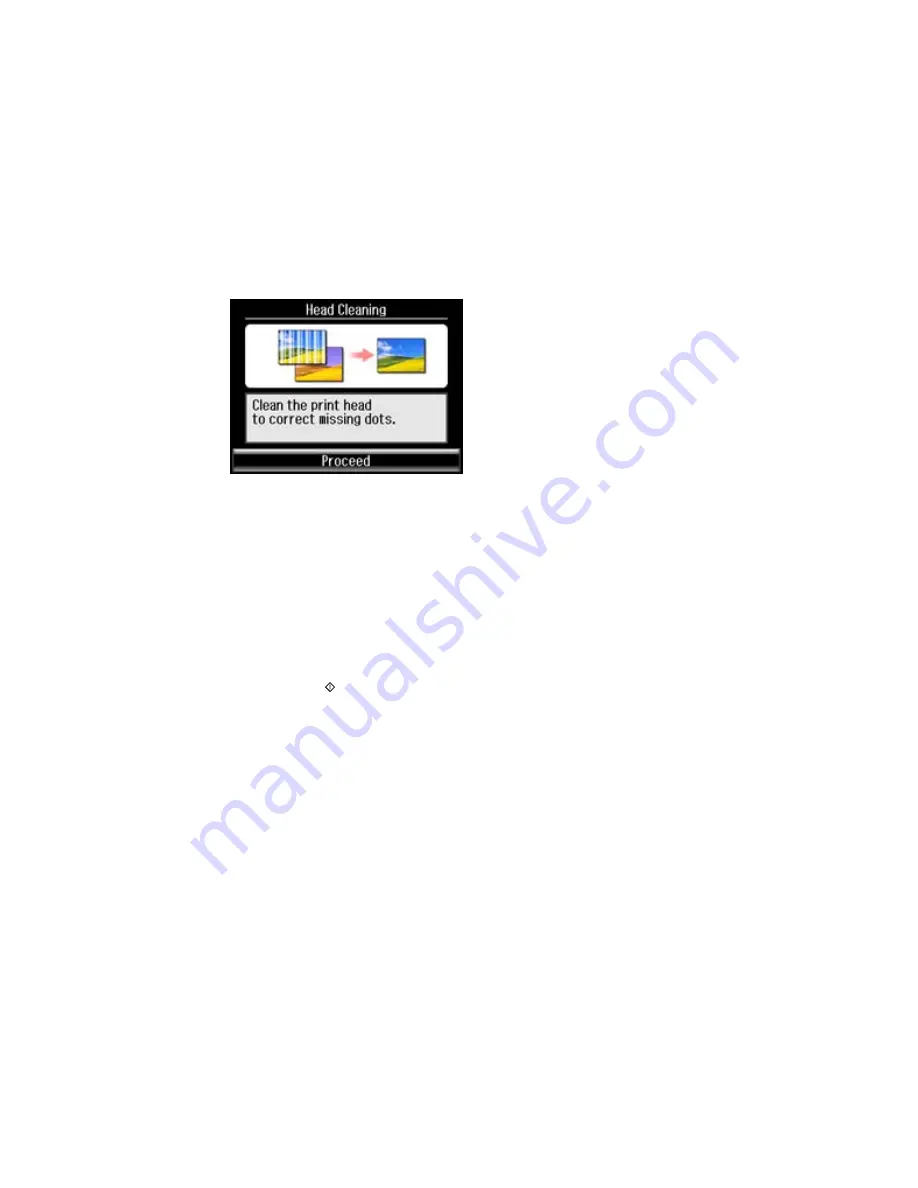
6.
Select
Proceed
.
7.
Select the cleaning cycle you want to run.
Note:
Use the nozzle check pattern to determine which colors need cleaning. You can save ink by
cleaning only selected colors.
When the cleaning cycle is finished, you see a message on the screen.
Caution:
Never turn off the product during a cleaning cycle or you may damage it.
8.
Select
Print Nozzle Check Pattern
.
9.
Press one of the
buttons to confirm that the print head is clean.
If you don’t see any improvement after cleaning the print head up to 4 times, wait at least 6 hours. Then
try cleaning the print head again. If quality still does not improve, one of the ink cartridges may be old or
damaged and needs to be replaced.
Parent topic:
Print Head Cleaning
Related tasks
Cleaning the Print Head Using a Computer Utility
Checking the Nozzles Using the Product Touch Panel
Related topics
Replacing Ink Cartridges and Maintenance Boxes
256
Содержание WorkForce WF-3540
Страница 1: ...WF 3540 User s Guide ...
Страница 2: ......
Страница 13: ...WF 3540 User s Guide Welcome to the WF 3540 User s Guide 13 ...
Страница 37: ...4 Slide the edge guide to your paper size 37 ...
Страница 41: ...1 Close the paper stopper and output tray if necessary 2 Pull out the paper cassette 41 ...
Страница 42: ...3 Slide the edge guides outward 4 Slide the edge guide to your paper size 42 ...
Страница 46: ...2 Pull out the paper cassette 3 Slide the edge guides outward 46 ...
Страница 70: ...Parent topic Copying 70 ...
Страница 111: ...Note Epson Scan may start in a different mode when you first access it Parent topic Starting a Scan 111 ...
Страница 123: ... Normal preview Click the Auto Locate icon to create a marquee dotted line on the preview image 123 ...
Страница 129: ...129 ...
Страница 156: ...1 Telephone wall jack 2 DSL filter 3 DSL modem ISDN connection one phone number 156 ...
Страница 157: ...1 ISDN wall jack 2 Terminal adapter or ISDN router ISDN connection two phone numbers 157 ...
Страница 158: ...1 ISDN wall jack 2 Terminal adapter or ISDN router 158 ...
Страница 176: ...3 Select Fax Settings for Printer Select your product if prompted You see this window 176 ...
Страница 185: ...3 Select Fax Settings for Printer Select your product if prompted You see this window 185 ...
Страница 285: ...3 Carefully remove any jammed paper 4 Remove any jammed paper from the duplexer 285 ...
Страница 286: ...5 Open the duplexer 286 ...
Страница 287: ...6 Carefully remove any jammed paper stuck inside 7 Reattach the duplexer 287 ...
Страница 290: ...6 Carefully remove any jammed pages in the direction shown 290 ...


