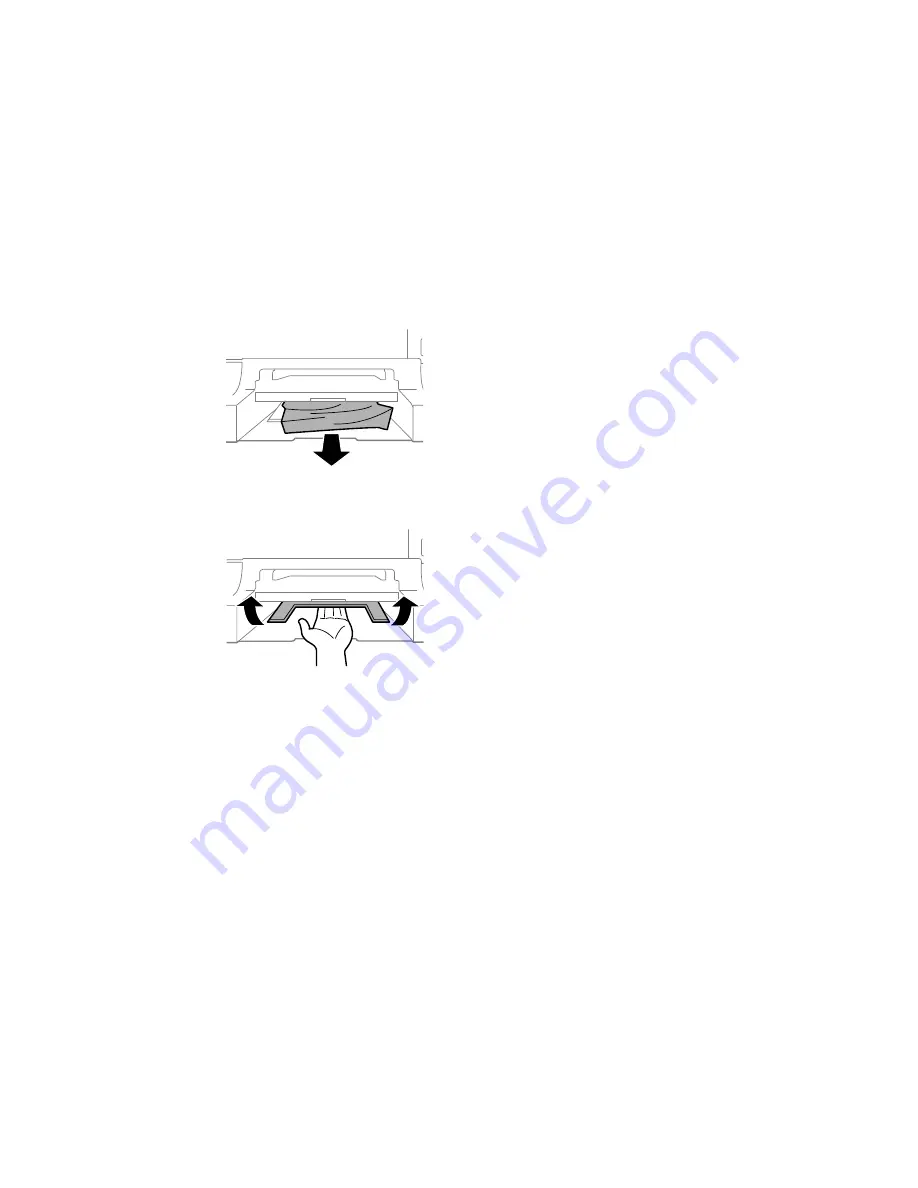
5. Carefully remove any paper jammed inside the product.
6. Raise the cover.
7. Reattach the output tray and insert the paper cassette.
8. Follow the prompts on the LCD screen to clear any error messages. If you still see a paper jam
message, check the other paper jam solutions.
Parent topic:
Solving Paper Problems
Related references
Paper Jam Problems in the Front Cover (A)
Paper Jam Problems in the Rear Paper Feed Slot (B1)
Paper Jam Problems in the Cassette (C1/C2/C3/C4)
Paper Jam Problems in the Rear Cover 1 (D1)
Paper Jam Problems in the Rear Cover (E) of the Optional Paper Cassette Unit
372
Содержание WF-R8590
Страница 1: ...WF R8590 User s Guide ...
Страница 2: ......
Страница 93: ...Note Secure the optional cassette to the cabinet as shown here 93 ...
Страница 219: ...You see this window 219 ...
Страница 242: ...4 Click OK Parent topic Scanning 242 ...
Страница 245: ...DSL connection 1 Telephone wall jack 2 DSL filter 3 DSL modem 245 ...
Страница 246: ...ISDN connection 1 ISDN wall jack 2 Terminal adapter or ISDN router 246 ...
Страница 268: ...You see this window 3 Select Fax Settings for Printer Select your product if prompted 268 ...
Страница 279: ...You see this window 3 Select Fax Settings for Printer Select your product if prompted 279 ...
Страница 280: ...You see this window 4 Select Speed Dial Group Dial List 280 ...
Страница 305: ...Parent topic Printing Fax Reports 305 ...
Страница 380: ...4 Carefully remove any jammed pages 380 ...
Страница 381: ...5 Close the ADF cover then raise the document cover 381 ...
Страница 382: ...6 Carefully remove any jammed pages 7 Lower the document cover 382 ...


