


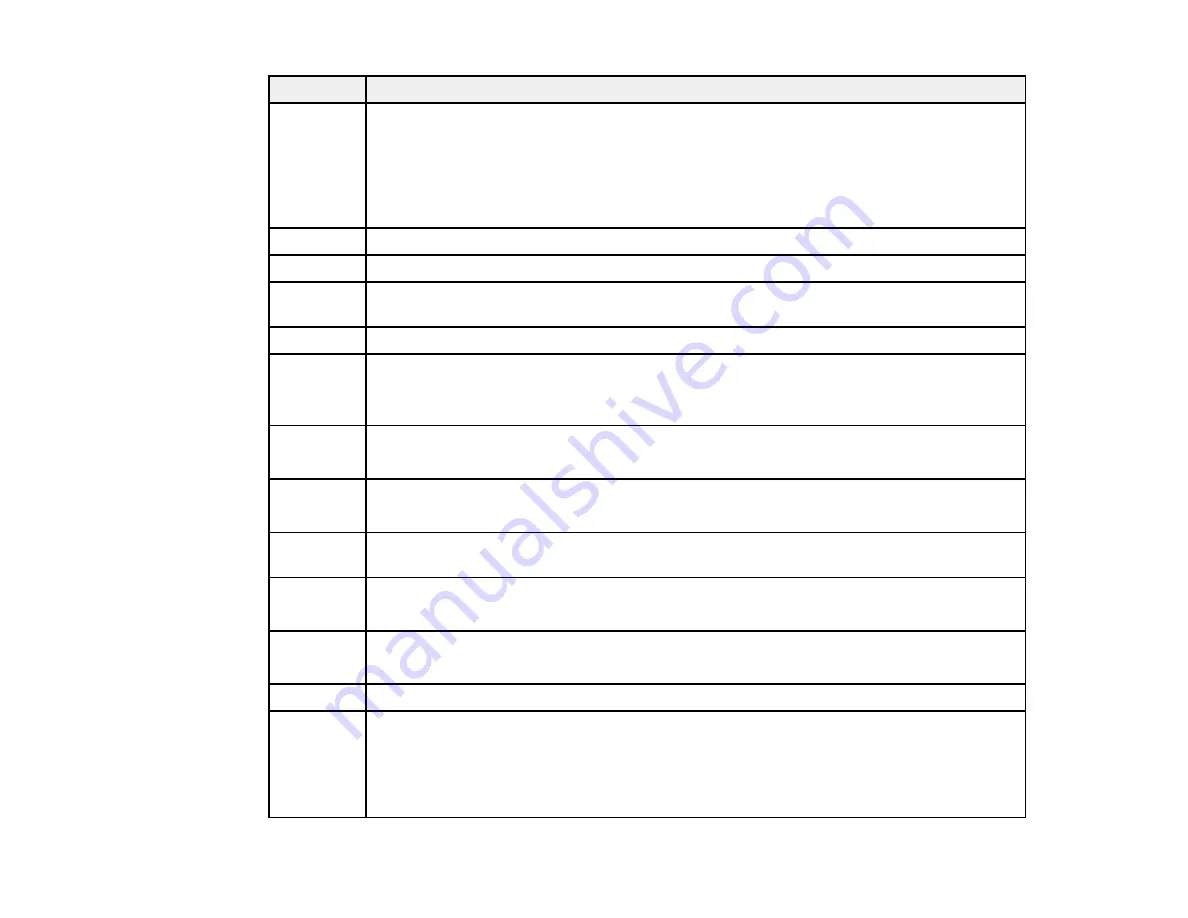
367
Code
Condition/solution
203
The product cannot detect a dial tone.
Make sure the phone cable is connected correctly and the phone line works. If you
connected the product to a PBX (Private Branch Exchange) phone line or Terminal
Adapter, change the
Line Type
setting to
PBX
. If you still cannot send a fax, turn off the
Dial Tone Detection
setting. (Turning off the Dial Tone Detection setting may cause the
product to drop the first digit of a fax number.)
204
The recipient's fax machine is busy. Wait a moment, then try again.
205
The recipient's fax machine does not answer. Wait a moment, then try again.
206
The phone cable is incorrectly connected to the product's
LINE
and
EXT
ports. Connect
the phone cable correctly.
207
The phone cable is not connected. Connect the phone cable.
208
The fax could not be sent to some of the specified recipients.
Print a fax log to check which recipients failed to receive the fax. If the
Save Failure Data
setting is turned on, you can resend a fax from Job Status in the Job/Status Menu.
301
401
There is not enough storage space available to save the data in the external memory
device. Clear space on the device or use a different device.
302
402
The external memory device is write-protected. Disable write protection.
303
No folder is available for saving the scanned file. Create a folder or use a different
memory device.
304
404
The external memory device has been removed. Reinsert the device.
305
405
An error occurred while saving data to an external memory device. Reinsert the memory
device or use a different device.
306
The product's memory is full. Wait until current jobs are finished processing.
311
321
411
421
A DNS error has occurred. Check the DNS settings for the server, computer, or access
point. DNS settings for the server can be checked from the DNS Server option in the
Setup menu.
Содержание WF-C869R
Страница 1: ...WF C869R User s Guide ...
Страница 2: ......
Страница 20: ...20 8 Attach the front cover to the stands 9 Remove the output tray from the product ...
Страница 25: ...25 5 Remove the output tray 6 Remove paper cassette 2 from the product ...
Страница 29: ...29 11 Insert a label into the holder indicating the paper size to be loaded in each of the paper cassettes ...
Страница 37: ...37 2 Select Settings 3 Select General Settings 4 Select Basic Settings 5 Select Date Time Settings ...
Страница 56: ...56 8 Optional cabinet 1 Rear paper feed edge guides 2 Paper support and extension ...
Страница 74: ...74 Parent topic Product Basics Related topics Wi Fi or Wired Networking ...
Страница 142: ...142 You see this window 3 Select the double sided printing options you want to use 4 Click OK to return to the Main tab ...
Страница 223: ...223 You see an Epson Scan 2 window like this ...
Страница 225: ...225 You see an Epson Scan 2 window like this ...
Страница 230: ...230 You see this window ...
Страница 246: ...246 DSL connection 1 Telephone wall jack 2 DSL filter 3 DSL modem ...
Страница 247: ...247 ISDN connection 1 ISDN wall jack 2 Terminal adapter or ISDN router ...
Страница 255: ...255 3 Select General Settings 4 Scroll down and select Fax Settings 5 Select Basic Settings 6 Select Rings to Answer ...
Страница 329: ...329 6 Pull out rear cover 2 D2 7 Remove the roller cover inside the printer ...
Страница 334: ...334 5 Open the rear cover E that matches with the paper cassette you removed ...
Страница 343: ...343 You see a window like this 4 Click Print ...
Страница 354: ...354 Parent topic Adjusting Print Quality Related topics Loading Paper ...
Страница 388: ...388 3 Carefully remove any jammed paper 4 Pull out rear cover 2 D2 ...
Страница 390: ...390 2 Open rear cover E on the optional paper cassette unit with the jammed paper ...
Страница 393: ...393 4 Carefully remove any jammed pages ...
Страница 394: ...394 5 Close the ADF cover then raise the document cover ...
Страница 395: ...395 6 Carefully remove any jammed pages 7 Lower the document cover ...


