240
9.
Load plain paper or an envelope in your product.
10. Access the print settings in your print application.
11. Select
Print Settings
from the pop-up menu.
12. Select
Plain Paper/Bright White Paper
or
Envelope
as the paper type setting.
13. Select the
Grayscale
option.
14. Click
to print your document.
Parent topic:
Printing with Black Ink and Expended Color Cartridges
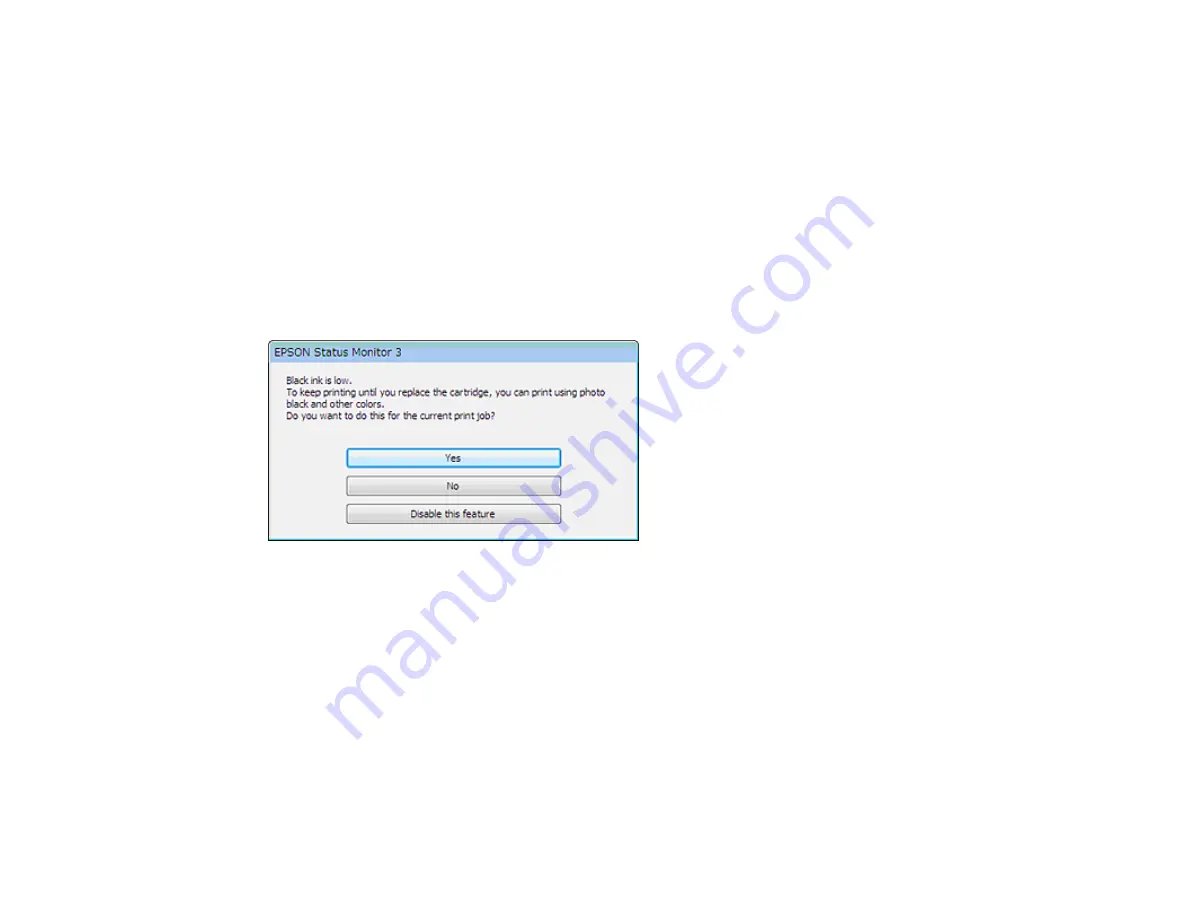
Conserving Low Black Ink with Windows
The following window appears when black ink runs low and there is more color ink.
Note:
The window appears only when you have selected
Plain Paper/Bright White Paper
as the paper
type setting, and depends on other selected print settings. To use this feature, Epson Status Monitor
must be enabled.
• Click
Yes
to use a mixture of color inks to create black, or
No
to continue using the remaining black ink
for the document you are printing.
• Click
Disable this feature
to continue using the remaining black ink.
Note:
If you disable this feature, it remains disabled until you install a new black ink cartridge.
Parent topic:
Содержание WF-7710 series
Страница 1: ...WF 7710 WF 7720 User s Guide ...
Страница 2: ......
Страница 61: ...61 2 Pull out the paper cassette and remove the paper cassette cover 3 Slide the edge guides outward ...
Страница 67: ...67 3 Slide the edge guides outward 4 Slide the edge guide to your paper size ...
Страница 76: ...76 3 Open the rear paper feed slot and push it back 4 Slide out the edge guides ...
Страница 94: ...94 4 Slide the ADF edge guide against the originals but not too tightly ...
Страница 125: ...125 10 Select the Layout tab 11 Select the orientation of your document as the Orientation setting ...
Страница 152: ...152 You see an Epson Scan 2 window like this ...
Страница 154: ...154 You see an Epson Scan 2 window like this ...
Страница 156: ...156 1 Start Epson Scan 2 You see this window ...
Страница 167: ...167 DSL connection 1 Telephone wall jack 2 DSL filter 3 DSL modem ...
Страница 168: ...168 ISDN connection 1 ISDN wall jack 2 Terminal adapter or ISDN router ...
Страница 248: ...248 You see a window like this 5 Click Print ...
Страница 260: ...260 2 Lift up the scanner unit 3 Make sure the print head is in the home position on the right ...
Страница 286: ...286 Front 6 Open the duplexer ...
Страница 287: ...287 7 Carefully remove any jammed paper stuck inside 8 Reinstall the duplexer ...


