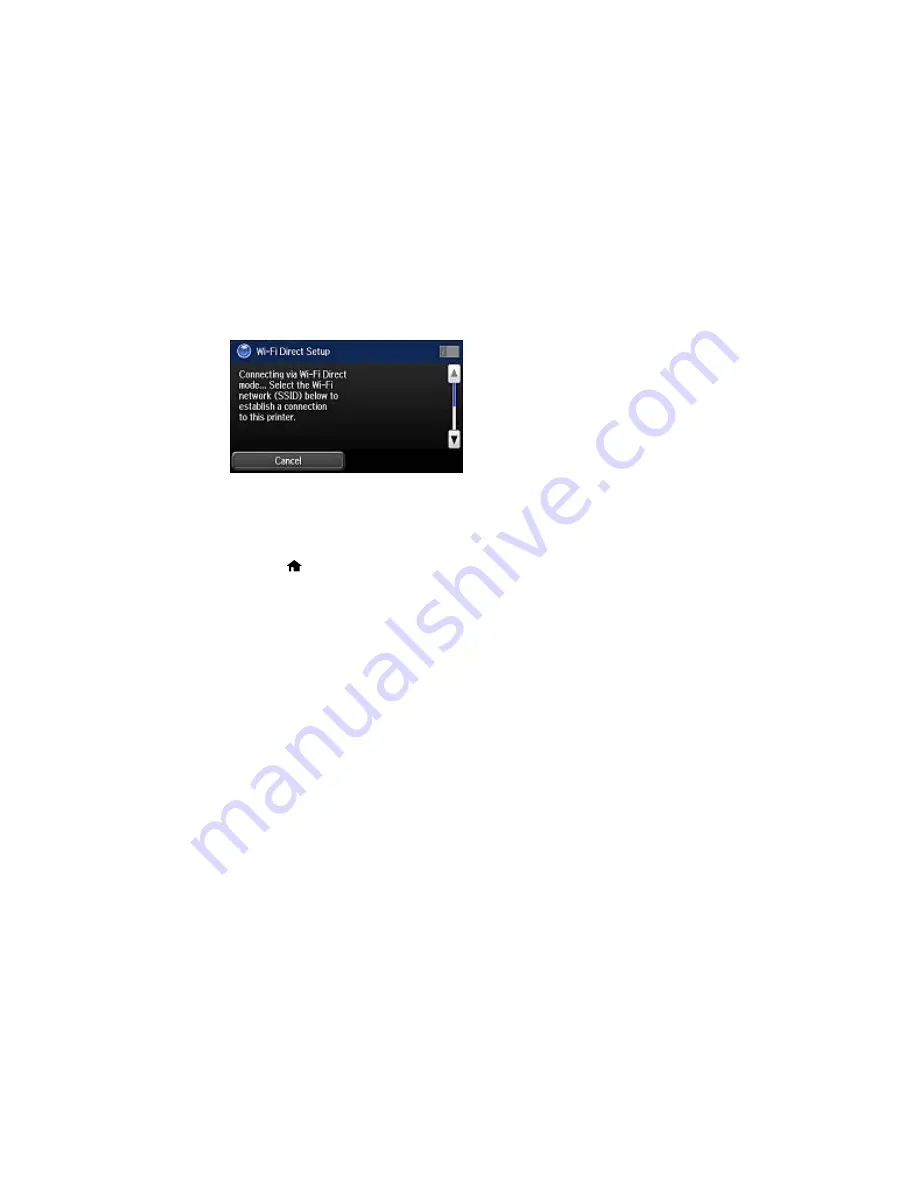
The product sets up the network and displays the Wi-Fi network name (SSID) and password. You
see a screen like this:
7.
Scroll down to view the SSID and password.
8.
Use your computer or wireless device to select the SSID displayed on the LCD screen, then enter
the password shown.
9.
Press the
home button to exit.
You see either an
AP
or
Direct
connection symbol on the LCD screen and should be able to print
directly to your product from your computer or device.
Note:
If the
AP
or
Direct
connection symbol is not displayed on the LCD screen, Wi-Fi Direct mode
is not enabled. Repeat these steps to try again.
Parent topic:
Wi-Fi Direct Mode Setup
Related references
Status Icon Information
Related tasks
Entering Characters on the LCD Screen
Changing the Wi-Fi Direct Password
You can change the Wi-Fi Direct password from the default to improve the security of your Wi-Fi Direct
connections.
Содержание WF-6530
Страница 1: ...WF 6530 User s Guide ...
Страница 47: ...6 Select Yes to disable Wi Fi Parent topic Changing or Updating Network Connections ...
Страница 52: ...1 Flip the feeder guard forward and pull up the paper support and extension 2 Slide the edge guides outward ...
Страница 71: ......
Страница 74: ...3 Insert the originals into the ADF faceup and top edge first The ADF icon on the control panel lights up ...
Страница 135: ...You see this window 3 Click Network printer search 4 When you see the search results select Add found printers ...
Страница 165: ...You see this window ...
Страница 191: ...DSL connection 1 Telephone wall jack 2 DSL filter 3 DSL modem ...
Страница 192: ...ISDN connection 1 ISDN wall jack 2 Terminal adapter or ISDN router ...
Страница 225: ...You see this window 4 Select Speed Dial Group Dial List ...
Страница 289: ...6 Raise the lever and open the ADF cover F ...
Страница 312: ...3 Remove the output tray and pull out the paper cassette 4 Pull the lever to lower the cover ...
Страница 314: ...2 Pull out the paper cassette 3 Carefully remove any paper jammed inside the product ...
Страница 316: ...3 Carefully remove any jammed paper Caution Do not touch the paper feed mechanism 4 Pull out rear cover 2 D2 ...
Страница 318: ...3 Raise the lever and open the ADF cover ...
Страница 319: ...4 Carefully remove any jammed pages ...
Страница 320: ...5 Close the ADF cover then raise the document cover ...
Страница 321: ...6 Carefully remove any jammed pages ...


