Note:
The network name and password are case sensitive. Be sure to correctly enter uppercase and
lowercase letters, and numeric or special characters.
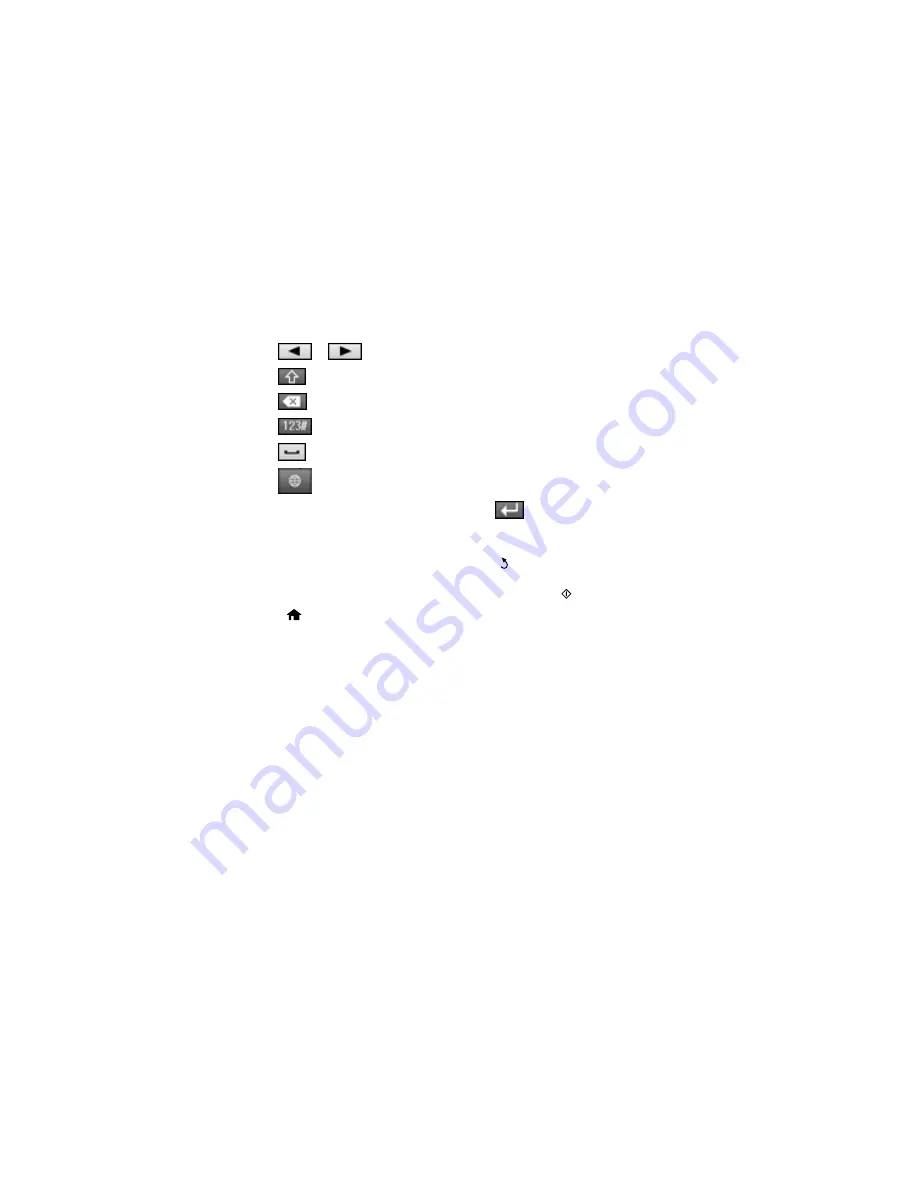
• Press
or
to move the cursor.
• Press
to change the case of letters.
• Press
to delete the previous character.
• Press
to enter numbers and symbols.
• Press
to enter a space.
• Press
to change the keyboard layout.
8.
When you finish entering your password, press
and select
Proceed
.
9.
Confirm the displayed network settings and select
OK
to save them.
Note:
If you need to change a setting, press the
back button.
10. If you want to print a network setup report, press one of the
buttons. (Otherwise, select
Done
.)
11. Press the
home button to exit.
Your product should now be connected to the network.
Note:
If the Wi-Fi connection symbol isn't lit or doesn't appear on the LCD screen, you may have
selected the wrong network name or entered the password incorrectly. Repeat these steps to try
again.
Parent topic:
Wi-Fi Infrastructure Mode Setup
Related references
Status Icon Information
Status Icon Information
Related tasks
Entering Characters on the LCD Screen
Entering Characters on the LCD Screen
Содержание WF-6530
Страница 1: ...WF 6530 User s Guide ...
Страница 47: ...6 Select Yes to disable Wi Fi Parent topic Changing or Updating Network Connections ...
Страница 52: ...1 Flip the feeder guard forward and pull up the paper support and extension 2 Slide the edge guides outward ...
Страница 71: ......
Страница 74: ...3 Insert the originals into the ADF faceup and top edge first The ADF icon on the control panel lights up ...
Страница 135: ...You see this window 3 Click Network printer search 4 When you see the search results select Add found printers ...
Страница 165: ...You see this window ...
Страница 191: ...DSL connection 1 Telephone wall jack 2 DSL filter 3 DSL modem ...
Страница 192: ...ISDN connection 1 ISDN wall jack 2 Terminal adapter or ISDN router ...
Страница 225: ...You see this window 4 Select Speed Dial Group Dial List ...
Страница 289: ...6 Raise the lever and open the ADF cover F ...
Страница 312: ...3 Remove the output tray and pull out the paper cassette 4 Pull the lever to lower the cover ...
Страница 314: ...2 Pull out the paper cassette 3 Carefully remove any paper jammed inside the product ...
Страница 316: ...3 Carefully remove any jammed paper Caution Do not touch the paper feed mechanism 4 Pull out rear cover 2 D2 ...
Страница 318: ...3 Raise the lever and open the ADF cover ...
Страница 319: ...4 Carefully remove any jammed pages ...
Страница 320: ...5 Close the ADF cover then raise the document cover ...
Страница 321: ...6 Carefully remove any jammed pages ...


