


1.
Press the
Status
button.
2.
Select
Printer Information
.
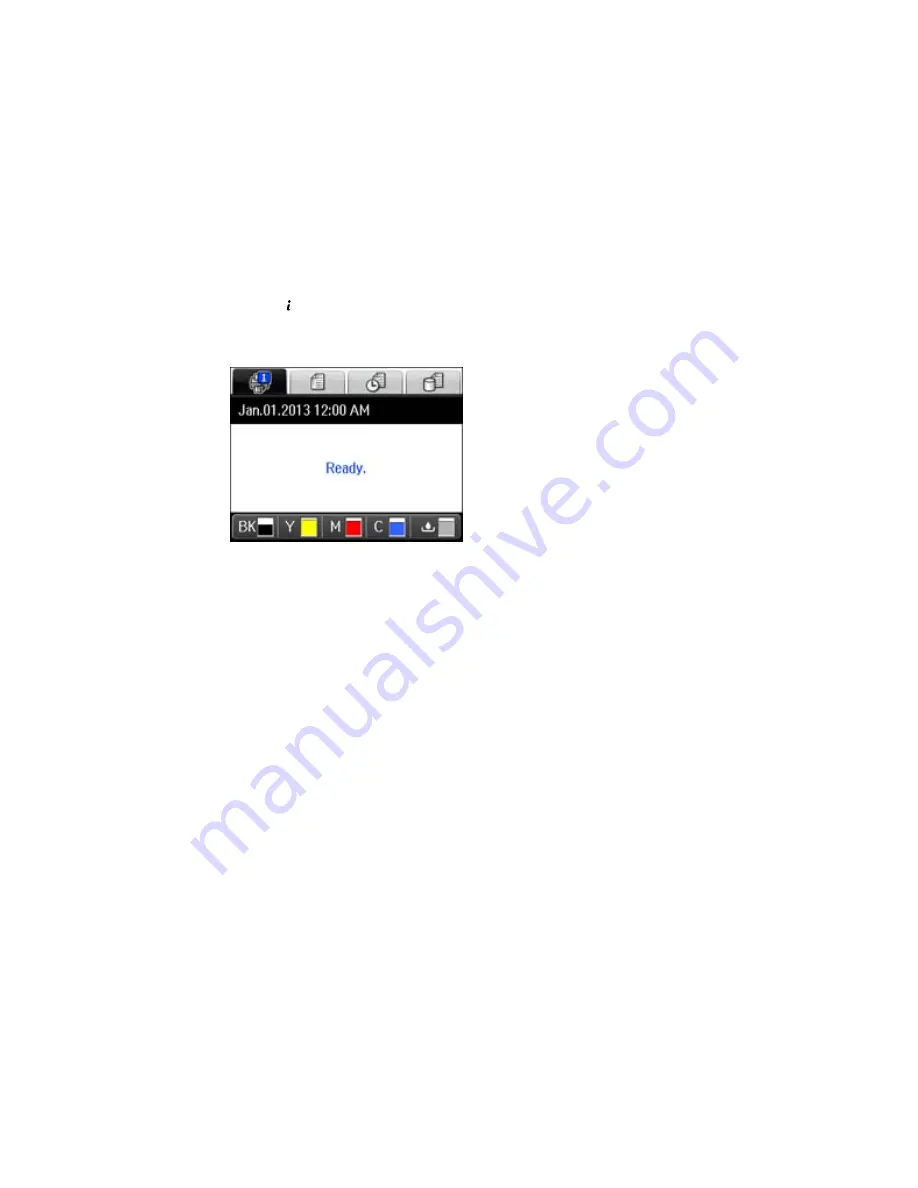
You see a screen like this:
The ink and maintenance box levels are displayed at the bottom of the screen.
Note:
The displayed ink and maintenance box levels are approximate.
3.
For more information, select the ink cartridge images at the bottom of the screen.
Parent topic:
Check Cartridge and Maintenance Box Status
Checking Cartridge and Maintenance Box Status with Windows
A low ink reminder appears if you try to print when ink is low, and you can check your cartridge or
maintenance box status at any time using a utility on your Windows computer.
1.
To check your status, access the Windows Desktop, double-click the product icon in the Windows
taskbar, and click
Details
.
226
Содержание WF-5620
Страница 1: ...WF 5620 User s Guide ...
Страница 2: ......
Страница 13: ...WF 5620 User s Guide Welcome to the WF 5620 User s Guide For a printable PDF copy of this guide click here 13 ...
Страница 119: ...You see a window like this 2 Click the Scan icon 119 ...
Страница 130: ...1 In the Preview window click the Auto Locate icon to create a marquee dotted line on the preview image 130 ...
Страница 134: ...You see this window 134 ...
Страница 157: ...DSL connection 1 Telephone wall jack 2 DSL filter 3 DSL modem ISDN connection one phone number 157 ...
Страница 162: ...2 Select Setup 3 Scroll down and select System Administration Enter the administrator password if necessary 162 ...
Страница 180: ...You see this window 3 Select Fax Settings for Printer Select your product if prompted 180 ...
Страница 192: ...2 Select FAX Utility You see this window 3 Select Fax Settings for Printer Select your product if prompted 192 ...
Страница 193: ...You see this window 4 Select Speed Dial Group Dial List 193 ...
Страница 241: ...Related references Ink Cartridge and Maintenance Box Part Numbers 241 ...
Страница 276: ...2 Open the front cover 3 Remove any paper inside including torn pieces 4 Close the front cover 276 ...


