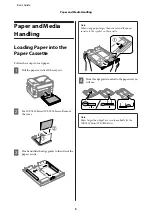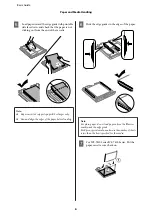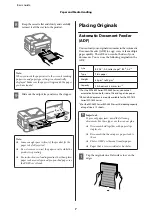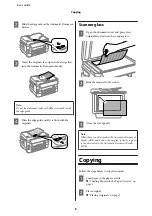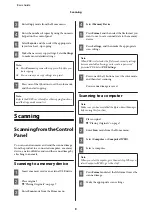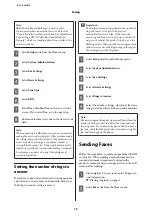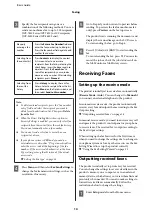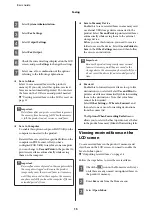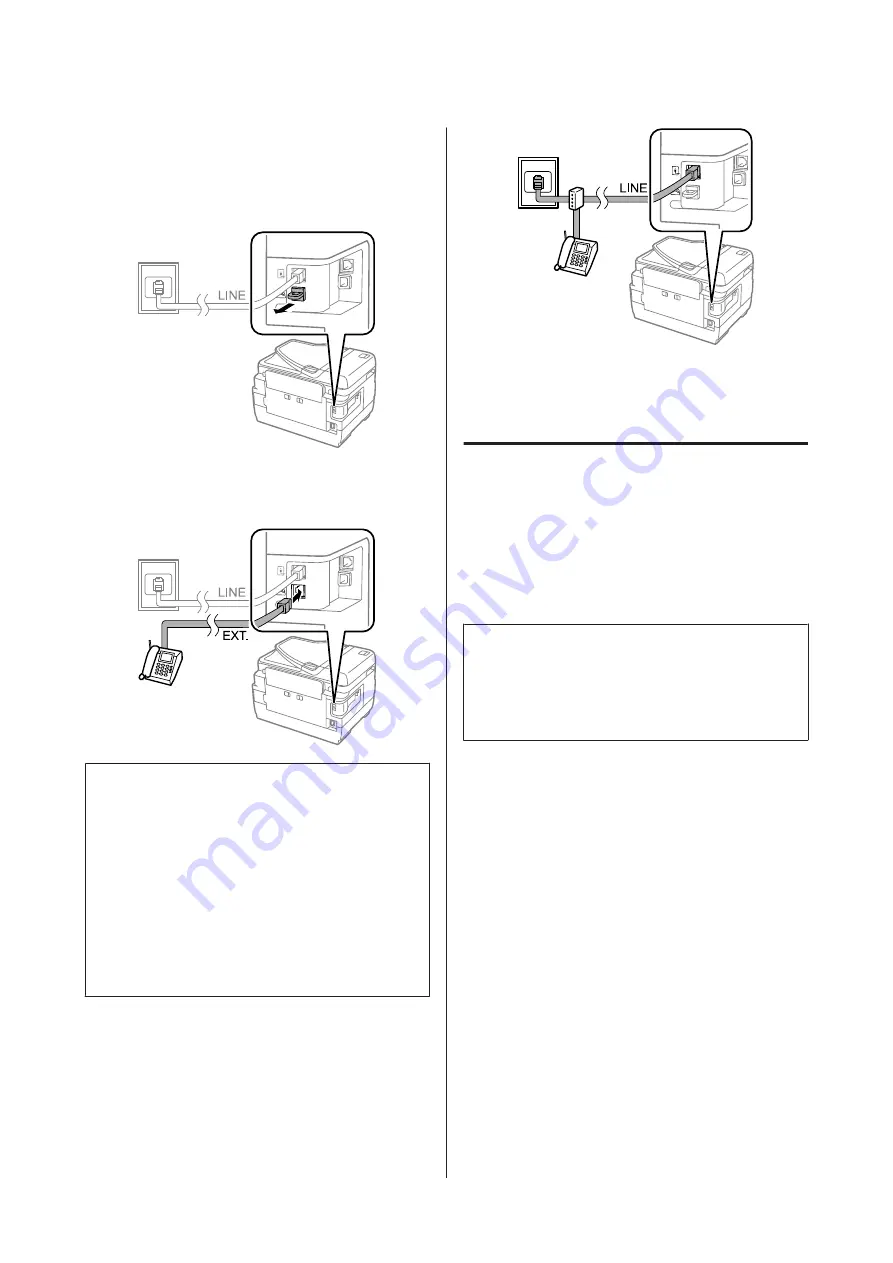
Single phone line
A
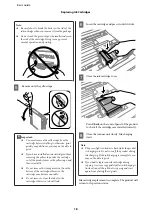
Remove the cap from the
EXT
port on the
product.
B
Connect a second phone cable to your telephone
or answering machine and to the
EXT
port.
c
Important:
❏
When sharing a single phone line with the
phone and the product, make sure you connect
the phone to the product’s
EXT
port.
Otherwise, the phone and product may not
work properly.
❏
When connecting an answering machine, you
may need to change the product’s Rings to
Answer setting.
&
“Setting the number of rings to answer” on
page 13
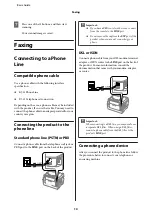
Two phone lines (example of ISDN)
Connect a second phone cable to your telephone or
answering machine and to the port on the terminal
adapter or ISDN router.
Setting Up for Faxing
Using the Fax Setting Wizard
The product’s Fax Setting Wizard menu guides you
through setting up the basic fax features. The wizard is
automatically displayed when the product is turned on
for the first time. If you have already configured the
settings, skip this section unless you need to change the
settings.
c
Important:
Before starting the wizard, make sure you have
connected the product and your phone device to the
phone line correctly.
&
“Connecting to a Phone Line” on page 10
A
Enter
Setup
mode from the Home menu.
B
Select
System Administration
.
C
Select
Fax Settings
.
D
Select
Fax Setting Wizard
.
The Fax Setting Wizard screen is displayed. Press
Start
to continue.
E
On the Fax Header screen, enter the sender’s
name (up to 40 characters).
Basic Guide
Faxing
11
Содержание WF-3620 series
Страница 1: ...Basic Guide ...
Страница 32: ... 2013 Seiko Epson Corporation All rights reserved Printed in XXXXXX ...

