64
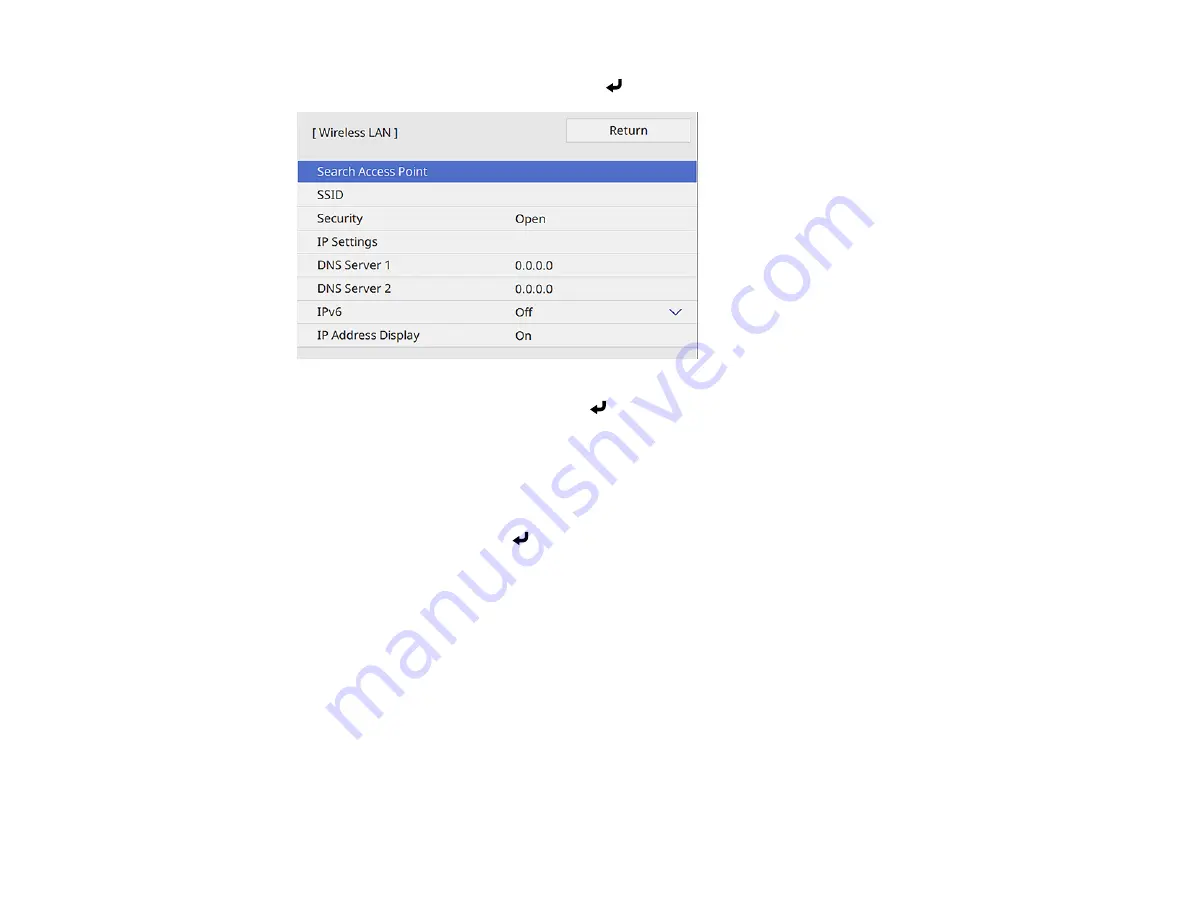
10. Select the
Wireless LAN
menu and press
Enter
.
11. Select
Search Access Point
and press
Enter
.
The projector searches for wireless networks.
12. Select the network you want to connect to and enter the password, if necessary.
Note:
If you need to assign the SSID manually, select
SSID
to enter the SSID.
13. Select
IP Settings
and press
Enter
.
14. Select your IP settings as necessary:
• If your network assigns addresses automatically, turn on the
DHCP
setting.
• If you must set addresses manually, turn off
DHCP
and enter the projector's
IP Address
,
Subnet
Mask
, and
Gateway Address
as needed.
Note:
Do not use these addresses: 0.0.0.0, 127.x.x.x, 192.0.2.x or 224.0.0.0 through
255.255.255.255 (where x is a number from 0 to 255) for
IP Address
, 255.255.255.255 or 0.0.0.0
through 254.255.255.255 for
Subnet Mask
, and 0.0.0.0, 127.x.x.x or 224.0.0.0 through
255.255.255.255 for
Gateway Address
. For DNS Server addresses, do not use the following IP
Содержание V11H923620
Страница 1: ...PowerLite EB 800F 805F User s Guide ...
Страница 2: ......
Страница 25: ...25 Projector Parts Remote Control 1 Power button 2 HDMI button cycles through connected HDMI sources ...
Страница 53: ...53 3 Select the Network menu and press Enter 4 Select Network Settings and press Enter ...
Страница 62: ...62 3 Select the Management menu and press Enter 4 Select On as the Wireless LAN Power setting ...
Страница 81: ...81 You see the Web Control screen In normal mode ...
Страница 86: ...86 You see the Epson Web Control screen 3 Select Crestron Connected ...
Страница 193: ...193 You see a screen like this ...
Страница 197: ...197 Parent topic Scheduling Projector Events ...
Страница 275: ...275 Related references Projector Light Status ...
Страница 286: ...286 Top Side ...
Страница 303: ...303 Copyright Attribution 2020 Epson America Inc 10 20 CPD 59311R1 Parent topic Copyright Notice ...


