189
2.
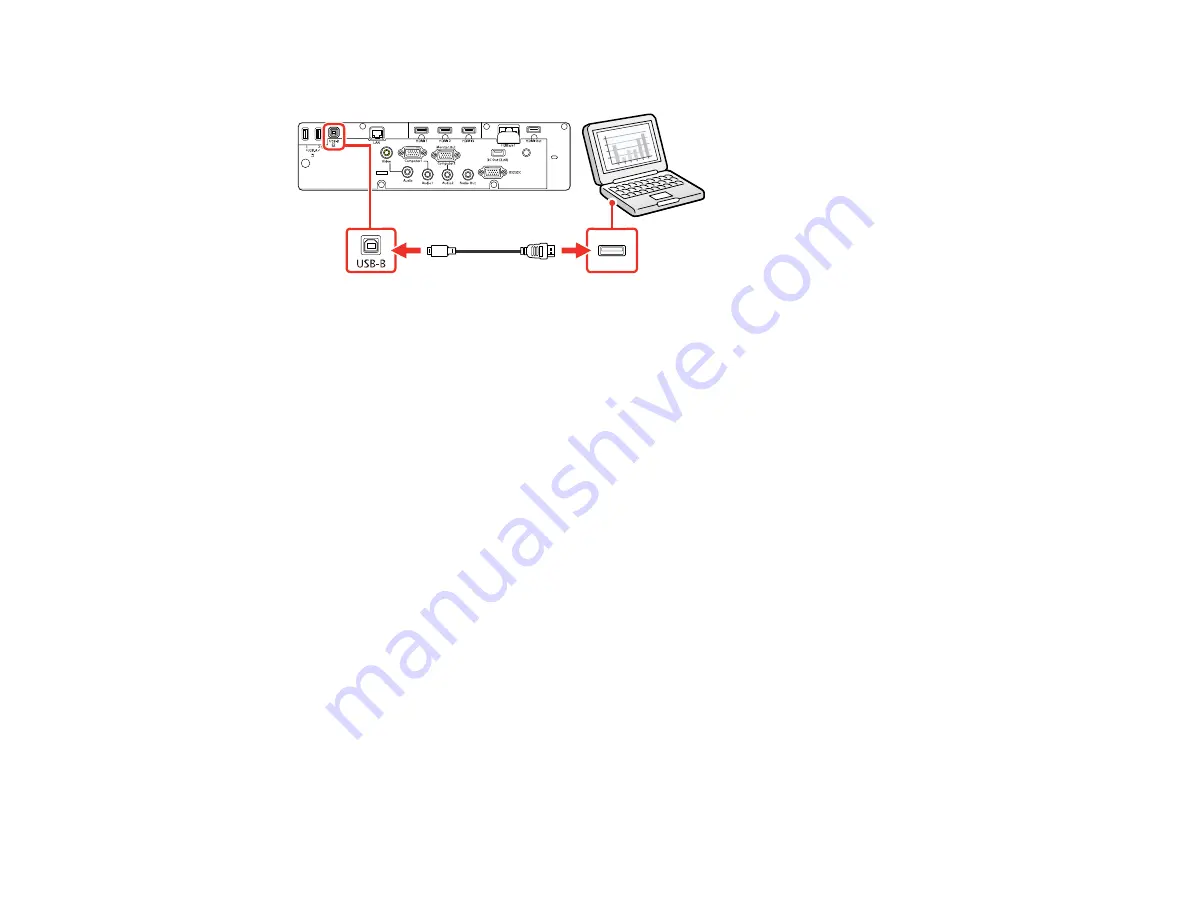
Connect a USB cable to your projector's
USB-B
port.
3.
Connect the other end to any available USB port on your computer.
4.
Press and hold the
Esc
button on the control panel or remote control as you connect the power cord
to the projector's power inlet.
5.
When the On/Standby and Status lights are blue, and the Laser and Temp lights are orange, release
the
Esc
button.
The projector shows up as a removable disk on your computer.
6.
Open the removable disk and copy the
pjconfdata.bin
file to your computer.
7.
Once the file has copied, do one of the following:
•
Windows:
Open the
My Computer
,
Computer
,
Windows Explorer
, or
File Explorer
utility.
Right-click the name of your projector (listed as a removable disk) and select
Eject
.
•
Mac:
Drag the removable disk icon for your projector from the desktop into the trash.
The projector turns off when you disconnect the USB cable.
Note:
If the projector does not turn off and the lights continue flashing, see the link below for a
solution.
Parent topic:
Copying Menu Settings Between Projectors
Related references
Содержание V11H923620
Страница 1: ...PowerLite EB 800F 805F User s Guide ...
Страница 2: ......
Страница 25: ...25 Projector Parts Remote Control 1 Power button 2 HDMI button cycles through connected HDMI sources ...
Страница 53: ...53 3 Select the Network menu and press Enter 4 Select Network Settings and press Enter ...
Страница 62: ...62 3 Select the Management menu and press Enter 4 Select On as the Wireless LAN Power setting ...
Страница 81: ...81 You see the Web Control screen In normal mode ...
Страница 86: ...86 You see the Epson Web Control screen 3 Select Crestron Connected ...
Страница 193: ...193 You see a screen like this ...
Страница 197: ...197 Parent topic Scheduling Projector Events ...
Страница 275: ...275 Related references Projector Light Status ...
Страница 286: ...286 Top Side ...
Страница 303: ...303 Copyright Attribution 2020 Epson America Inc 10 20 CPD 59311R1 Parent topic Copyright Notice ...


