149
The image you select as the User's Logo can be a photo, graphic, or company logo, which is useful in
identifying the projector's owner to help deter theft. You can prevent changes to the User's Logo by
setting up password protection for it.
Note:
When you copy the menu settings from one projector to another using the batch setup feature, the
user logo is also copied. Do not include any information in the user logo that you do not want to share
between multiple projectors.
1.
Display the image you want to project as the User's Logo.
2.
Press the
Menu
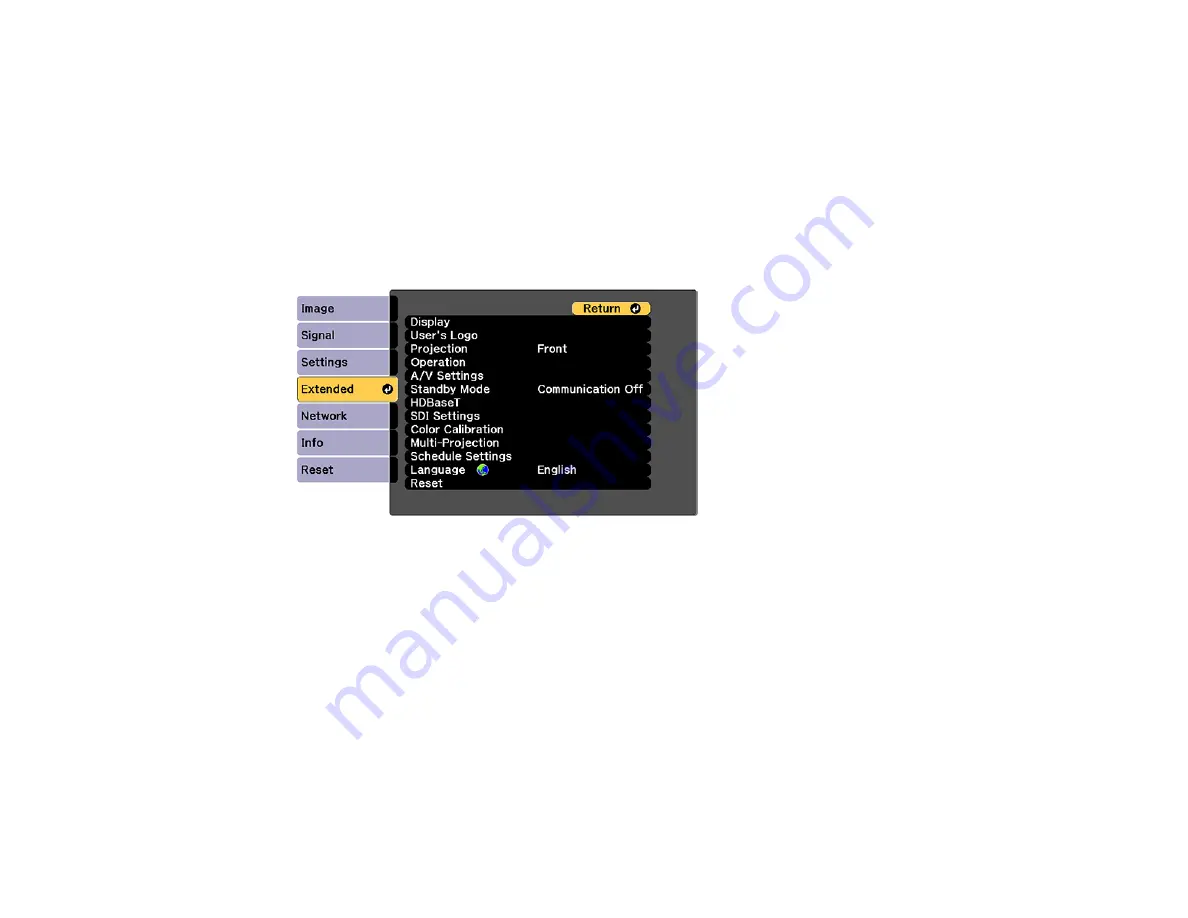
button, select the
Extended
menu, and press
Enter
.
3.
Select the
User's Logo
setting and press
Enter
.
4.
Select
Start Setting
and press
Enter
.
You see a prompt asking if you want to use the displayed image as a user's logo.
5.
Select
Yes
and press
Enter
.
6.
Select the capture size and press
Enter
.
7.
Use the arrow buttons on the remote control or control panel to surround the image area you want to
use as the User's Logo and press
Enter
.
You see a prompt asking if you want to select this image area.
8.
Select
Yes
and press
Enter
. (If you want to change the selected area, select
No
, press
Enter
, and
repeat the last step.)
You see the User's Logo zoom factor menu.
Содержание V11H833820
Страница 1: ...Pro L20000UNL L20002UNL User s Guide ...
Страница 2: ......
Страница 10: ......
Страница 246: ...246 Parent topic Maintaining and Transporting the Projector Related tasks Turning Off the Projector Removing a Lens ...


