57
Chapter 3 Advanced Usage
3
Follow the steps below.
1
After running a self test, hold down the FEED button for at least one second, and then
select the Mode selection.
The Mode selection guidance is printed, and the
Power LED flashes.
2
Briefly press the FEED button twice (less than one second), hold it down for at least
one second, and then select the Software settings mode (Customized value setting).
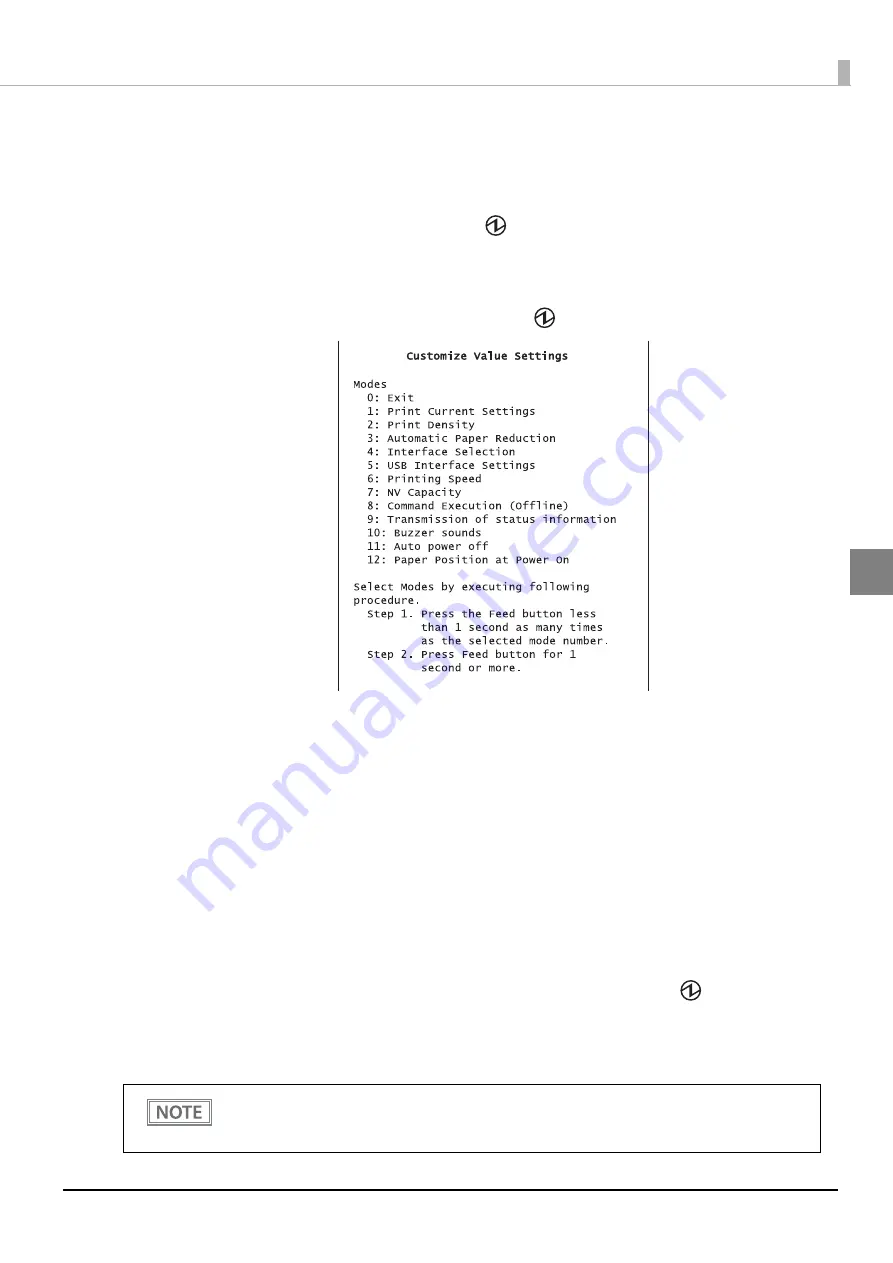
The Software setting mode guidance is printed, and the
Power LED flashes.
3
After briefly pressing the FEED button (less than one second) for the number of times
shown in the print result, hold down the button for more than one second, and then
select the setting items.
The setting selected as the setting item, the current settings and initial settings are printed.
Depending on the setting item, you may need to continue selecting the setting item before the set-
tings are printed.
For details on setting items, see
"Software Settings" on page 47
.
4
Select a setting by briefly pressing the FEED button (less than one second) for the
number of times applicable to the setting, and then hold down the button for more
than one second to confirm your selection.
After saving the settings, the Software setting mode guidance is printed, and the
Power LED flashes.
5
To close Software setting mode, turn off the printer, or select “Exit” to return to Mode
selection guidance, and then select “Exit and Reboot Printer”.
To select 0 as the item number, hold down the FEED button until printing starts.
If the button is pressed a number of times that is not displayed by the Setup guidance, the opera-
tion is invalid and the same guidance is printed.
Содержание TM-P20
Страница 10: ...10 ...
Страница 14: ...14 ...
Страница 38: ...38 5 Close the cover and tear off the paper ...
Страница 74: ...74 ...
Страница 82: ...82 ...


