29
Related tasks
Viewing and Changing Media Settings
Viewing and Changing Media Settings
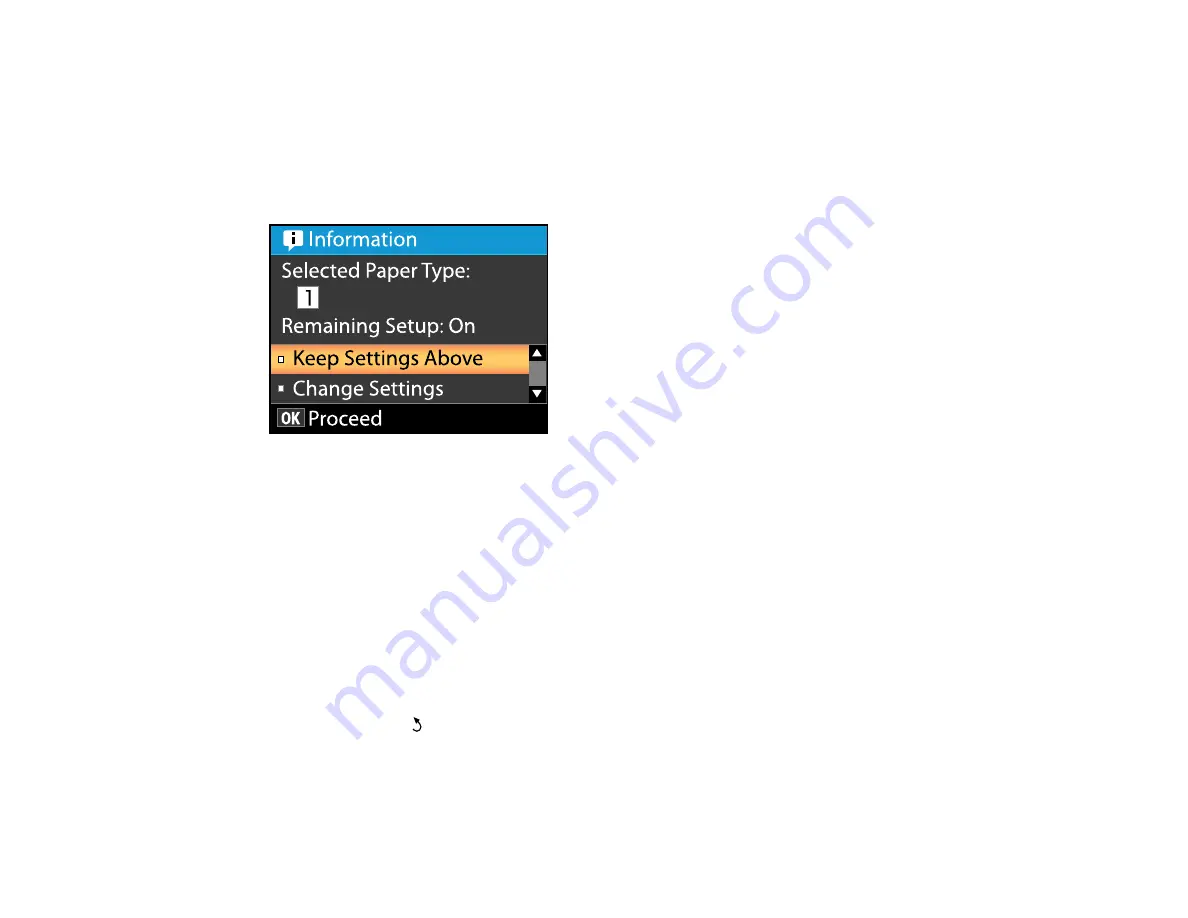
After you load media in your product, you see a screen like this on your product control panel which lets
you view or change your media settings:
The media settings include the options selected and stored for each media bank or RIP setting you
created.
1.
Do one of the following:
• If the displayed media settings are correct for the media you loaded, press the up or down arrow
button to select
Keep Settings Above
and press the
OK
button.
• If you need to change the media settings, press the up or down arrow button to select
Change
Settings
and press the
OK
button.
2.
If you want your product to calculate the amount of media remaining based on the length of the roll
and the amount already printed, and display the approximate results on the product control panel,
set the
Remaining Setup
setting to
On
.
3.
To change your media settings, select the setting you want to change and press the
OK
button.
Then press the
back button and repeat this step to select additional settings as necessary.
4.
When you finish changing media settings, press the up or down arrow button to select
Exit
and
press the
OK
button.
Содержание SureColor F6370
Страница 1: ...Epson SureColor F6370 User s Guide ...
Страница 2: ......
Страница 6: ...6 Copyright Attribution 135 ...
Страница 22: ...22 3 Lift up the adapter holder lock lever 4 Place your media on the roll rest temporarily ...
Страница 24: ...24 2 inch core ...
Страница 42: ...42 5 Align the right roll core holder with the right edge of the media ...
Страница 47: ...47 4 Move the Auto switch up to the Backward position ...
Страница 66: ...66 2 Grasp the loop at the top of the ink inlet cap and slowly remove the ink inlet cap ...
Страница 76: ...76 Rest the stirring stick on the tab at the edge of the tank as shown ...
Страница 77: ...77 10 Cut or tear off the ink pack spout seal ...
Страница 92: ...92 8 Draw some cap cleaning liquid with the dropper ...
Страница 94: ...94 10 Use a new dry cleaning stick wide to soak up the cap cleaning liquid from the anti drying caps ...
Страница 104: ...104 5 Grip the wiper cleaner as shown and remove it from the product ...
Страница 105: ...105 6 Place the new wiper unit on the attachment point and press it down until it clicks into place ...
Страница 106: ...106 7 Remove the wiper by holding it at the attachment point tilting it left and lifting it out ...
Страница 127: ...127 Canada Safety CAN CSA C22 2 No 60950 1 EMC CAN CSA CEI IEC CISPR 22 Class A Parent topic Technical Specifications ...


